


Home
3. Once the quilt is rolled, follow the
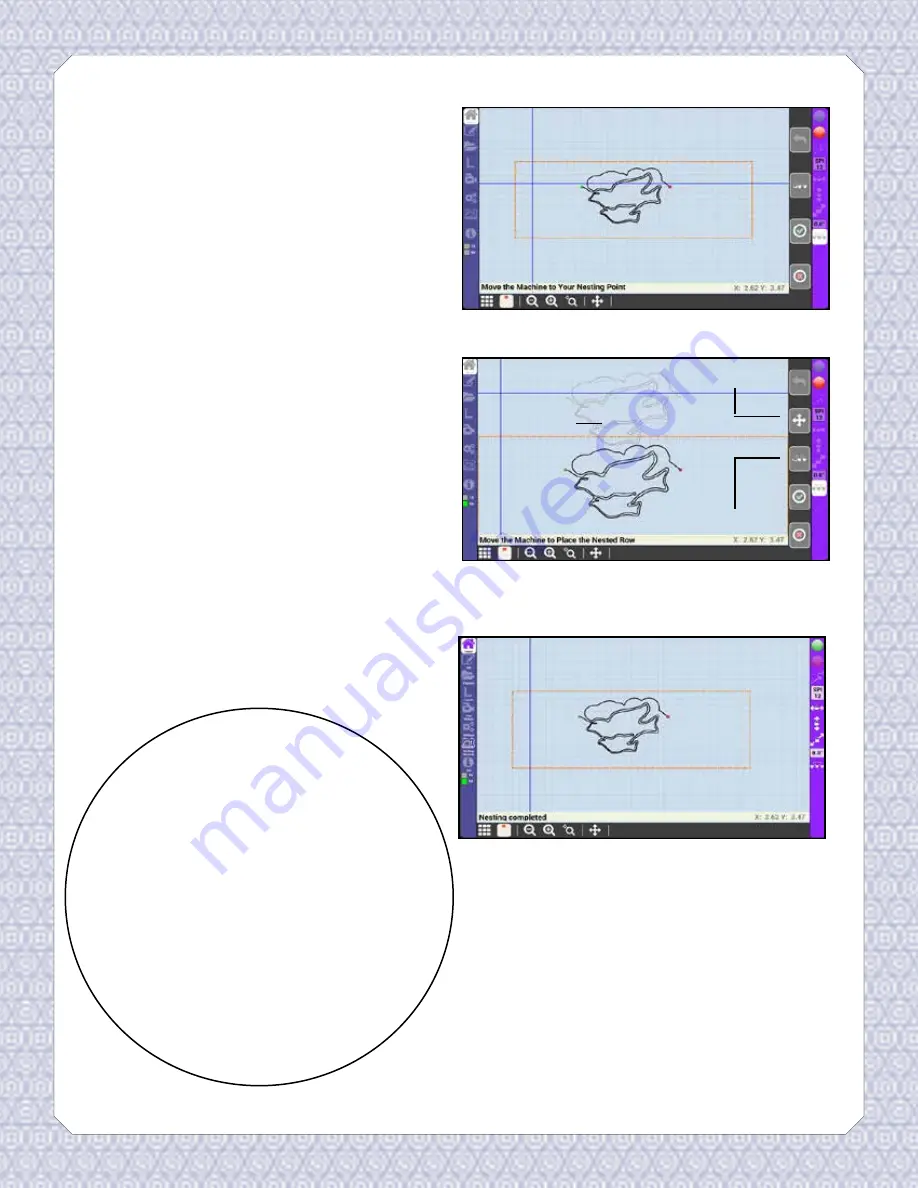
on-screen instructions to realign
your machine with point marked
in step 1, and press the green check
mark.
4. You should now see two patterns on
the screen. The light gray patterns
represents the pattern you have
already quilted on your quilt top.
You can nest the pattern in one of
two ways. Either press the Move icon
and use the machine to space the
new row, or Select the Spacing icon
and set the desired vertical distance
between the quilted pattern and the
to-be quilted pattern. Then, press the
check mark button.
5. Press the green Go button on the
home screen to stitch the pattern as
normal.
See Appendix A for more help with
nesting.
Already
Quilted
Spacing Icon
Move Icon
Tips!
• If you have set spacing with either
Repeat (pg. 14) or the Pattern Layout
Helper (pg. 19) the spacing set in
those functions will carry over, and
you will not need to change spacing.
• Make sure your nesting point does
not get rolled up so far that you
cannot move the machine to it after
you roll the quilt.
23


