
119832 Rev. B
24
E N G L I S H
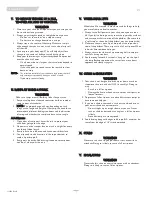
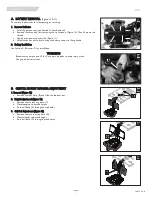
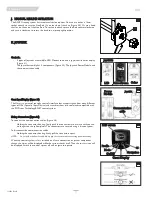
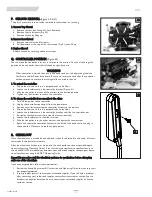
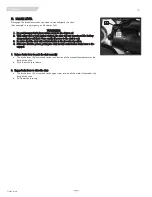
P. SHROUD REMOVAL
(Figure 40 & 41)
The plastic protective shroud can be removed for adjustment or servicing.
1. Remove Top Shroud
a. Remove the seat (see Section O. Seat Removal).
b. Remove the six fasteners (Fig. 40).
c. Remove shroud by lifting up.
2. Remove Rear Shroud
a. Remove two rear shroud fasteners.
b. Pull downward at the top of the rear shroud (Fig. 41) then lift up.
3. Replace Shroud
Replace shroud by reversing above instructions.
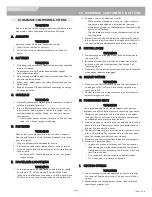
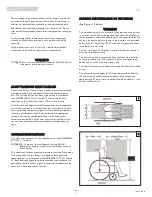
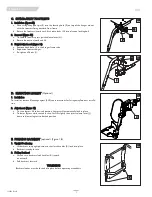
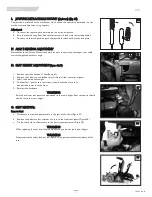
Q. CONTROLLER POSITION
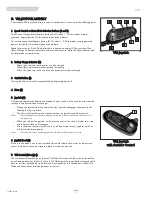
(Figure 42)
You can move the controller in or out in relation to the armrest. You can also change the
position of the controller for either left-hand or right-hand use.
WARNING
When controller is moved, the harness and cord can be at risk of pinching from the
Seat Frame, and/or Power base frame. Be sure to secure the cord after the controller
has been moved, to avoid cord pinching which can disable the unit.
1. To extend the controller:
a. Flip up the armrest so that it is perpendicular to the floor.
b. Loosen the thumbscrew on the controller bracket (Figure. 41).
c. Slide the controller in or out of the armrest to the desired position.
d. Tighten the thumbscrew to secure the controller.
2. To change the controller from one side to the other:
a. Turn off the power to the controller.
b. Unplug the controller connectors from the power base
c. Remove any wireties securing the controller harness to the armrest.
d. Flip up the armrest so that it is perpendicular to the floor.
e. Loosen the thumbscrew on the controller bracket, and slide the controller out.
f.
Re-tighten the thumbscrew (so it won’t be lost accidentally)
g. Loosen the thumbscrew in the other armrest.
h. Slide the controller into the other armrest, and tighten the thumbscrew
i.
Route and secure the controller harness to the back of the power base and plug in
the controller. Make sure to avoid any pinch points.
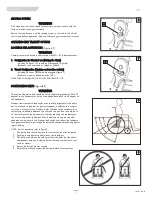
R. CHECK-OUT
Once the wheelchair is assembled and adjusted, it should roll smoothly and easily. All acces-
sories should also perform smoothly.
After the wheelchair has been set up be sure the chair performs to your specified opera-
tional settings (see Operating Guide). If the chair does not perform to specifications, turn
the wheelchair OFF immediately and contact your authorized supplier to reprogram opera-
tional specifications using the RNET Operating Guide.
Repeat this procedure until the wheelchair performs to specifications before attempting
active use of the wheelchair.
If you have any problems, follow these procedures:
1. Review the Set-up, Adjustment & Use section and Operating Guide to make sure chair
was properly prepared.
2. If your problem persists, contact your authorized supplier. If you still have a problem
after contacting your authorized supplier, contact Sunrise customer service. See the
introduction page for details on how to contact your authorized supplier or Sunrise
customer service.
41
40
42
VIII.
A






![Dietz Rehab AS[01] User Manual preview](http://thumbs.mh-extra.com/thumbs/dietz-rehab/as-01/as-01_user-manual_2495939-01.webp)

