Using the DNA Utility to Search and Access the Camera
15
6.5
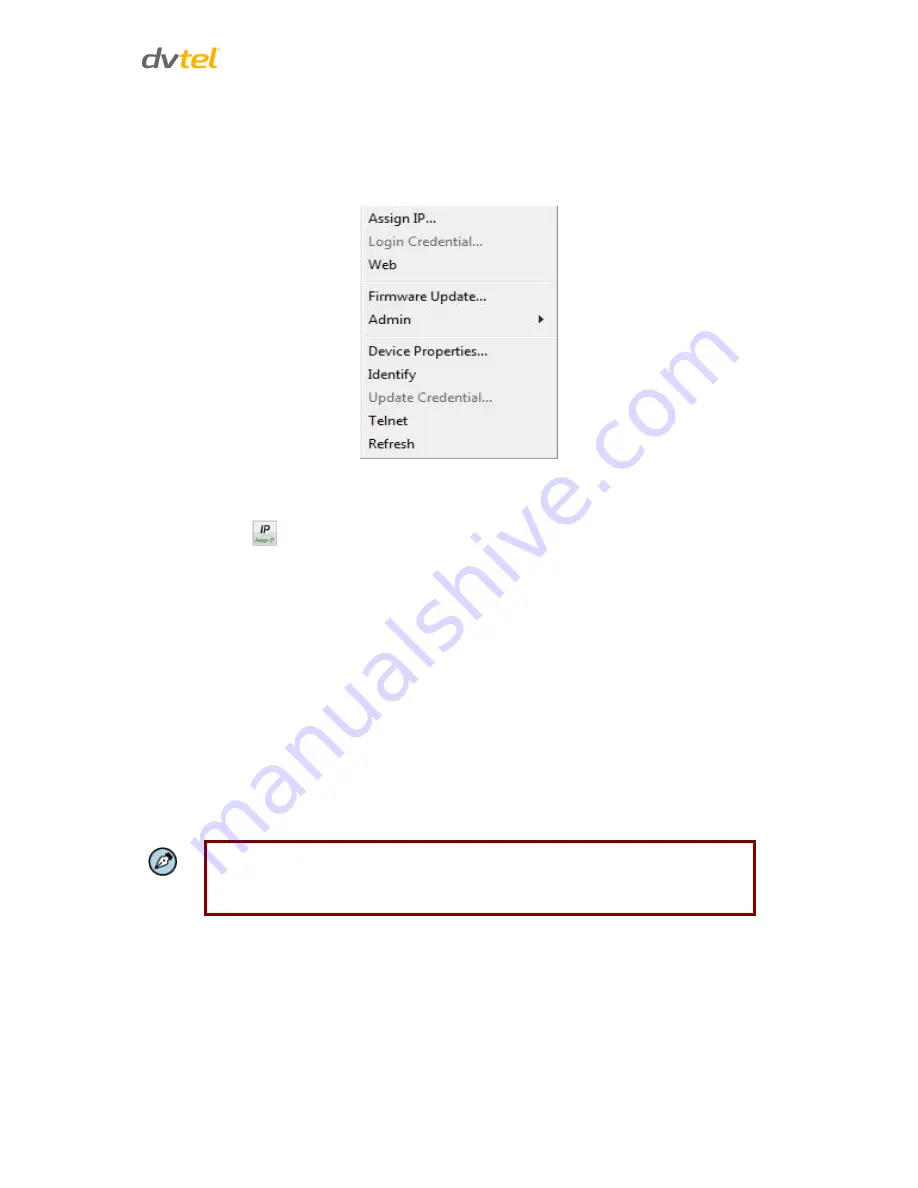
Context Menu
All functions on the Navigation Bar are also accessible from the context menu, which is available
when right-clicking on a device within the Discover List, as seen in the following figure:
Figure 11: Context Menu
Assign IP Tab
The
Assign IP
tab
or context menu option is used to automatically assign the IP address of the
selected device(s). This function can be used for automatic batch network configuration.
The
Assign IP
tab or context menu option is used to automatically assign the IP address of the
selected device(s). This function can be used for automatic batch network configuration. The
Assign
IP
tab or context menu option is grayed if a device has not been selected.
Selecting this tab or option opens the
Assign IP
window, which displays a list of devices which need
to be updated, as shown in the illustration below. The
Assign IP
window is divided into two areas
See section 6.6 for more details.
6.6
Configuring Communication Settings on the Quasar Camera
To configure communication settings on the camera:
1.
Connect the camera to the network on the same VLAN/LAN as the workstation.
2.
If the network supports the default, open DNA utility by running dna.exe which can be
found in the DNA Utility folder in the supplied CD.
Note:
DNA is an alternative software to Device Search. Either of these programs may be
used.
3.
In the DNA application, click the
DNA
button.
4.
If the Windows Firewall is enabled, a security alert window pops up.


