


28
Initial Configuration
DXi4000 Installation and Configuration Guide
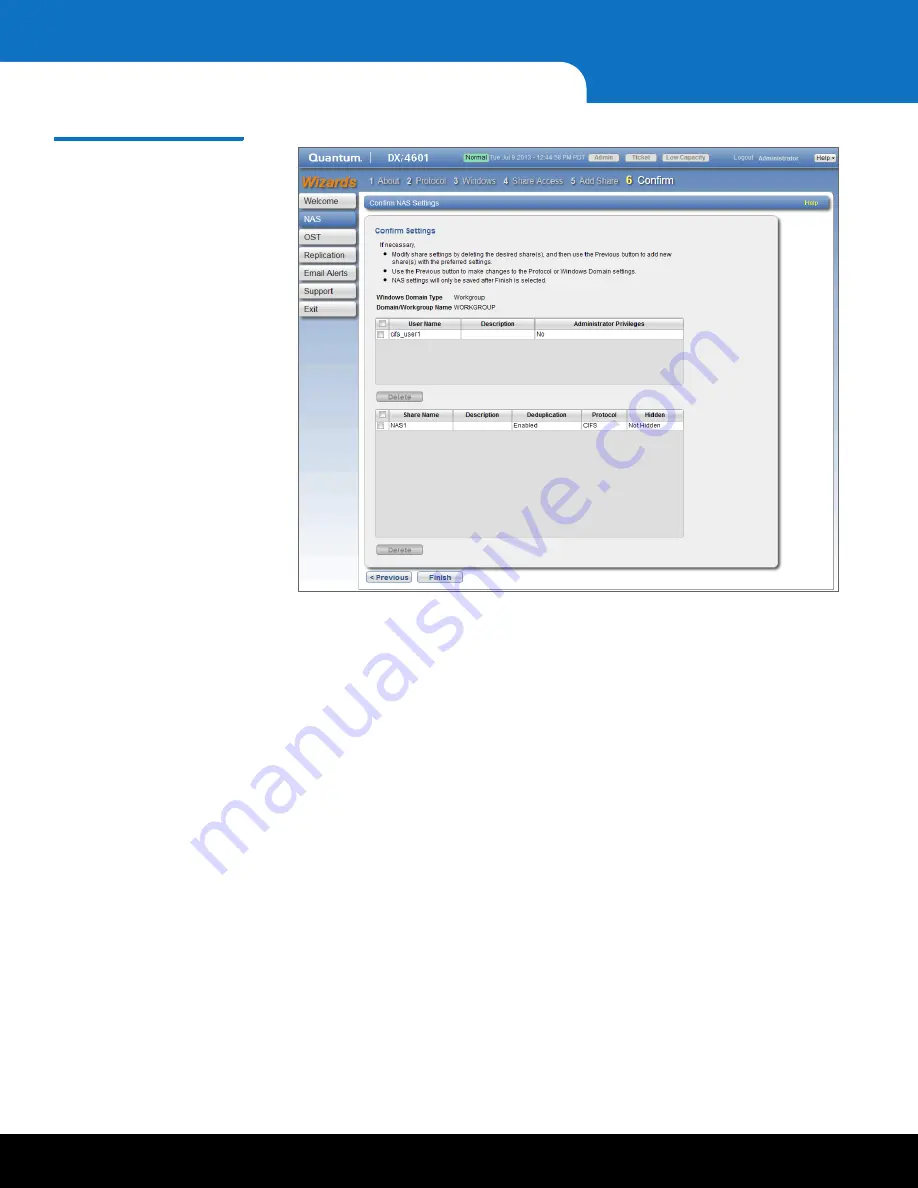
Figure 24 NAS Wizard:
Confirm
13
Complete the
NAS
wizard:
a
Review the settings you selected to make sure they are correct. If necessary, click
Previous
to return to a previous step to make changes.
b
To make changes to a NAS share you added, first select the share and click
Delete
to delete the share. Then click
Previous
to return to the previous step
and add a new share.
c
After you have confirmed all settings, click
Finish
. The NAS share is created and
becomes available on the Windows network.
14
To verify the NAS share:
a
On a computer on the same network as the DXi4000, click
Start
and then
Run
.
b
Type:
\\<IP address of the DXi4000>\<name of the NAS share>
c
Press
Enter
.
The NAS share will display the NAS share in
Windows Explorer
if successful.
15
The DXi4000 is now ready to use for backup operation. The installation is successful
when you are able to backup data to the system. Here are the next steps you can
take:
• Quantum recommends enabling
Email Reports
after you install your DXi. When
enabled,
Email Reports
periodically sends system configuration and status
information to Quantum, including any software upgrades you have installed
using the
Software Upgrade Utility
. Quantum Support can use this information
to provide a better support experience in the future.
Содержание DXi4520
Страница 2: ......
Страница 19: ...Initial Configuration 17 DXi4000 Figure 14 Getting Started Wizard Network...


