Step 3
Install Top Fabric on the Front Windshield Channel
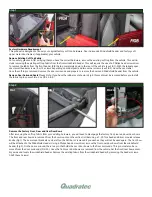
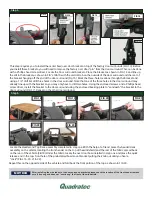
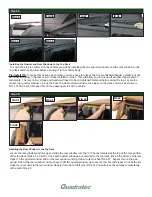
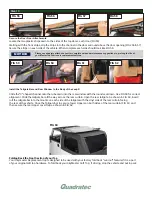
Place the soft top fabric on the ground (on top of a large blanket or towel) with the underside facing up and the front of the fabric
facing you (FIG 3). Lay the front windshield header with the underside facing up into each corner pocket with the header plastic strip
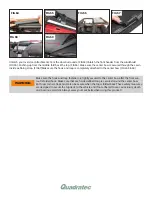
sewn on the top facing up on top of the windshield header. Locate the center hole or two center holes on the plastic strip and secure
the center of plastic header using the screw(s) that were removed in step one. See Fig 4. Proceed to install the remaining seven or
thirteen header screws (depending on model year) along the plastic header lining them up with the holes on the front header itself.
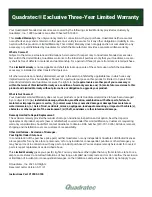
Lift up the header and wrap the corner pockets around the ends of the front Header lining up the corner screws with the corner holes
in the header. Install the two corner screws (see Fig 5).
Preparation for Installing Fabric Only Replacement Top:
Step 4
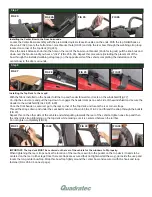
Install the Side over door tubes to the windshield Header
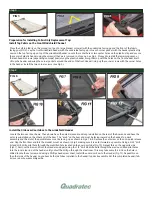
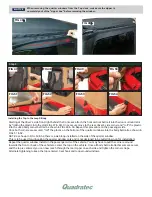
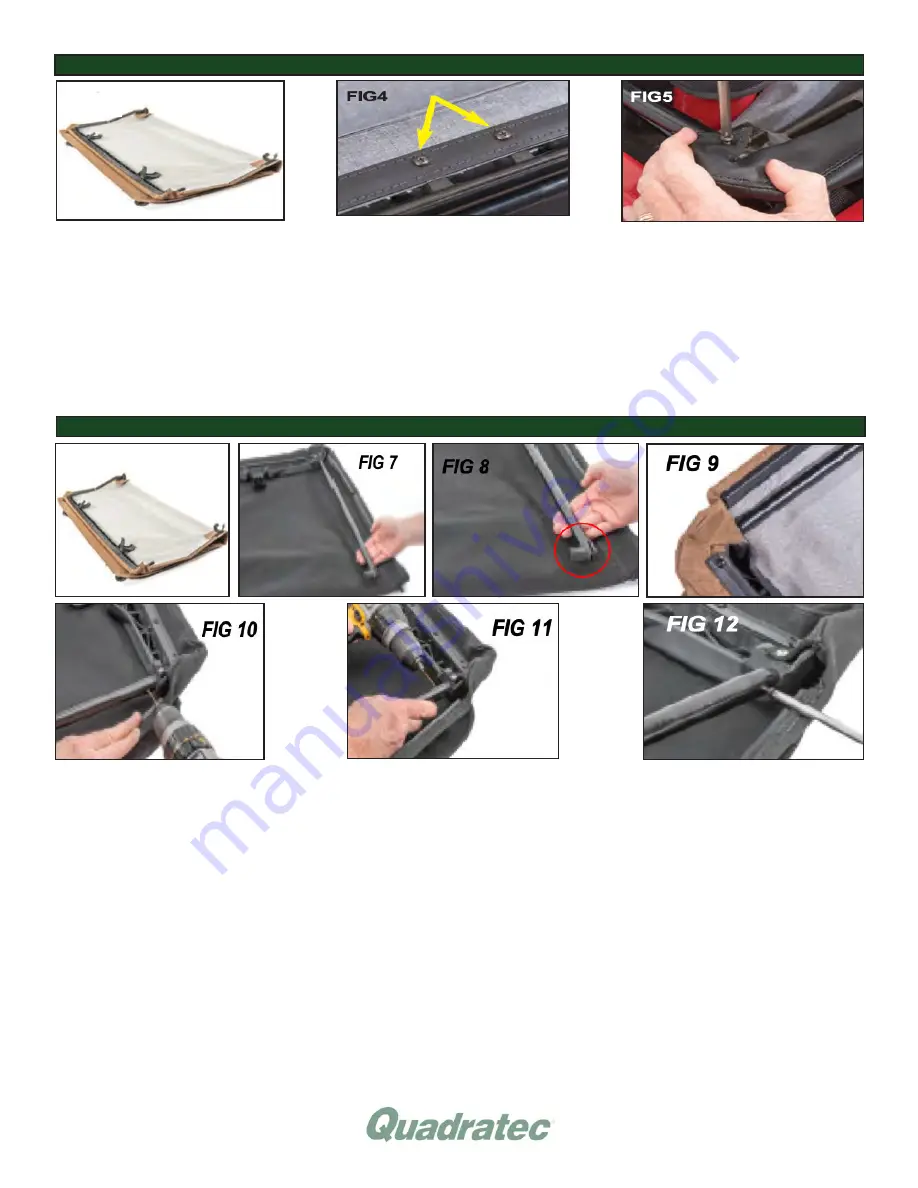
Locate the two over door bows. These bows have the quick release knuckles preinstalled on the rear of the bow ends and have the
set screw installed on the other end of the bow. The “knob” on the bow end must be facing inward on the header/Top deck
assembly and the slot of the quick release must be facing up as shown in Figs 7 & 8. Remove the set screw on the non-quick release
end. Slip the front bow end into the Header mount as shown in Fig 9 making sure it is as far forward as possible. Using a 3/32” drill
bit and drill, drill a pilot hole through the predrilled hole located on the over door tube (Fig 10). Repeat this on the opposite side
(Fig11). Remove the Bow end from the Header and again using the 1/8” drill bit, drill a hole through the previous drilled pilot holes
into the inner steel rod of the header until you feel the drill go through the steel inner. This may take some force. Once the hole is
drilled, locate the set screw and using a Phillips head screw driver, install the over door bow to the Header (Fig 12). Repeat this on
the other side of the header so you have both side tubes installed to the header/top deck assembly. Set this completed header/fab-
ric/over door bow assembly aside.
FIG 3
FIG 6

