15 Operating Your Cleaner
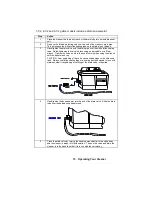
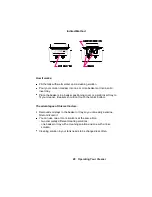
1-1/2, 2-1/2 and 5-1/2 gallon models include a drain and valve kit.
Step
Action
1
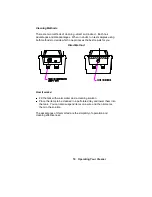
Place the cleaner to allow easy reach of the drain tube into a waste disposal
unit.
2
Remove the thread protecting cap from the end of the cleaner’s drain pipe.
This will expose the white teflon
sealing tape on the drain pipe’s threads.
3
Hand tighten the drain valve onto the drain pipe over the white teflon sealing
tape. Finish tightening the valve in place using on adjustable or a 21mm
wrench. Tighten the valve no more than one full turn when using the wrench
until the handle is on top.
CAUTION: Over tightening of the valve can cause damage to the ultrasonic
tank. Always use teflon sealing tape or a sealing paste designed for use with
stainless steel if retightening or refitting of the drain valve is required.
4
Hand tighten the hose adaptor into the end of the drain valve. Slide the drain
tube over the barbed hose adaptor end.
5
Close the drain valve by turning the handle perpendicular to the valve body
and the cleaner is ready to fill with solution. To open the valve and drain the
cleaner, turn the handle so that it is in line with the valve body.

