36
37
CHAPTER 4 MAIN MENU SETUP
EVENT SEARCH
Selecting this tab will bring up a list of recorded events. You can choose whether to display
events triggered by Motion, Sensor or both.
Double-click the event file you wish to play back.
FILE MANAGEMENT
From within this tab you can lock, unlock or delete recorded events from the drive.
Clicking the
Search
button in the upper right of the window will bring up a list of events to be
displayed. Results can be filtered by selecting date and channels if desired.
PICTURE 4-55
PICTURE 4-56
LOCK
– Selecting a file and then clicking the Lock button will protect the event from being
overwritten or deleted unless the entire drive is reformatted
UNLOCK
– This will remove the file protection and the event recording can be deleted or
overwritten normally
DELETE
– If the event is not Locked, this will remove the selected event from the DVR.
Utilizing the remaining icons in the
MAIN MENU
;
Information
,
Manual Alarm
,
Disk
Manage
,
Upgrade
,
Logoff
and
Shut Down
, the user can track events, system status,
connected alarm(s), upgrade the firmware, logoff and shut down the system.
NOTE!
If the status shows “Writing” it means that the sector on the hard drive
where the file is located is still being written to. You cannot delete the file until
the file is completed and the word “Writing” disappears.
2
3
4
1
6
7
8
5
SEARCH
Search
Time Search
Image
Event Search File Management
Search
Delete
Delete
Lock
Lock
Save
Save
Save All
Save All
Time Search
Image
Event Search File Management
Start Time
3/13
End Time
12 / 23 / 2010
12 / 23 / 2010
00 : 00 : 00
00 : 00 : 00
23 : 59 : 59
23 : 59 : 59
25
12 / 23 / 2010
12 / 23 / 2010
25
PICTURE 4-57
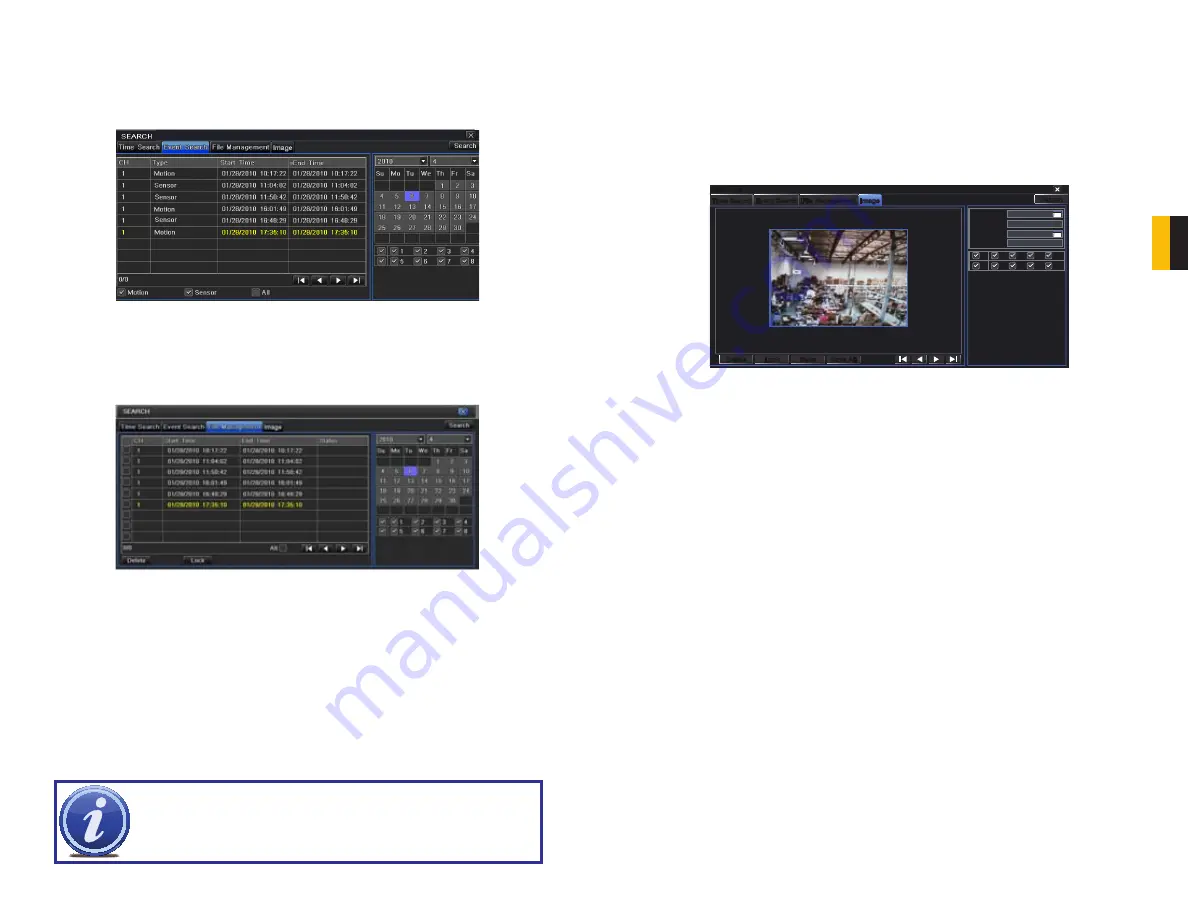
IMAGE
This tab functions much as the
Event Search
tab by allowing you to search for and view the
still images captured when you click on the
Snapshot
icon on the
Control Bar
. These images
are stored on the DVR’s hard drive just as with video files.
Select the date to search, along with the start and end times to search between. You can also
select which channels you want to include in the search. Clicking the
Search
button in the
upper right of the window will bring up a list of available images.
After the search is completed, a count of available images will be displayed along with the first
still image. The buttons at the bottom of this tab allow you to navigate through the images as
well as save them for use outside the DVR.
DELETE
– This will remove an unwanted image from the hard drive.
LOCK
– This will prevent a file from being deleted. If a file is locked, this button will read
UNLOCK
.
SAVE/SAVE ALL
– These buttons allow you to save individual or all of the images in the group
to an external USB flash drive inserted in the USB port on the front of the DVR.
ARROW BUTTONS
– Navigate to the first, last previous or next image in the group.


