QH32DVR4C User’s Manual
44
5.7 Mask Area Setup
In some cases you might want to mask a sensitive area. This area will not be
viewed or recorded. The mask area setup steps are as follows:
Step 1: Enter into “Camera” menu:
Step 2: Select a camera: You can use
【
】【
】
keys to select the camera.
Step 3:Enter into “Advanced settings” enable the check box beside “Privacy
Mask”, you can press the
【
Enter
】
or
【
edit
】
key to change the flag into “
”, and
activate “Area” button. Move “Active Frame” to “Area” button on the right side of
mask check box, press
【
ENTER
】
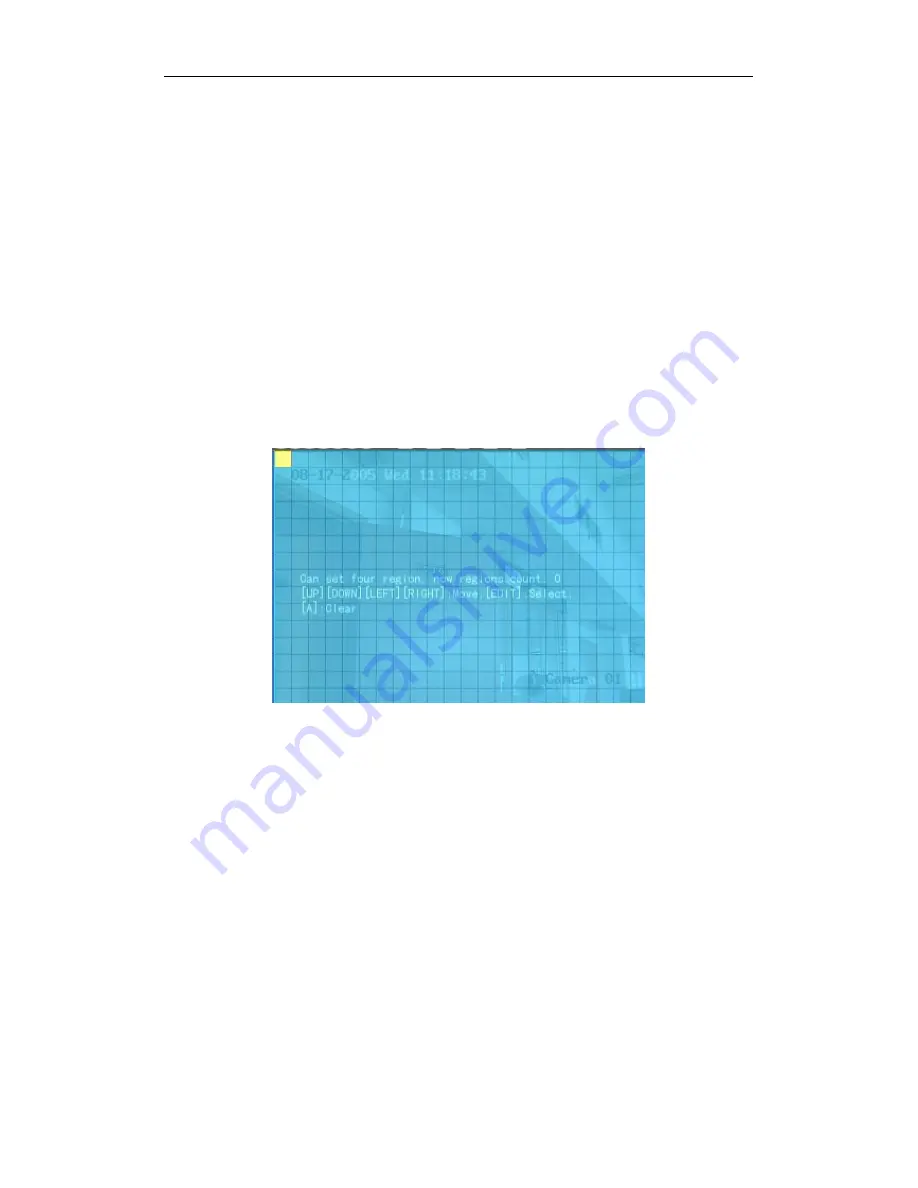
key to enter into mask area setup interface shown as
fig 5.13
Fig 5.13 Mask area setup
Step 4: Setup mask area: In the mask area setup interface, there is one small
yellow panel on the upper left side. For PAL camera, the whole screen is divided into
22*18 panels (22*15 for NTSC), you can use
【↑】【↓】【→】【←】
keys to move the
yellow panel to your desired position and press the
【
EDIT
】
key, the yellow panel will
be turned into red, then you can use
【↑】【↓】【→】
keys to extend the red panel and
【←】
key to shrink the red panel. This red area is the mask area.
After you setup the red mask area, press
【
EDIT
】
key to save the mask area. The
maximum mask area size is 8*8 panels and the minimum size is only one panel. You
can setup 4 mask areas at most.


