20
21
IMAGE ADJUST
Use these settings to fine-tune your video by adjusting brightness, color levels, and noise reduction among other options.
3DNR
3DNR, which is short for 3-D Noise Reduction, compares a sequence of video images over a period of time and blends them to
reduce graininess. When enabled, there are individual settings for day (D) and night (N) video. Use these sliders to reduce the amount
of motion blur that can occur due to noise reduction.
IMAGE ADJUST
3DNR ON
SHARPNESS
BRIGHTNESS
30
GAMMA USER
BLUE GAIN
50
RED GAIN
50
LENS SHADING
OFF
NTSC/PAL NTSC
RETURN RET
Sharpness
There are two sliders allowing you to adjust the sharpness of the
video for day and night images.
Brightness
Adjust this using the slider.
Gamma
This differs from brightness by adjusting the luminance of the video
image by reducing “noise” while still keeping blacks black and
whites white. This can be adjusted from .45 (lightest) to 1(darkest),
or left at the
User
(automatic) setting.
Blue/Red Gains
You can individually adjust the blue and red channels using these
sliders.
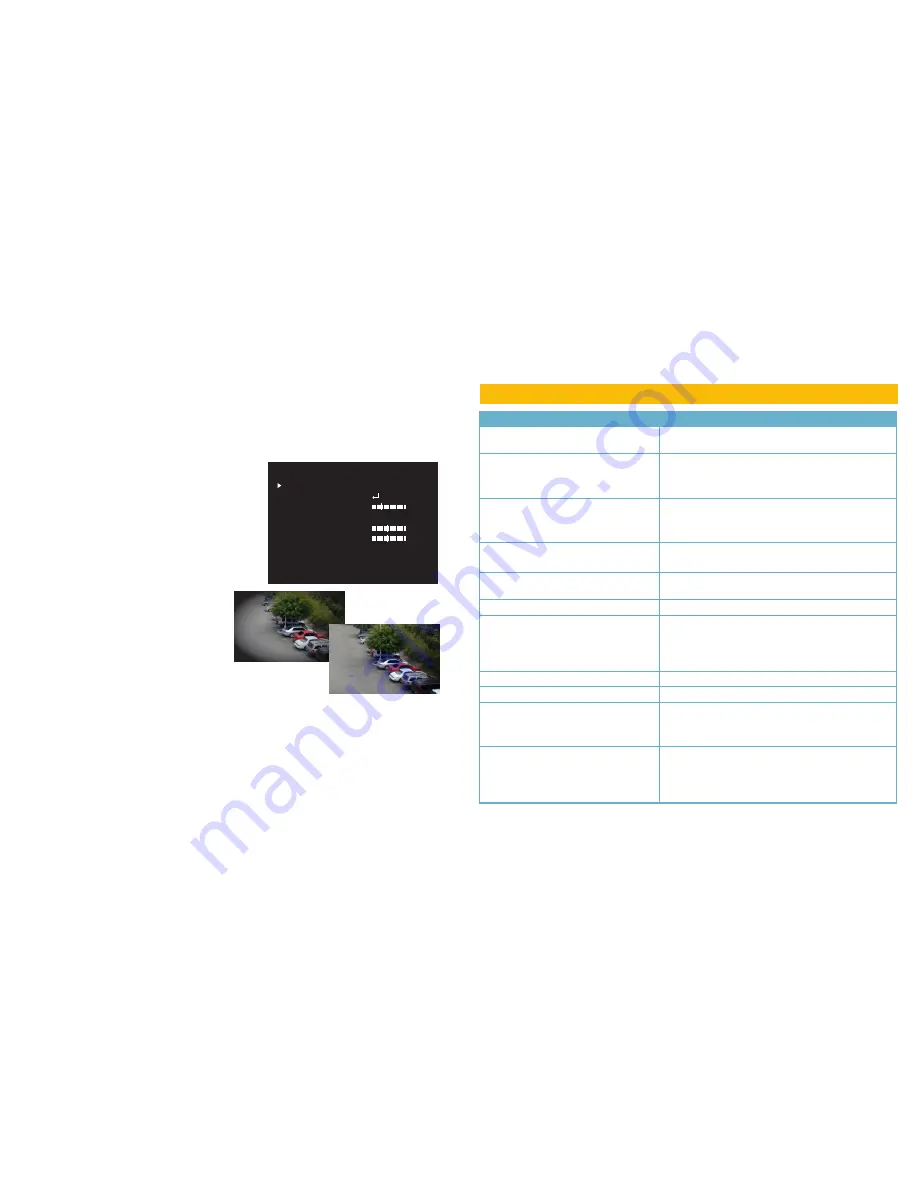
Lens Shading
Shading refers to the tendency for the corners of an image to be
darker than the center. When shading correction is enabled, the
image will be electronically corrected to lighten the corners.
Lens Shading
Correction Off
Lens Shading
Correction On
NTSC/PAL
These are two of the television video modes used globally. If you are using a VGA or HDMI screen to view your DVR you will not need
to change this setting. NTSC is used throughout North America and parts of South America, while PAL is used elsewhere in South
America, Europe (except for France), Oceania and parts of Africa and Asia.
RESET
This menu allows you to reset everything back to the factory settings. It also displays the firmware version of the camera.
TROUBLESHOOTING
Problem
Solution
No picture or unstable image
Check both the power and video connections to the camera.
Cup hand over lens to see if IR LEDs illuminate with a faint red glow.
The on-screen image is blurry.
1. Check the camera focus.
2. Check for fingerprints or dirt on the lens.
3. Check menu settings.
The on-screen image is dim.
1. Check for fingerprints or dirt on the lens.
2. Check monitor settings
3. Check camera SHUTTER/AGC settings.
The on-screen image is dark.
1. Adjust the monitor contrast settings.
2. Adjust camera SHUTTER/AGC settings.
The on-screen image is dark only part of the day.
The sun may shine directly into the camera which will backlight the
subjects. Adjust BLC to compensate or reposition camera.
The on-screen image color is incorrect.
Check camera WHITE BAL setting.
The on-screen image has a lot of noise.
1. Check camera Noise Reduction settings
2. Check camera auto gain setting in SHUTTER/AGC menu.
3. If the camera is mounted on a metal building, you will need to use a
rubber gasket or wood block to separate the camera from the metal.
No motion detection or privacy frames.
Check whether those settings have been enabled.
The screen flickers.
Camera may be facing sun, television or computer monitor.
The IR LEDs will not light up
1. Check the power connection to the camera.
2. Power supply may need to be located closer to camera.
3. Change DAY/NIGHT mode on camera to AUTO or B/W mode
The camera is not working properly, is hot, smells or is
producing smoke.
DISCONNECT CAMERA FROM POWER SUPPLY
IMMEDIATELY!
1. Check that correct power supply is in use.
2. Send camera out for repair.


