16
17
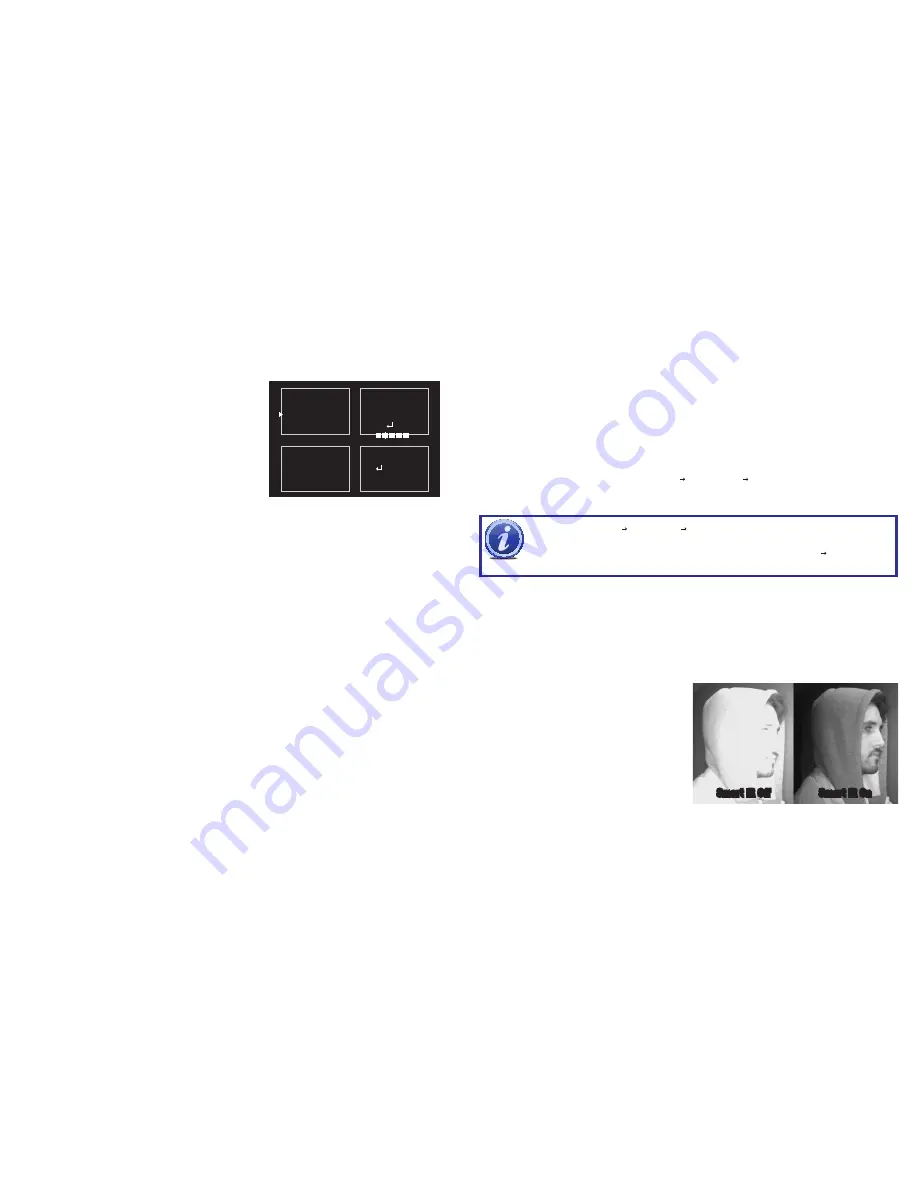
Unlike the BLC setting, there are four separate areas where the user
can activate HSBLC.
Use the
Select
option to chose which area to configure. The
selected area will flash.
Use
Display
to activate or deactivate that area. Pushing in on the
control button opens a menu that allows you to move and resize the
area in the same manner as with the BLC setting.
Level
adjusts the sensitivity of all the areas with a range of 1 to 100.
You can set HSBLC operate constantly, or just at night using the
Mode
setting. If set to Night, HSBLC will only be active when the
camera’s LEDs are on.
HSBLC
SELECT AREA1
DISPLAY ON
LEVEL
40
MODE
ALL DAY
BLACK MASK
ON
DEFAULT
RETURN RET
While the visible mask is useful in configuring the area for the camera to compensate, some users may find it distracting. Use the
Black Mask
option to turn off the mask without changing the compensation settings.
Default
will restore the factory settings for HSBLC.
WHITE BALANCE
There are seven modes available for determining how your camera processes and displays color:
ATW
- Automatic Tracking White Balance. This is the default the camera constantly analyses and adjusts to create a neutral white
balance. Colors may be slightly underexposed but generally accurate. Several settings can be modified, but the most significant is
the Environment setting which adjusts the white balance based on the light source. Daylight generally has a bluish tint while indoor
lighting will tend towards yellow (light bulbs) or green (fluorescent).
AWC-SET
- Auto White Balance Control. Using this locks in the white balance at its current level. This can be set by holding a piece of
white paper in front of the camera. Pushing the button will then establish the white balance. Use this when the lighting is constantly
changing or the area surrounding the object under observation is over- or under-lit
Indoor
- This adjusts the color range to compensate for typical indoor lighting sources which have a yellowish tint.
Outdoor
- Outdoor lighting generally has a bluish tint from the atmosphere so this setting adjusts for that.
Manual
- This is the best option when the camera is mounted in a location with unchanging lighting. When this is selected, the user
can manually adjust the blue and red levels.
IMPORTANT!
The DAY NIGHT and NIGHT DAY operations should be tested during installation. Block the lens
for a few seconds to force a switch to night mode. Once the lens is unblocked, the camera should switch back to
day mode in less than 10 seconds. If it does not, slightly increase the threshold in the NIGHT DAY setting. A dimly
lit area or a very low iris setting may also prevent a return to day mode.
DAY/NIGHT MODE
Mode
This allows you to set the camera to switch automatically from day to night mode based on external lighting using the default
EXT
mode, or adjusting the lighting criteria for the switch using
Auto
. You may also permanently set it to Color or B/W operation. Please
note that even when the camera is set to Color mode, it will switch to black and white night vision when there is no longer enough
ambient light to support color video.
AUTO
- Use the
Delay
setting to adjust how long after a certain light level is reached before the camera switches modes. The default
is 5 seconds, but it can be delayed up to 100 seconds. The
DAY NIGHT
and
NIGHT DAY
settings allow you to set the desired
lighting threshold at where the camera will switch modes. Both use Automatic Gain Control and setting too high a level in the former
and too low a light level in the latter can produce video with too much “noise” or, the camera may not switch between modes at all.
B/W
- When the camera is set to operate permanently in black and white mode with non-Q-See branded DVRs, you may need to
enable
Burst
. This is a signal sent out by the camera even when no color information is available to allow a DVR or security video
capture cards to recognize the camera. This can be left off when using the camera with a Q-See product.
Smart IR
Dependiong on model, your camera has an effective Infrared illumination range of up to 100 feet. The LEDs around the camera’s lens
act as an infrared flashlight, invisibly lighting the area so that the camera’s optics can pick up the image. Much like a conventional
flashlight - or even a camera flash - if the subject is too close to the light source, it can get “washed out” or overexposed. Activating
the Smart IR feature allows the camera to adjust the intensity
of the LEDs to avoid detail loss. This feature should be enabled
when the camera is pointing at a wall or item that is relatively
close to it. It will also adjust when someone moves through the
area, making the feature useful for access or entry points as well
as aisles.
The gain level can be adjusted and you can designate a
particular area for the camera to adjust the IR brightness. This
area is set in the same manner as found in the
Backlight
menu.
Smart IR Off
Smart IR On


