10
11
The adjustment screws are located below the camera’s lens. They
MUST
be loosened using a small screw driver before attempting
to adjust the zoom and focus otherwise the screws will snap off and the camera will no longer be able to be adjusted. Be certain to
gently tighten the screws once you have set your desired zoom and focus as vibrations may otherwise cause the camera to slip out of
adjustment.
Repeat Steps 1 through 4 for all cameras
before continuing.
STEP 5
. Plug the power adapter into a surge protector* or turn on the power panel.
*When selecting a surge protector, it is STRONGLY recommended to use one that is UL-1449 rated, for a clamping voltage
of 330 or lower, a Joule rating of at least 400 and a response time of 10 nanoseconds or less.
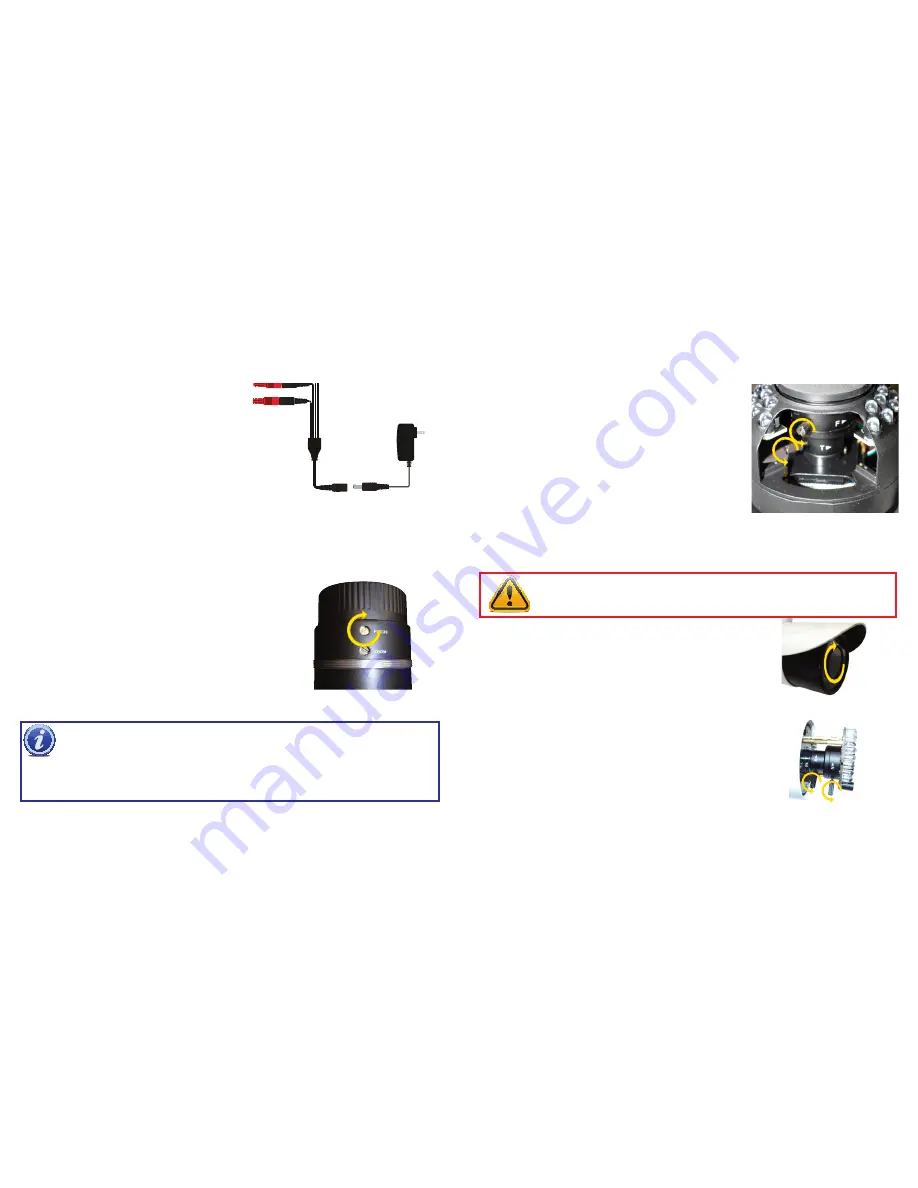
STEP 3
. Connect the power lead on the power splitter to the
camera power adapter.
DO NOT
plug the adapter into an
outlet at this time.
STEP 4
. Connect the BNC connector on the other end of the video/
power cable to a
Video In
port on the back of the DVR.
ADJUSTING ZOOM AND FOCUS
Varifocal model cameras only.
Certain camera models feature varifocal lenses which allow the user to adjust
the zoom and focus of the camera to optimize it for the desired field of view.
EXTERNAL ADJUSTMENTS
Some “bullet” cameras, such as the
QH8005B
, have their
Zoom
and
Focus
adjustment screws located on or near the lens (shown at right). These cameras
will come from the factory set for the widest field of view, meaning that it has
the lowest magnification. Turn the
Zoom
screw clockwise to increase the
magnification and then adjust the
Focus
until the image is clear.
INTERNAL ADJUSTMENTS
While most “bullet”-style cameras such as the QH8005B will have their lens
adjustments on the outside, dome cameras like the
QH8006D
and
QH8008D
and the bullet-style camera
QH8005B
have their adjustments inside their cases,
right on the lens assembly itself.
Dome Cameras
There will be screws on the camera’s case that will be needed to be unscrewed
in order to remove the upper portion (the portion covering the lens).
IMPORTANT!
Before adjusting the zoom and focus on the camera, you MUST first loosen the screws on the
respective adjustment rings. Failure to do so will result in damage to the camera.
HINT!
It can be difficult to know what the right zoom and focus settings are and these adjustments are best made
when the camera is at its intended location. There are several methods one can use to ensure proper adjustments:
1. A second person located at the DVR, monitoring the picture from the camera and communicating with the person
making the adjustments.
2. Using a smartphone running the appropriate Q-See mobile monitoring app to view the camera.
3. Use of an LCD camera tester which temporarily connects to the video lead labelled
TEST
(not the HD video lead).
Bullet Cameras
The adjustment knobs will be located on the lens assembly inside the camera
so the lens cover must be first removed to gain access. If there is a removable
sunshade, it should also be temporarily removed for easier access to the lens
cover.
Once the lens cover has been removed, you will see the adjustment screws
located behind the cameras lens. They
MUST
be loosened using a small screw
driver before attempting to adjust the zoom and focus otherwise the screws will
snap off and the camera will no longer be able to be adjusted. Be certain to gently
tighten the screws once you have set your desired zoom and focus as vibrations
may otherwise cause the camera to slip out of adjustment. When replacing the
lens cover take care to make sure there aren’t any fingerprints or dust on the
inside that will obscure the lens.


