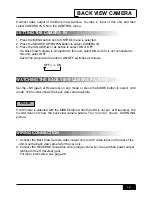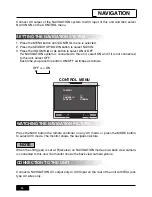
SETTING THE CAMERA IN
19
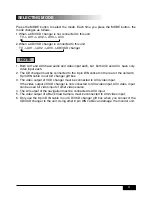
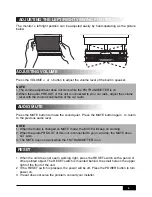
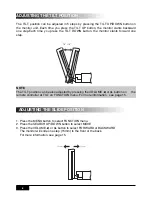
1. Press the MENU button until CONTROL menu is selected.
2. Press the SEARCH UP/DOWN button to select CAMERA IN.
3. Press the VOLUME
◀
or
▶
button to select ON or OFF.
If a Back View Camera is connected to this unit, select ON and if it is not connected to
this unit, select OFF.
Each time you press this button, ON/OFF switches as follows.
OFF <--> ON
BACK VIEW CAMERA
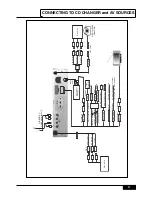
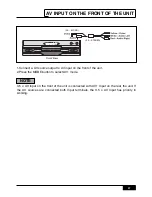
Connect video output of the Back View Camera to video 2 input of this unit, and then
select CAMERA IN ON on the CONTROL menu.
WATCHING THE BACK VIEW CAMERA PICTURE
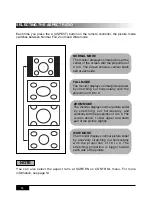
Set the shift (gear) at R(reverse) on any mode or press the MODE button to select AV2
mode. The monitor shows the back view camera picture.
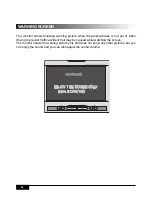
If AV2 mode is selected with the MODE button when the shift is not set at R(reverse), the
monitor does not show the back view camera picture. The monitor shows WARNING
picture.
WIRING CONNECTION
1. Connect the Back View Camera video output only to AV2 video Input on the rear of the
unit. Use the back view camera for the car only.
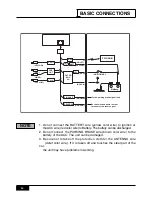
2. Connect the REVERSE connection wire (orange color wire) to a switched power output
terminal of the R(reverse) gear.
For more information, see page 29.
NOTE
Содержание PLTV71
Страница 1: ...PRINTED IN KOREA ...
Страница 35: ...MOTORIZED 7 IN DASH LCD COLOR TV MODEL PLTV71 ...


