chapter
10.6 Printing in color with ColorPrint
to find out how to make more intricate color
models.
6.3.8.1 Unloading the filament
Similar procedure to the loading operation.
Preheat
the nozzle for material you used last
time (pre assembled printers are shipped with PLA). Wait for temperatures to stabilize and
use
Unload filament
option from the menu.
6.3.9 First layer calibration
(kit only)
Now we will finally calibrate the distance between the tip of the nozzle and the probe.
Check if your print surface is clean!
You can find instructions how to clean it in
the chapter
6.3.2 PEI print surface preparation
. Don't forget to complete
6.3.5
Calibrate XYZ
chapter or
you can permanently damage the print surface
!
There are two ways to launch the first layer calibration.
6.3.9.1 Launching first layer calibration directly from menu - preffered way
You can launch the calibration from menu
Calibration -> First layer cal.
This option is
available since the
3.1.0 firmware
. If you do not see this option, you might be running an
older firmware, but you can still launch it from an SD card.
6.3.9.2 Launching first layer calibration from SD card - deprecated
Preheat the nozzle for PLA. On the LCD menu, go to
Print from SD
and run
V2calibration.gcode
file from the
bundled SD card
.
NOTE: If the
V2Calibration.gcode
is not present on your SD card you can easily obtain it
from our support or on our
http://www.prusa3d.com/drivers/
page.
6.3.9.3 Adjusting z-height during the calibration
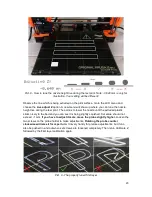
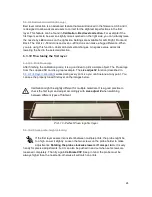
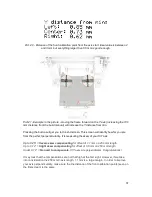
The printer will probe the bed and start printing a zig zag pattern on the print surface. The
nozzle will be at the height based on the P.I.N.D.A probe setting, it must not by any means
touch the print surface.
22
Содержание Original Prusa i3 MK2S 1.75mm
Страница 1: ......
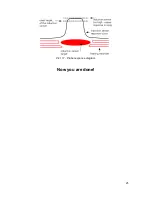
Страница 25: ...Pict 11 Probe response diagram Now you are done 25 ...
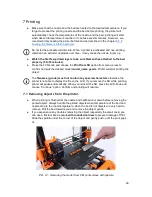
Страница 61: ...Pict 35 Nozzle change 61 ...

