© 2017 by Proceq SA
26
© 2017 by Proceq SA
27
9.5. Deleting and restoring Data
The menu item “Edit – Delete” allows you to delete one or more selected series from the down-
loaded data.
i
Note:
This does not delete data from the Pundit, only data in the current
project.
The menu item “Edit – Select all”, allows the user to select all series in the project for deletion,
exporting etc.
Restoring original downloaded data
Select the menu item “File – Restore all original data” to restore the data to the original format
as it was downloaded. This is a useful feature if you have been manipulating the data, but wish
to go back to the raw data once again. A warning will be given to say that the original data is
about to be restored. Confirm to restore.
i
Note:
Any names or comments that have been added to series will be lost.
Deleting data stored on the Pundit
Select the menu item “Device – Delete all measurements object on Pundit” to delete all data
stored on the Pundit. A warning will be given to say that all of the data is about to be deleted.
Confirm to delete.
i
Note:
This will delete every measurement series. It is not possible to delete
individual series.
9.6. Further Functions
The following menu items are available via the icons at the top of the screen:
“PQUpgrade” icon - Allows you to upgrade your firmware via the internet or from
local files.
“Open project” icon – Allows you to open a previously saved .pql project.
“Save project” icon – Allows you to save the current project.
“Print” icon – Allows you to print out the project. You may select in the printer
dialog, if you want to print out all of the data or selected readings only.
9.7. Live View
Pundit Lab allows you to remotely control the Pundit Lab and to view the waveform directly on
the PC screen.
Click on the “Live view” icon. If you are not already connected to the Pundit, the
connection sequence will be initiated. (See 9.1). The “Live view” window will be
displayed.
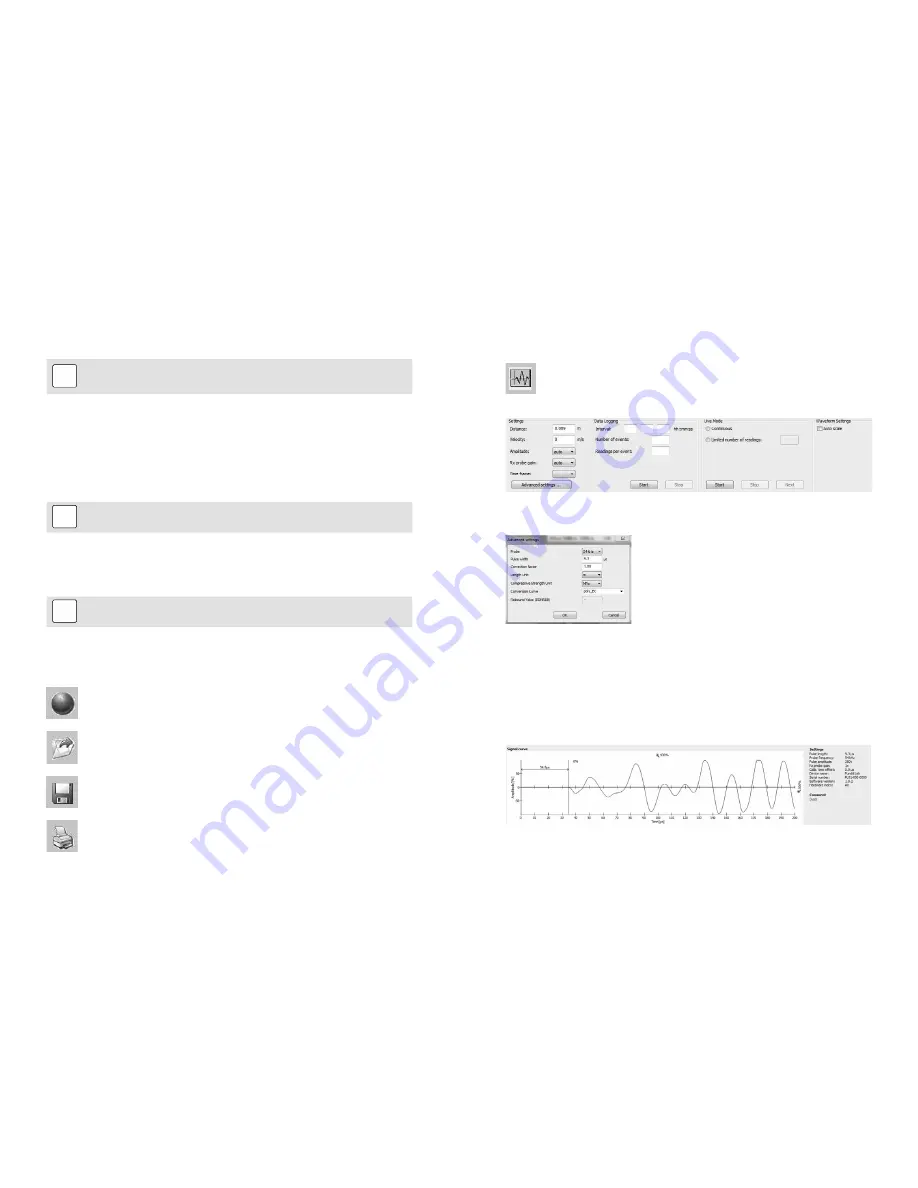
All transmission parameters may be controlled here. Click on the “Advanced settings …” but-
ton to adjust the following parameters:
Please note that the pulse width is by default set to an optimum value for the transducer
frequency selected.
Time frame
Can be set between 0.1ms and a maximum of 10ms. (please note, 10 ms corresponds to a
measurement of approximately 40m through concrete. Typical measurements will be less than
0.5ms. This setting sets the time scale for the waveform display as can be seen below.
e.g. Recording time set to 0.2 ms


