© 2017 by Proceq SA
22
© 2017 by Proceq SA
23
9. Pundit Link
9.1. Starting Pundit Link
Locate the file “Punditlink Setup.exe” on your computer or on the CD and click on
it. Follow the instructions you see on the screen.
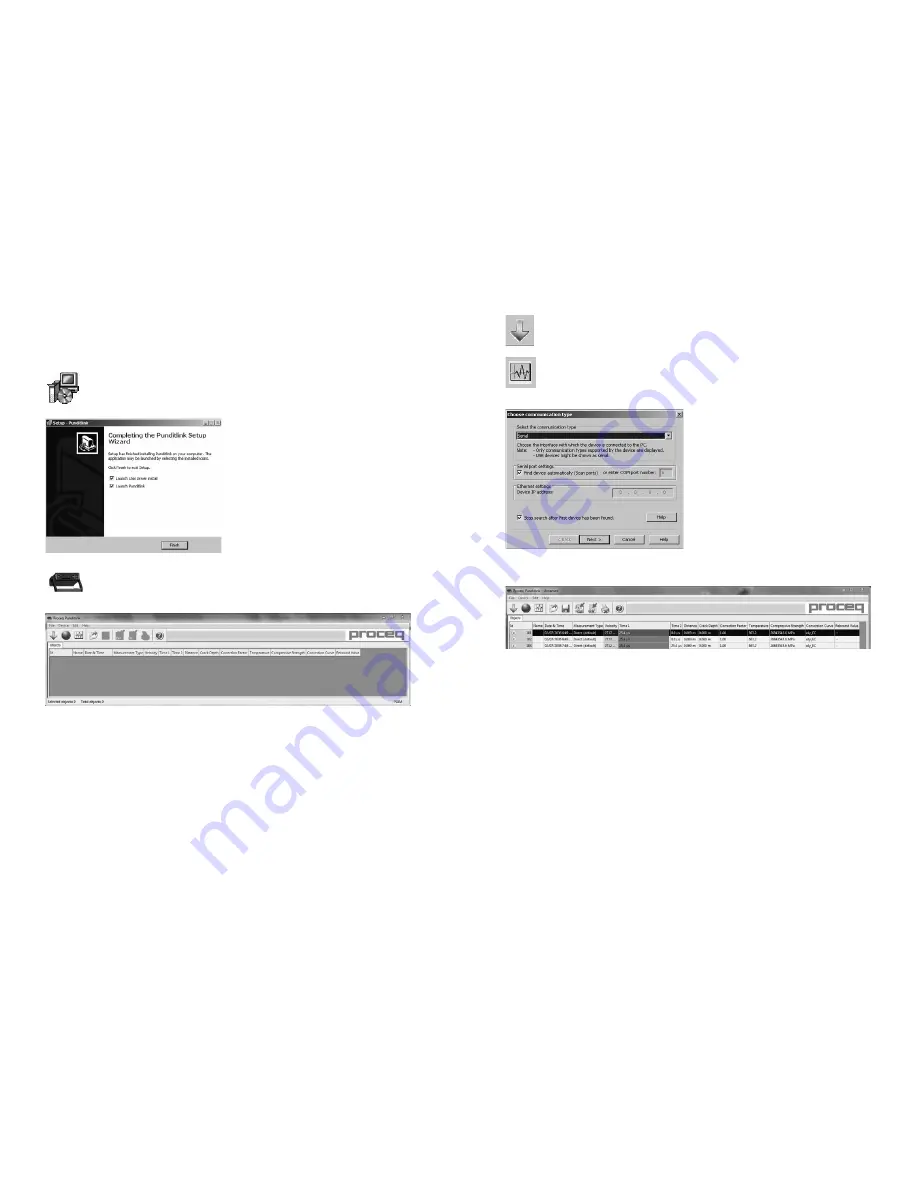
Make sure that the “Launch USB Driver in-
stall” tick is selected.
The USB driver installs a virtual com port
which is needed to communicate with the
Pundit.
Double click on the Pundit Link Icon on your desktop or start the Pundit Link via the
start menu.
The Pundit link starts with a blank list.
Application settings
The menu item “File – Application settings” allows the user to select the language and the date
and time format to be used.
Connecting to a Pundit
Connect the Pundit to a USB port, then select one of the following options:
To download all data from the Pundit.
To begin the “Live view” mode for remote controlled measurements and waveform
analysis.
In both cases the following window will be displayed:
Leave the settings as default or if you know the
COM port you can enter it manually.
Click on “Next >”
When a Pundit has been found its details will
be displayed on screen. Click on the “Finish”
button to establish the connection.
9.2. Viewing the Data
The data stored on your Pundit will be displayed on the screen:
• An “Id” number identifies the measurement object.
• The “Name” column allows the user to assign a name for the measurement object.
• The “Date and time”. For Pundit Lab this is the time when the data is downloaded on to
the PC, or in “Live view” mode, the date and time when the measurement was made. For
Pundit Lab
+
it is the date and time when the measurement was made.
• The “Measurement type” indicates either “direct” or one of the compound measurement
types.
• The “Velocity” column displays the measured pulse velocity or the setting for path length
measurements.
• “Time 1” and “Time 2” displays the measured transmission time or times for compound
measurements.
• The “Distance” column shows the measured distance or the setting for pulse velocity
measurements.
• The “Crack Depth” shows the measured crack depth.
• The “Correction Factor” shows the setting of the correction factor.
• For Pundit Lab
+
only: The “Compressive Strength” shows the calculated value based on
the chosen “Conversion Curve”.
• For Pundit Lab
+
only: The “Rebound Value” is the value entered (SONREB method only)


