


62
Operating Manual
TX300
S3
Controls and Displays
Starting Up and Operation
Controls
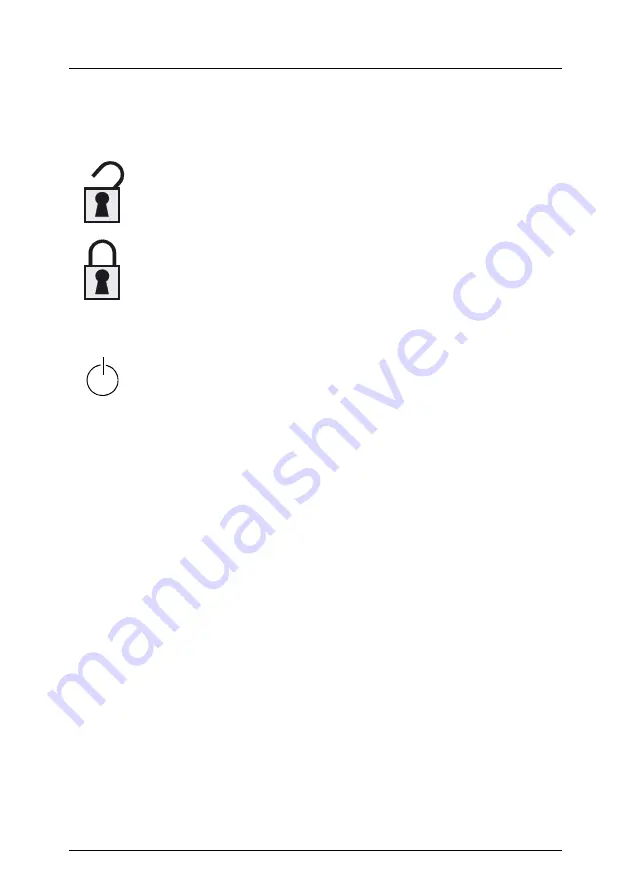
Lock
The server can be locked to prevent access to the drives.
Lock open: drives can be accessed.
Lock closed: drives cannot be accessed
ON/OFF button
When the system is switched OFF, it can be switched ON again by
pressing the ON/OFF button. When the system is operating,
pressing the ON/OFF button will switch OFF the system.
I
The ON/OFF button does not disconnect the server from
the mains. To completely disconnect it from the mains
voltage, remove the power plug(s) from the socket(s).
NMI
NMI button
V
CAUTION!
Do not press! Risk of loss of data!
The NMI button may only be used by Service.
RST
Reset button
Pressing the reset button reboots the system.
V
CAUTION!
Risk of loss of data!
ID
ID button
Lights up (blue) on the front and on the rear of the server when the
ID button is pressed. The two ID indicators are synchronized.
Содержание TX300 S3
Страница 1: ...PRIMERGY TX300 S3 Server Operating Manual Edition December 2006...
Страница 76: ......
Страница 86: ......
Страница 108: ......
Страница 124: ......


