P r i m a L u c e L a b S . p . A .
E A G L E L E U s e r M a n u a l
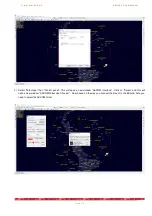
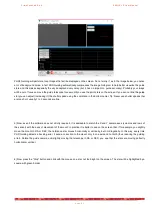
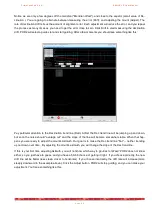
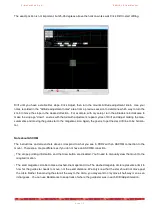
PHD2 Guiding will perform a loop images that will be displayed on the screen. Do not worry if, as in the image below, you notice
a lot of background noise: in fact PHD Guiding automatically compresses the image histogram to help better visualize the guide
stars and this makes especially the sky background very noisy (but it has no impact on guide accuracy). Probably your image
will be out of focus so move the guide telescope focuser until you see the point stars on the screen. If you can not find the guide
star you can adjust (increasing it) the shutter speed using the command in the bottom center. Tip: Never use shutter speeds that
are too short, usually 1 to 2 seconds are fine.
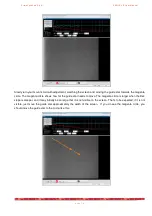
5) Now, even if the software does not strictly require it, it is advisable to match the X and Y camera axes (columns and rows of
the sensor) with the axes of movement of the mount: in practice it is better to see on the screen that, if for example, you slightly
move the mount in RA or DEC, the reference star moves horizontally or vertically, but not diagonally. In this way, every time
PHD Guiding detects a tracking error, it send a correction to the mount only in one axis and not both (thus reducing the guiding
error). Rotate the guide camera until slightly moving the telescope in RA or DEC, you see that the stars are moving perfectly
horizontal or vertical.
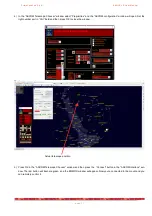
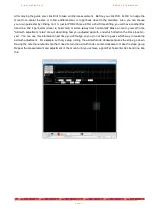
6) Now press the "Stop" button and click with the mouse on a star not too bright on the screen. The star will be highlighted by a
square with green border.
p a g e 6 3


