PD6830X Explosion-Proof Modbus Scanners
Instruction Manual
49
Operation
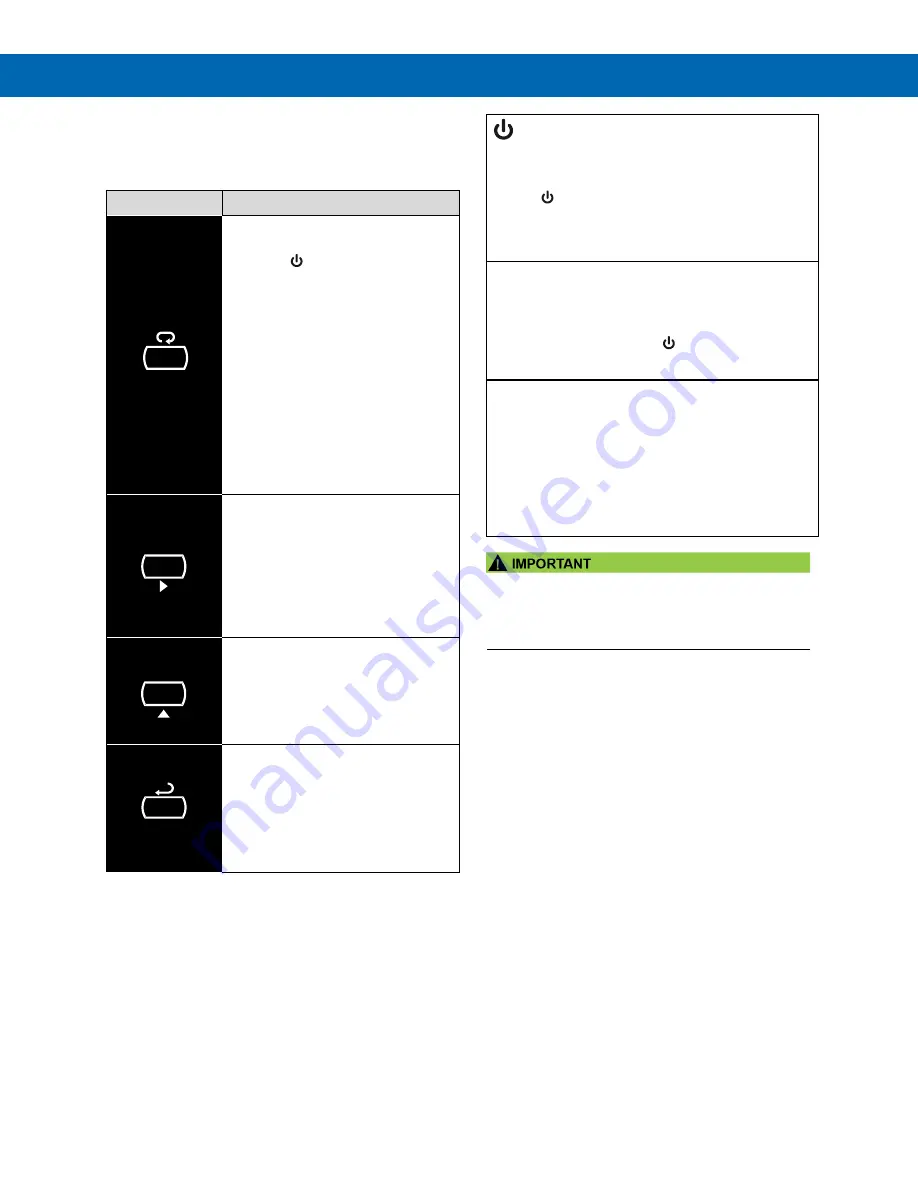
Front Panel Buttons Operation
Symbol
Description
Hold the
Menu
SafeTouch button
when in power save mode (display
will show ) to awaken SafeTouch
buttons.
Press the
Menu
button to enter
Programming Mode.
Press the
Menu
button during
Programming Mode to return to the
previous menu selections.
Hold the
Menu
button for 1.5
seconds at any time to exit
Programming Mode and return to
Run mode.
Press and
hold
the Menu button for
3 seconds to access the Advanced
features menu.
Press Previous
to
manually display
the previous PV or input display.
Press the Right arrow button in
programming mode to move to the
next digit or decimal position.
Press
the
Right arrow button in
programming mode to go backward
through most selection menus.
Press Next
to
manually display the
next PV or input display.
Press the Up arrow button in
programming mode to scroll forward
through the menus, decimal point, or
to increment the value of a digit
Press Scan
to
pause automatic
scanning.
Press Scan to resume automatic
scanning when paused.
Press the
Enter
button in
programming mode to access a
menu or to accept a setting.
Note: The following SafeTouch button information is
reprinted from SafeTouch Button Operation on page 15.
SafeTouch Button Operation
To actuate a button, press and remove one finger to
the glass directly over the marked button area. Re-
move finger to at least 4 inches away from the glass
in between button activations. SafeTouch and me-
chanical buttons may be held to cycle through menus
or digits in place of repeatedly pushing a button.
SafeTouch Power Save Mode
(
Symbol shown on -2 decimal models only
)
SafeTouch buttons enter a power saving mode after three
minutes of inactivity. This mode is indicated by a power
symbol ( ) appearing in the lower right of the display.
Only the
MENU
button is monitored in this mode. To acti-
vate the SafeTouch buttons, press and hold the menu but-
ton for up to five seconds. The display will read
AWAKE
, and
the Safe Touch buttons will be fully enabled.
SafeTouch Disabled Mode
When the cover is removed, the four mechanical buttons
located next to the sensors may be used. The sensors are
disabled when a mechanical button is pressed and will
automatically be re-enabled after 60 seconds of inactivity.
The SafeTouch power symbol ( ) will blink in the lower
right of the display if the buttons are disabled due to a me-
chanical pushbutton being pressed.
SafeTouch Button Equalize Delay
The SafeTouch buttons are designed to constantly recali-
brate for ambient conditions. When the cover position is
changed, the cover is removed, or an object is removed
that was placed over the front window, it may take a mo-
ment for the SafeTouch buttons to recalibrate to the
change in conditions.
Allow up to 2 minutes for the SafeTouch buttons to
recalibrate to new conditions in these cases where the
cover position was changed, or the front window is
being unblocked.
•
SafeTouch will not work if two or more buttons are
detected as being pressed simultaneously. Be careful
to avoid triggering multiple buttons or reaching across
one button location to press another.
SafeTouch Button Tips and Troubleshooting
The SafeTouch Buttons are designed to filter normal
levels of ambient interference and to protect against
false triggering, however it is recommended that the
Safe Touch
Buttons be turned off (slide THRU-GLASS
BUTTONS switch to OFF) if there is an infrared inter-
ference source in line-of-sight to the display or if the
buttons are not needed.
SafeTouch Button Tips:
•
To the extent possible, install the display
facing away from sunlight, windows,
reflective objects, and any sources of
infrared interference.
•
Keep the glass window clean.
•
Tighten the cover securely.
•
Use a password to prevent tampering.
•
If the cover has not been installed and
secured tightly, it may take a moment for the
SafeTouch buttons to properly self-calibrate
when the cover is tightened.
•
After all connections have been completed
and verified, connect the ribbon cable to the
display module, fasten the display module to
the base, install enclosure cover, and then
apply power.
MENU
SCAN
NEXT
PREV


