Stage5 Installation Guide
4
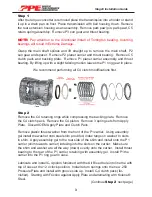
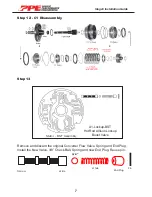
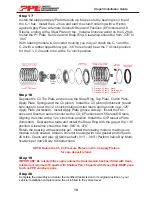
We recommend soaking Frictions in ATF for a 30 minutes prior to installation.
When installing Frictions and Steels, align the slots in each plate with holes in
Apply Plate at the 12 o’clock position. Install 6 Frictions and 5 Steels. Install and
compress the C-4 backing plate, install Spiral Ring and then the Snap Ring. Po
-
sition gap in Snap Ring should be at the 1:30 position, aligning with a wide gap in
the case. Clearance should be from .060” to .075”.
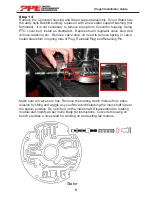
Reassemble the rear section, be sure to align the slot in Sun Gear Spacer with
lube hole in Shaft Shoulder, when installing extension housing. The housing
will be spring loaded for the last ½” above case. GENTLY pull down evenly with
speed handle until flush. Torque to 45 ft.lbs.
Step 2 (Continued)
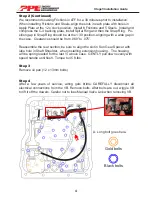
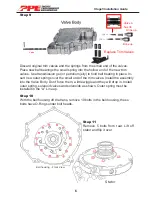
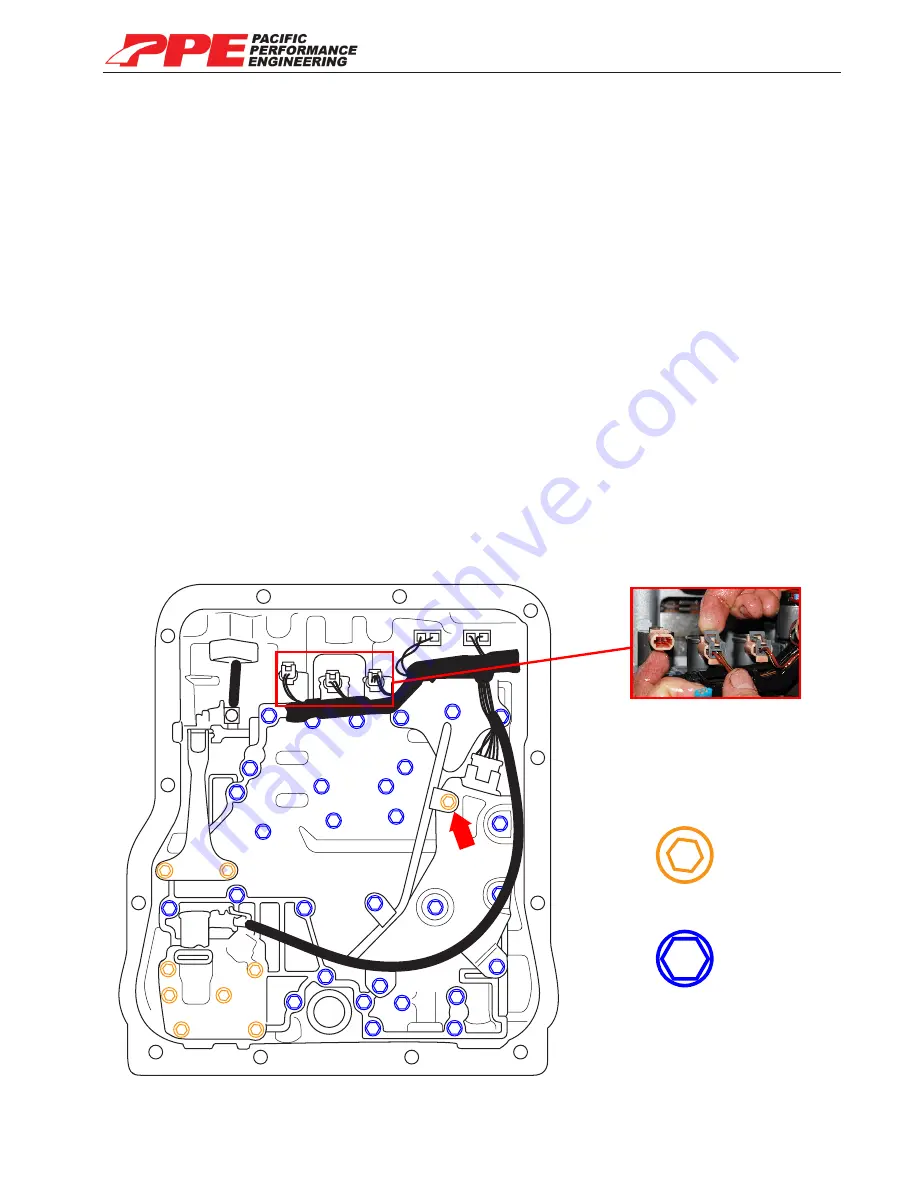
After a few years of service, wiring gets brittle. CAREFULLY disconnect all
electrical connections from the VB. Remove bolts. After bolts are out, wiggle VB
to lift it off the dowels. Careful not to lose Manual Valve Link when removing VB.
Step 4
A
Gold bolts
Black bolts
A. Long bolt goes here.
Remove oil pan (12 x 13mm bolts)
Step 3
Содержание Stage 4
Страница 13: ...Stage5 Installation Guide 13...
Страница 15: ...Stage5 Installation Guide 15 Notes...

