4
o
Button 3: Start exclusion of a Z-Wave device (Consult the manual of the new device how to start the
exclusion process.)*
o
Button 4: Start handover of primary controller role to different controller
o
Button 4 for 5 seconds: Reset to factory defaults
•
Pushing Button 4: Here you can assign wireless actuators to the button control group A (left pair) or group B
(right pair):
o
Once you clicked button 4 select the button pair you wish the new device being controlled (group A: either
button 1 or button 3; group B: either button 2 or button 4). Then issue a Node Information Frame of the
device you have already included and you want to control with the selected button group.
* Removing a device from the network means that it is turned back into factory default status. This process can also
exclude devices from its previous network.
Attention: For convenience reasons some special short cut apply IF and only IF the KFOB is the primary controller
of the network: The first device included into a button group will define the commands sent out by this group
regardless of the default value of the configuration parameters 11-14. If the device is a door lock the button group will
turn into door lock control (value=7). For dimmers and motor controls the value changes into Multilevel Switch Control
(value=1). All other devices will turn the button group into Basic Control (value=2). All configuration values can be
changed if needed.
Shift primary role to a different controller
The device can hand over its primary role to another controller and become secondary controller. Turn into
management mode by pressing all four buttons for 1 second. The green LED will start blinking slowly. Now hit button 3
to activate the primary controller functions. The green LED will blink faster. Now hit button 4 to turn the controller into
primary shift mode. Consult the manual of the new device how to start the primary shift process for the new primary
controller.
Advanced Configuration for Advanced Users
The function of the KFOB can be further enhanced by changing configuration options: Using the configuration
parameters 1 and 2 you can change the number of control groups for direct control of actuators (e.g. adapter plug or
lamp). Please refer to the description of the configuration parameters for details.
The configuration parameters 11…14 allow changing commands the controller will send out on button press. With this
it’s possible e.g. to issue scene trigger when in primary mode or direct control of device when in secondary mode.
Furthermore the value 5 on the parameters allows changing the device into a configuration where it supports old
legacy gateway not able to handle the Central Scene Triggering Commands yet.
Note: If you fear you got lost in changing configuration parameters just perform a reset to factory default.
Button Modes
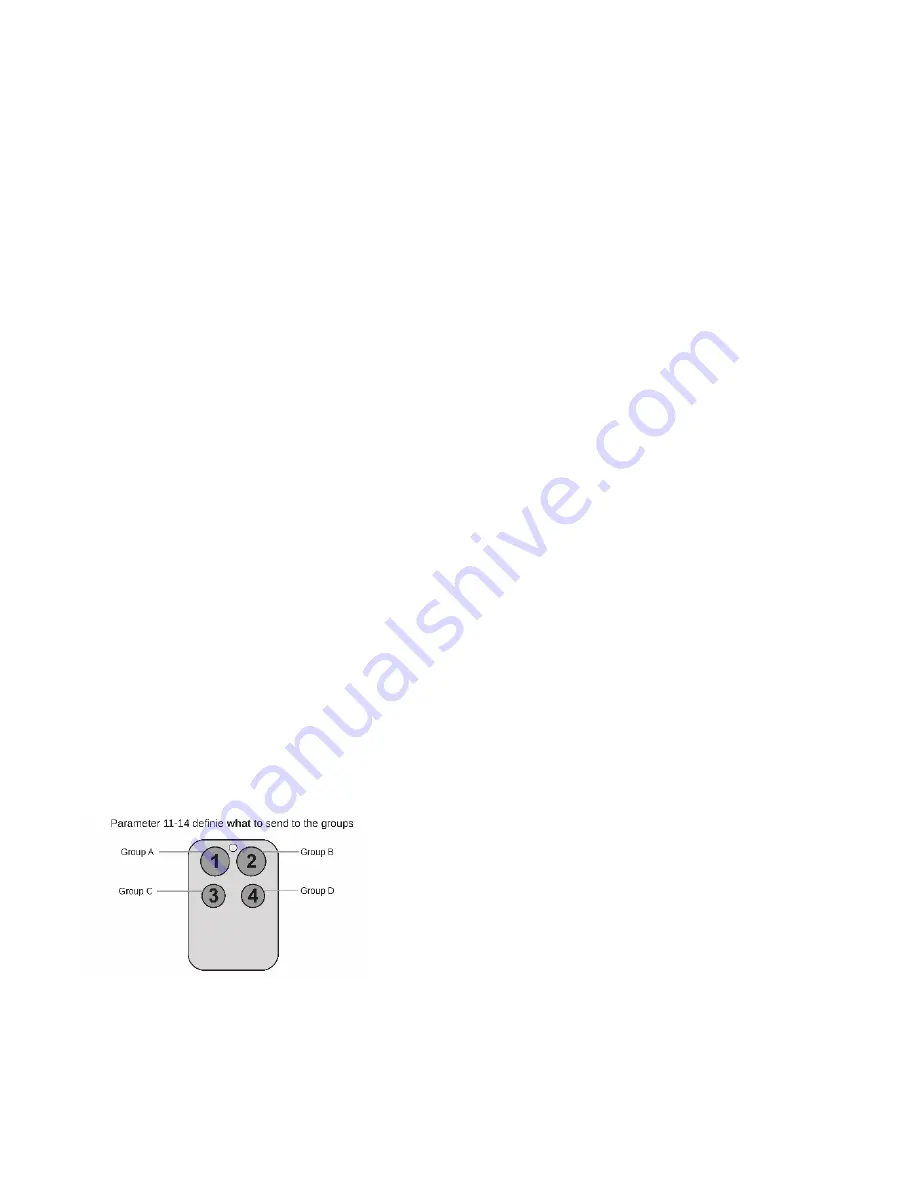
4 Groups are controlled with single button (parameter 1/2 = 0)
The four buttons 1-4 control one single control group each:
1→A, 2→B,
3→C, 4→D. Single click turns devices in the
control group on, double
click turns them off. Click and hold can be used for dimming.
Содержание KFOB-C
Страница 1: ...1 KFOB C Remote Control Manual 009204...


