Frameless Flow
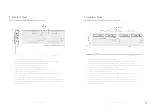
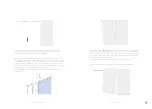
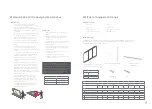
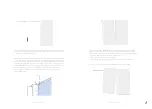
1830 Vertical Wall Bracket Positioning
1.
Define the centerline of the Frameless Flow installation
2.
Define the centerline of panel A and panel C. This will be the centerline of the brackets.
If uneven panels: from center of wall left and right 1185 mm (46-5/8").
If even panel: from center of wall left and right 592.5 mm (23-5/16").
3.
Define the top of the wall to install from the ground level.
4.
Measure 220 mm (8-11/16") down from top of predefined top of wall.
This mark is the bottom of the top wall bracket
5.
Measure 1515 mm (59-5/8") down from the first horizontal wall bracket to define the position
of the second bracket.
6.
Use the predrilled holes of the wall bracket as a template to mark all the holes.
Pre-drill 6,5 mm (1/4") hole in the drywall. Insert all anchors into the holes and screw them flush.
Fix all the brackets. Make sure the top brackets are perfectly aligned, leveled and fixed firmly.
Repeat for all the brackets.
Frontview
Frameless Flow
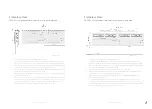
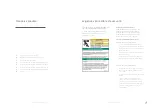
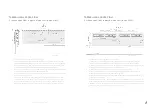
2420 Vertical Wall Bracket Positioning
1.
Define the centerline of the Frameless Flow installation
2.
Define the centerline of panel A and panel C. This will be the centerline of the brackets.
If uneven panels: from center of wall left and right 1185 mm (46-5/8").
If even panel: from center of wall left and right 592,5 mm (23-5/16")
3.
Define the top of the wall to install from the ground level.
4.
Measure 220 mm (8-11/16") down from top of predefined top of wall.
This mark is the bottom of the top wall bracket
5.
Measure 1065 mm (41-15/16") down from the first horizontal wall bracket to define the position
of the second and 2105 mm down to the third.
6.
Use the predrilled holes of the wall bracket as a template to mark all the holes.
Pre-drill 6,5 mm (1/4") hole in the drywall. Insert all anchors into the holes and screw them flush.
Fix all the brackets. Make sure the top brackets are perfectly aligned, leveled and fixed firmly.
Repeat for all the brackets.
Frontview
Doc # 143200 | Rev A | Page 7 of 38
Doc # 143200 | Rev A | Page 6 of 38


