background image

13

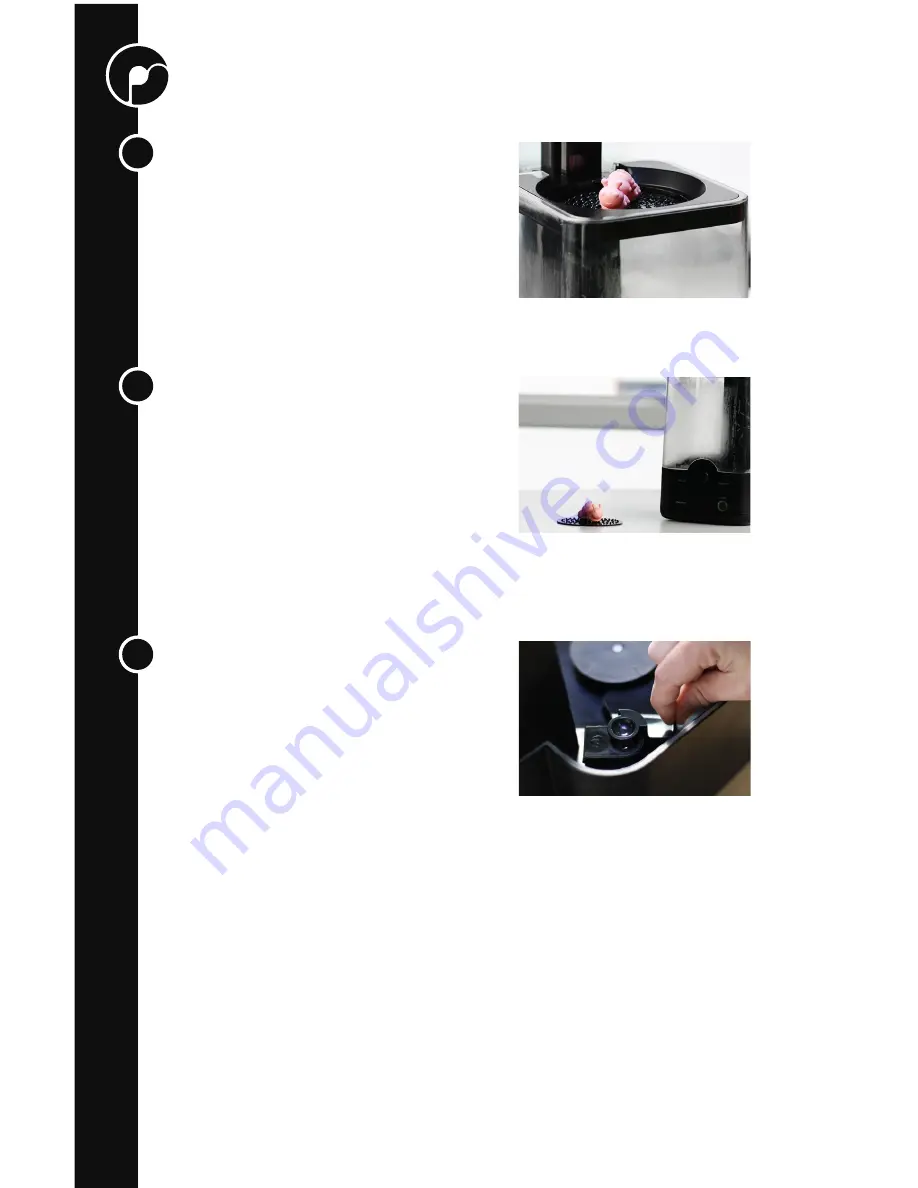
Open the chamber

Once the clearing cycle has completed, you 

can press the Open/Close button to raise the 

lift mechanism and your smoothed part. 

Install the Reservoir Cover

If you do not plan to use your Polysher again 

in the near future, we recommend exchanging 

the grate cover with the solid cover to inhibit 

solvent evaporation, avoid vapor buildup 

in the chamber, and prevent the nebulizer 

sponge from drying out. If the nebulizer is left 

uncovered for several days, the sponge may 

dry out and require re-priming.

Dry the part

You can now remove the platform from the 

Polysher

TM

.  Do not touch the part yet as the 

surface may be sticky and you may leave 

finger marks on the part. The part should be 

left to dry for about an hour before gentle 

handling. You can use the other platform to 

polish another part, if needed.  

4

5

6

Содержание Polysher

Страница 1: ...1 OPEN CLOSE CHAMBER LIGHTS ON OFF Polysher PolysherTM Operation Manual ...

Страница 2: ...中文说明书请访问 For other languages visit Pour les autres langues visitez Für andere Sprachen Besuch www polysher polymaker com ...

Страница 3: ...nformation on Disposal for Users of Waste Electrical Electronic Equipment Package Contents Essential Parts of the PolysherTM Setting up your PolysherTM Operating your PolysherTM Maintenance and Troubleshooting Contact Information CONTENTS 4 5 6 6 7 8 10 12 14 15 ...

Страница 4: ... based 3D printer The support structure comes off very easily as well making it ideal for complex geometries The real magic occurs when you put your PolySmoothTM prints into the PolysherTM With Polymaker s unique Micro Droplet Polishing technology the layer lines will magically disappear leaving you with a truly finished object with shiny smooth surfaces But this is just the beginning We will keep...

Страница 5: ...vice immediately and show the container or the label Do not block any ventilation openings Only use attachments accessories specified by the manufacturer Refer all servicing to qualified service personnel For Use Only with the supplied Power Supply or equivalent power supply acceptable to the manufacturer If you have any question regarding the safety of the PolysherTM please contact inquiry polyma...

Страница 6: ...local authority for further details of your nearest designated collection point Penalties may be applicable for incorrect disposal of this waste in accordance with your national legislation SPECIFICATIONS Technology Compatible Material Polishing Liquid Polishing Time Product Dimensions Shipping Box Dimensions Product Weight Shipping Weight Maximum Part Size Operating Temperature Storage Temperatur...

Страница 7: ...d contain the following PACKAGE CONTENTS OPEN CLOSE CHAMBER LIGHTS ON OFF Polysher PolysherTM x1 Power Supply x1 Nebulizers x2 Priming pipette x1 Suction pipette x1 Grate style reservoir cover x1 Solid reservoir cover x1 Platforms x2 ...

Страница 8: ...er is for use during storage to minimize alcohol evaporation Turn Table Platform Holds your PolySmoothTM part during polishing Turn Table rises up with platform to give access to polished parts To remove the platform use the handles on either side Chamber Lights Press once to turn on the chamber lighting Press again to turn off the chamber lighting Chamber lights take 1 2 seconds to fully dim pres...

Страница 9: ...OPEN CLOSE CHAMBER LIGHTS ON OFF 5 6 7 12 3 2 4 8 9 1 13 10 11 ...

Страница 10: ...nd the blue ring around the On Off button should illuminate Open the PolysherTM Press the Open Close button The lift mechanism should rise to its fully open position and stop Install the Nebulizer Install a Nebulizer by firmly pressing it down into the socket Make sure the connection is satisfactory Fill the Reservoir Lifting up the transparent casing with one hand and use the suction pipette with...

Страница 11: ...time the top portion of the sponge will be dry and the nebulizer will not operate It is necessary to first prime the sponge by dribbling 5 10 drops of alcohol directly onto the nebulizer itself using the priming pipette The solvent will flow through the nebulizer s micromachined pores and into the sponge Install the Reservoir Cover Place the grate cover over the reservoir Install the Platform Set ...

Страница 12: ...hting can also be adjusted by pressing the control knob and then rotating it until you see the desired color Press the OPEN CLOSE button The lift mechanism will lower the part into the chamber and seal the top of the chamber The Chamber Seal warning light should turn off when the lift mechanism reaches its lower closed position If it doesn t check to see that the casing is properly seated You can ...

Страница 13: ...it solvent evaporation avoid vapor buildup in the chamber and prevent the nebulizer sponge from drying out If the nebulizer is left uncovered for several days the sponge may dry out and require re priming Dry the part You can now remove the platform from the PolysherTM Do not touch the part yet as the surface may be sticky and you may leave finger marks on the part The part should be left to dry f...

Страница 14: ...rovided for removing alcohol from the reservoir Avoid any heat source open flames or sparks when draining the reservoir The alcohol unless contaminated can be repeatedly used for polishing Removing the casing The Polysher can be operated without the need to remove the casing However if it is needed to fully remove the casing follow the instructions below Raise the platform to the upmost position L...

Страница 15: ...hanghai 200120 China E mail inquiry polymaker com facebook com Polymaker 3D Visit polymaker com and follow us on our social media channels for product updates videos tutorials and more twitter com Polymaker_3D youtube com Polymaker instagram com Polymaker_3D pinterest com Polymaker thingiverse com Polymaker_3D facebook com groups Polymaker T ...

Страница 16: ...www polymaker com www polymaker com ...

Отзывы: