background image

4. At this point, the first two digits (representing

the hours) will be flashing.

 Set the correct hour by moving up with the

SELECT 

button or down with the

SIGNAL   button.

6. 

When the correct hour is displayed, press the

STORE/RECALL button to lock in your selection.

7. The first minutes digit should now be flashing.

__

Again use the SELECT   button to move up or
the SIGNAL   button to move down.

8. 

When the correct number is displayed, press

the STORE/RECALL button to lock in your
selection.

 The next minutes digit should now be flashing.

Again use the SELECT   button to move up or
the SIGNAL   button to move down.

10. 

When the number you want is displayed,

press the STORE/RECALL button to lock in your

selection.

 The two digits representing seconds will now

be flashing. To set them precisely, listen for a
radio or telephone timing tone or watch the sweep
hand of your clock; when it reaches 12 or you hear

the tone, press the STORE/RECALL button. You’ll

see the seconds start counting.

12. At this point, the AM/PM indicator will begin

flashing again. Now, you can move to the next

function, which is setting the alarm. If you wish to

change anything you’ve just set, begin again at
Step 1.

Step-by-step instructions for

setting the alarm

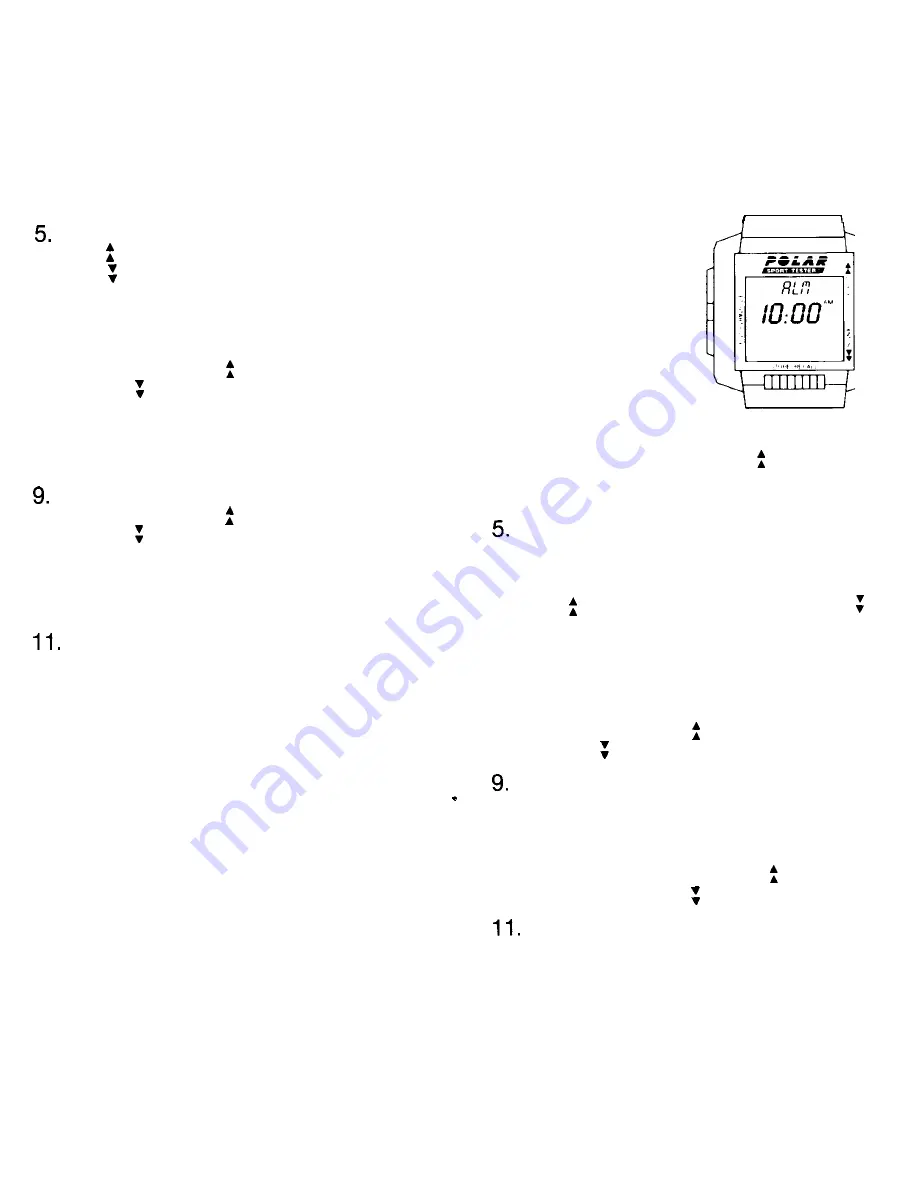
1. 

Once you have set

the time, press the SET

button. If first time,
the letters ALM and
the time, 10:00 AM, will
appear on the display,

as shown.

2. The AM indicator

shoud now be flashing.

3. At this point, select AM or PM as you did
above, by pressing the SELECT   button.

4. Press STORE/RECALL to lock in your choice.

 At this point, the two first digits, representing

the hours, will be flashing.

6. 

Set the correct hour by moving up with the

SELECT 

button or down with the SIGNAL 

button.

7. When the correct hour is displayed, press the

STORE/RECALL button to lock in your selection.

8. 

The first minutes digit should now be flashing.

again, use the SELECT   button to move up, or
the SIGNAL 

button to move down.

 When the correct number is displayed, press

the SORE/RECALL button to lock in your
selection.

10. 

The next minutes digit should now be

flashing. Again, use the SELECT   button to
move up or the SIGNAL   button to move down.

 When the correct number is displayed, press

the STORE/RECALL button to lock in your choice.

12

13

Содержание SPORT TESTERT

Страница 1: ...A T E M O N I T O R S POLAR ELECTRO OY Professorintie 5 FIN 90440 Kempele Finland Tel 358 81 5202100 Telefax 358 81 5202300 m r Am rwr Irm S P O R T TESTERTM Heart Rate Monitor User s Instruction Man...

Страница 2: ...written permlssion of POLAR You have just purchased the essential equipment for scientific training based on today s most advanced athletic concepts the Polar Sport Tester Heart Rate Monitor Now with...

Страница 3: ...alysis l Record up to 8 different training sessions Record up to 33 hours of training information If you are a coach or trainer you will have more control than ever over your team s progress This owne...

Страница 4: ...ch the POLAR Transmitter onto the elastic belt 2 Adjust the belt length so that the fit is snug but not too tight 3 With the Transmitter facing outward and the POLAR logo in the right position insert...

Страница 5: ...iples in mind Principle I Two levels of operations are available to you when you want to program your Sport Tester for workouts a Four basic selections b Various functions within each selection Princi...

Страница 6: ...a road map for basic Sport Tester programming TIME What the selection does Allows you to set the watch to the correct time and to set an alarm Why you might use this selection To set the correct time...

Страница 7: ...will begin flashing again Now you can move to the next function which is setting the alarm If you wish to change anything you ve just set begin again at Step 1 Step by step instructions for setting th...

Страница 8: ...rs to track your workout periods and to choose two sets of different heart rate target zones Why you might use this selection The two timers allow you to segment your exercise periods Example 1 Warm U...

Страница 9: ...imer 2 simply press the SET button Note If Timer 2 is programmed to OO OO it is inactive 16 Step by step instructions for setting limits 1 The phrase LIM 1 will now appear and the upper position heart...

Страница 10: ...n be recorded during exercise for playback in the Recall selection at intervals of 5 15 or 60 seconds If you select 60 seconds you will have more hours of memory for recording since more memory capaci...

Страница 11: ...n line each time you press the SIGNAL button So if the number 8 is displayed representing the next file you ll record into the first file you ll remove by pressing the SIGNAL button is the previously...

Страница 12: ...nterval that will be displayed as well and successive use of the STORE RECALL button will show your heart rate at each interval any intermediate or lap times you marked designated by letters INT for i...

Страница 13: ...t rate will be shown on the bottom line of the display 5 If you hear a beeping sound and it occurs easily it menas that you are exercising above or below your target zone Limit 1 or Limit 2 is display...

Страница 14: ...glass and case which may impair the optimum water resistance characteristics This is particularly important if you are using your POLAR Wrist Monitor for swimming It is also important to be careful no...

Страница 15: ...ome trapped Put it in its store case and leave it in a warm and dry place l The Polar Sport Tester Wrist Monitor picks up transmitter signals within 90 to 110 cm Therefore when you are using your Wris...

Страница 16: ...n the correct position Check that the electrode strips are thoroughly moistened The Transmitter will not function properly without moisture to make good electrical contact Accumulated sweat and dirt c...

Страница 17: ...mitter for use with disposable electrodes l Heart Rate Monitoring Book by Sally Edwards l Training Lactate Heart Rate book by Dr Peter G J M Janssen Transmitter Operating temperature 10 to 50 C 14 to...

Отзывы: