Section 4. Running Audio Capture 2000
Plextor Manager 2000 User’s Manual
29
6. In the Track Selection Window, click on a track to select it. You can double-click
any track to start capture; or you can click it once, then click the Capture Track(s)
button to start capture. You can use the Ctrl and Shift keys to select multiple
tracks, as detailed on page 30.
When a single track is selected you can specify the destination location and
filename for saving the track. If you are connected to the CDDB database, or if
information for your disc was already obtained, the default filename will be
“song name.wav.” If you prefer, you can give the file a different name before
starting the capture.
7. Click the Capture Tracks button. You see a dialog box letting you browse for a
folder to hold the captured tracks.
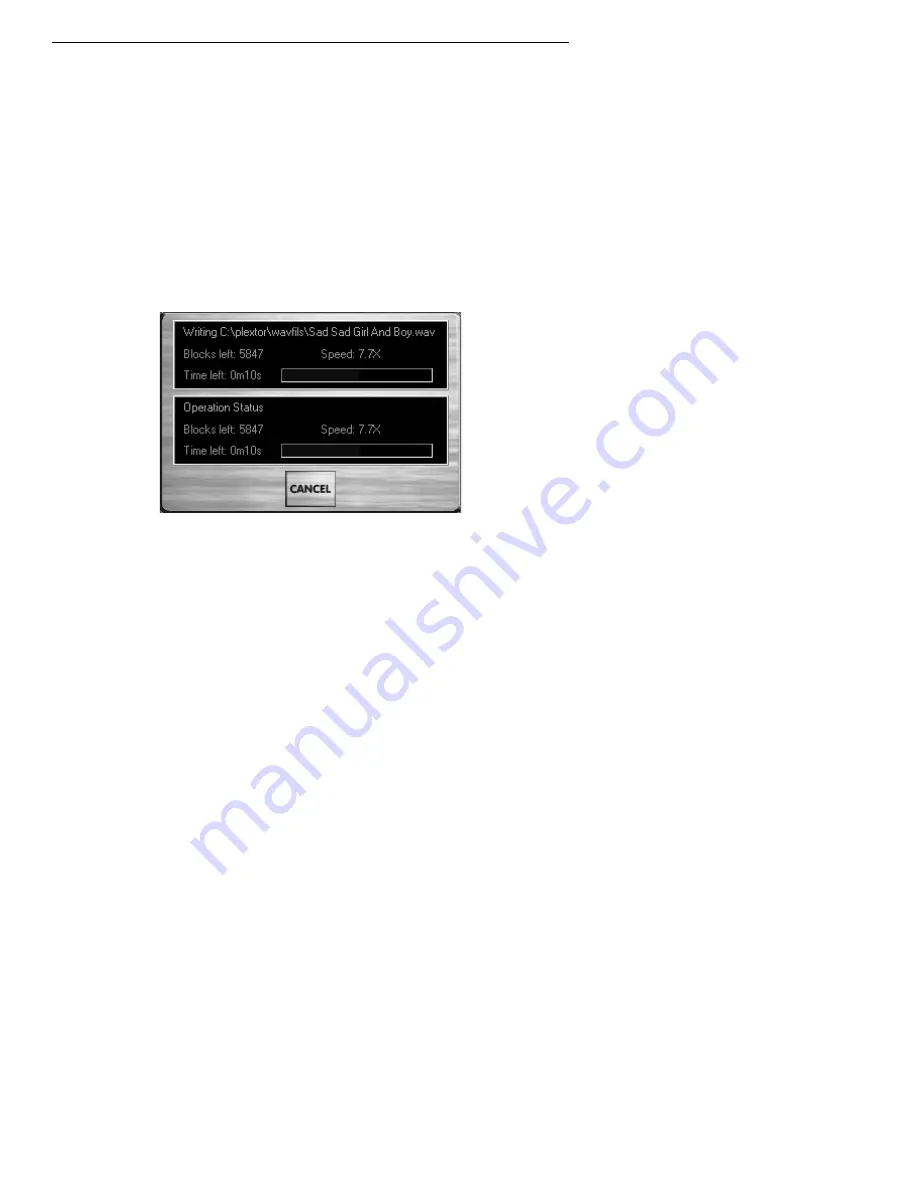
8. Click OK to capture the tracks. While the capture is occurring, you see a window
showing the capture status.
Figure 9: Display Keeps You Aware of Capture Status
NOTE: When using a Plextor drive as a reader in Audio Capture 2000, the default
maximum read speed will be same as specified in Drive Properties | Settings | Read
Speed. For best performance in Audio Capture 2000, ensure that maximum read
speed is specified. For more details, see “Choosing Drive Speed” on page 46.
Содержание PlextorManager 2000
Страница 2: ...ii Plextor Manager 2000 User s Manual This page intentionally left blank...
Страница 6: ...vi Plextor Manager 2000 User s Manual This page intentionally left blank...
Страница 32: ...Section 3 Running MVP 2000 26 Plextor Manager 2000 User s Manual This page intentionally left blank...
Страница 40: ...Section 4 Running Audio Capture 2000 34 Plextor Manager 2000 User s Manual This page intentionally left blank...
Страница 48: ...Section 5 Running DiscDupe 2000 42 Plextor Manager 2000 User s Manual This page intentionally left blank...
Страница 72: ...Notes 66 Plextor Manager 2000 User s Manual This page intentionally left blank...


