background image

m. Eraser button

This button enebles you to erase writing or drawing in case you make mistakes. The left button is
for erasing only the parts you want to erase. The right button is used to clear everything.

n. Line button

This button enables you to draw a straight line. Left click your mouse and hold it down, then drag
it to the point you want to draw a line.

o. Circle button

Left click your mouse and hold it down, then drag it until you make the circle the size you want.

p. Rectangle button

Left click your mouse and hold it down, the drag it until you make the right  size of rectangle.

q. Arrow button

Click this button and hold the mouse left button, then drag it to the point where you want to draw
the arrow.

r. Wave line button

This button is to underline or highlight your notes. Drag it as much as you want to draw wave
line.

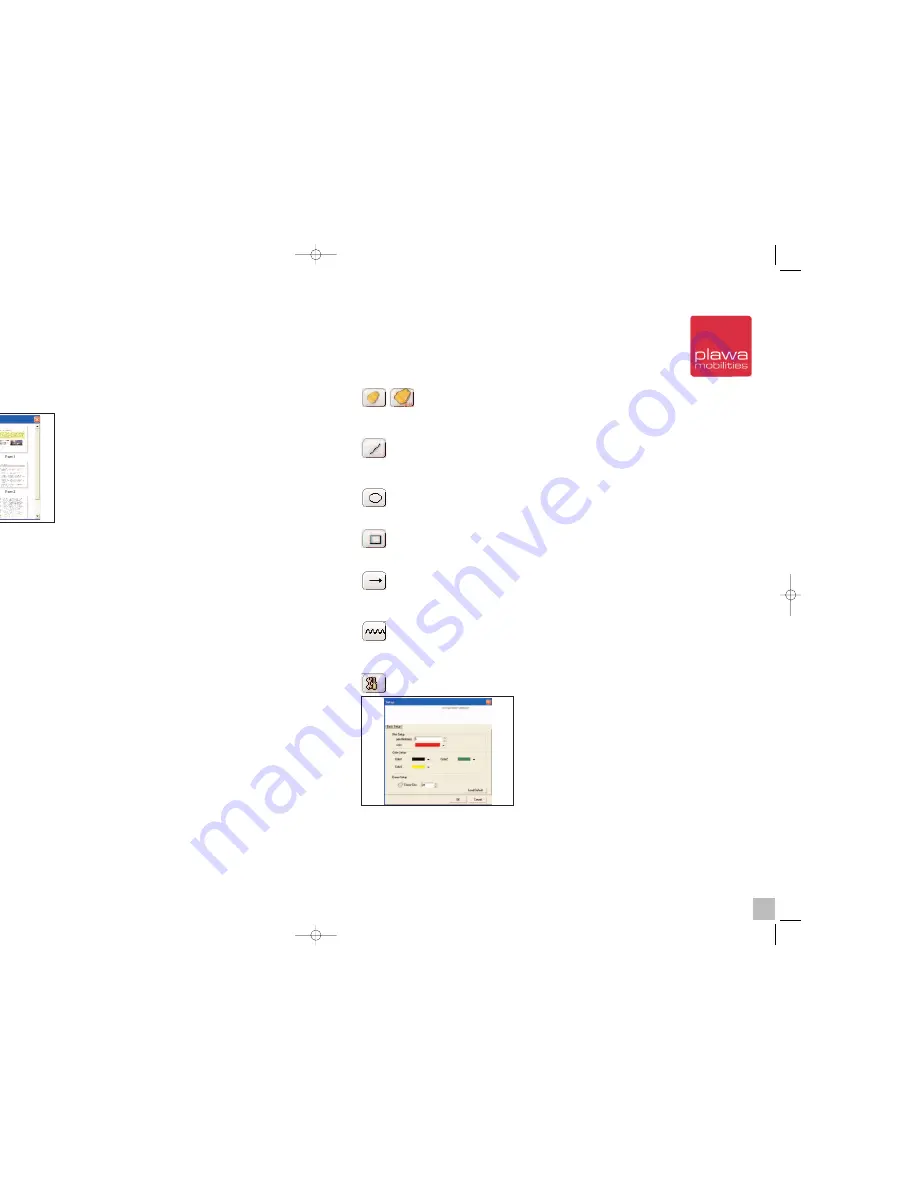
s. property setting button

You can change the pen default colour, pen 
diameter, or 3 basic colours to your favourite
choice. You can also adjust the eraser tool 
and colour size. If you click ‘Load Default’, 
everything changes to the original setting.

f. Import documents button

This button imports other documents
(*ppt,*doc,*xls, etc…) into the slide list.

g. Pen button

This button enables you to write or draw lines after you capture a screen. Your cursor changes
into a regular pencil shape.

h. Highlight Pen button 

This button has a highlight feature and is different from the pencil button. It can be used to high-
light something in a particular spot.

i. Pen diameter button

This button enables you to decide pencil/highlighter line thickness when you draw.

j. Pen colour button

This is the colour preference button. You can choose your favourite colour and change your pen
colour accordingly. (In System Properties, you can use all colours supported by Windows).

k. Help button  

This Button opens a program guide “Using Finger Note

TM

”  

l. Mouse right click menu button

This button works like the right mouse click button such as opening Webster board menu. Once
you click this and click mouse, it works like clicking the right button of your mouse for 5 secs.
After 5 secs, it goes back to normal setting.

36

37

scrivo1_manual_eng_rz_kb2.qxd  06.12.2004  17:40 Uhr  Seite 36

Содержание Scrivo.1

Страница 1: ......

Страница 2: ...ual or the g the equipment or in connection with the performance of the Contents 1 Description page 4 _ Features Shipment Contents page 4 _ Specifications page 4 _ Bundle Software page 5 2 System Requ...

Страница 3: ...ful in presentations Refer to Using Finger NoteTM Practical use in other Software programs _ Paint It allows the user to draw or write in Microsoft Paint in Accessories something which users cannot do...

Страница 4: ...e figure a or if its forepart does not face to the front as shown in the figure b c and d it will not perform correctly Front View Side View a Angle of pen and surface is too low b scrivo 1 is turned...

Страница 5: ...ing Finger NoteTM ognition or Office XP installed they will be able to use their OCR programs ndwriting to text or save it as a picture file Handwritten to text ted if OCR isn t Windows XP and Office...

Страница 6: ...Installation 1 Windows Installer will automatically run when you insert the CD into CD DVD ROM drive If Windows Installer does not run automatically use Windows Explorer to find the Setup exe file on...

Страница 7: ...e with installation without any problems During the process you might receive warnings as shown below However these will not harm your computer in any way You may continue with installation greement c...

Страница 8: ...ceed This process may take place automatically depending on your OS or user setting and you may not have to do it manually If so simply proceed to the next step 4 Setup Wizard will automatically set t...

Страница 9: ...onfiguration is complete you will see the following message Simply click Finish complete you need to configure the Bluetooth connection This pro technology different from previous version such as IR o...

Страница 10: ...back to step 3 try pairing correctly and search again onfiguration double click My Bluetooth Places on the desktop Or in the taskbar to run Explore My Bluetooth Places h after you have completed prev...

Страница 11: ...ows XP service pack2 and the device is installed correctly the Bluetooth icon will be displayed as shown in the next image 3 After installing the Bluetooth device correctly click the Bluetooth icon an...

Страница 12: ...ayed turn on scrivo 1 s power switch and pair it with scrivo 1 s cradle receiver Then click Next will see a new window as shown below Select COM Ports and then click the Add button for adding COM Port...

Страница 13: ...ation 1 Windows Installer will automatically run when you insert the CD into your CD DVD ROM drive If Windows Installer does not run automatically go to Windows Explorer to find the Setup exe file on...

Страница 14: ...ect Start Control Panel New Hardware and detect the new hardware Then install the driver manually Bluetooth Configuration Bluetooth configurations in a Windows 98 ME environment are the same as Window...

Страница 15: ...ode Acceleration can be adjusted by moving the slider Default Middle _ Pen Mode This setting configures acceleration in pen mode Acceleration can be adjusted by moving the slider Default 45 d Software...

Страница 16: ...the best hand position for users When setting simply click Set default key feature has been added to open the scrivo 1 control center and to switch between pen mouse mode The Finger NoteTM utilitiy c...

Страница 17: ...arted scrivo 1 may not operate correct ly If so end the scrivo 1 driver in the System Tray and restart the driver Refer to the figure below Right Mouse Button scrivo 1 s push button located on the fro...

Страница 18: ...to work on the captured image b Windows Mode button This button allows you to go back to the Windows mode from captured screen mode Here you can work on your computer in normal setting c List button T...

Страница 19: ...highlight your notes Drag it as much as you want to draw wave line s property setting button You can change the pen default colour pen diameter or 3 basic colours to your favourite choice You can als...

Страница 20: ...lutions for g y Cause Is your pen cradle s USB cable connected to the USB port Is there a problem with your USB port Does the Bluetooth icon in the system tray not turn from red to white Is the Blueto...

Отзывы: