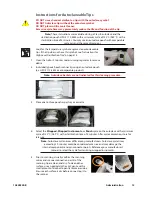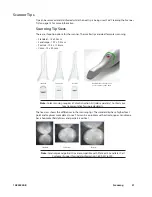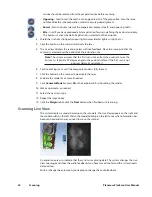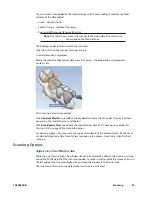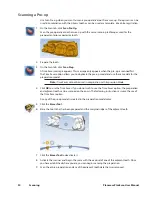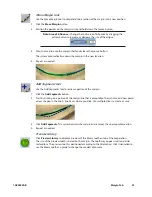
With a couple of additional scans, the example is greatly improved.
4
Click Data Density View again to return to the normal view.
5
Click the Margin tab or click the Next button when finished with scanning.
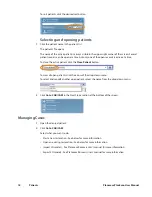
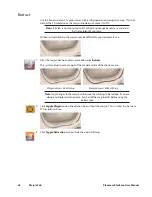
Eraser Tool
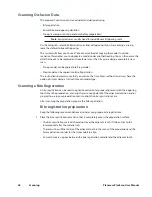
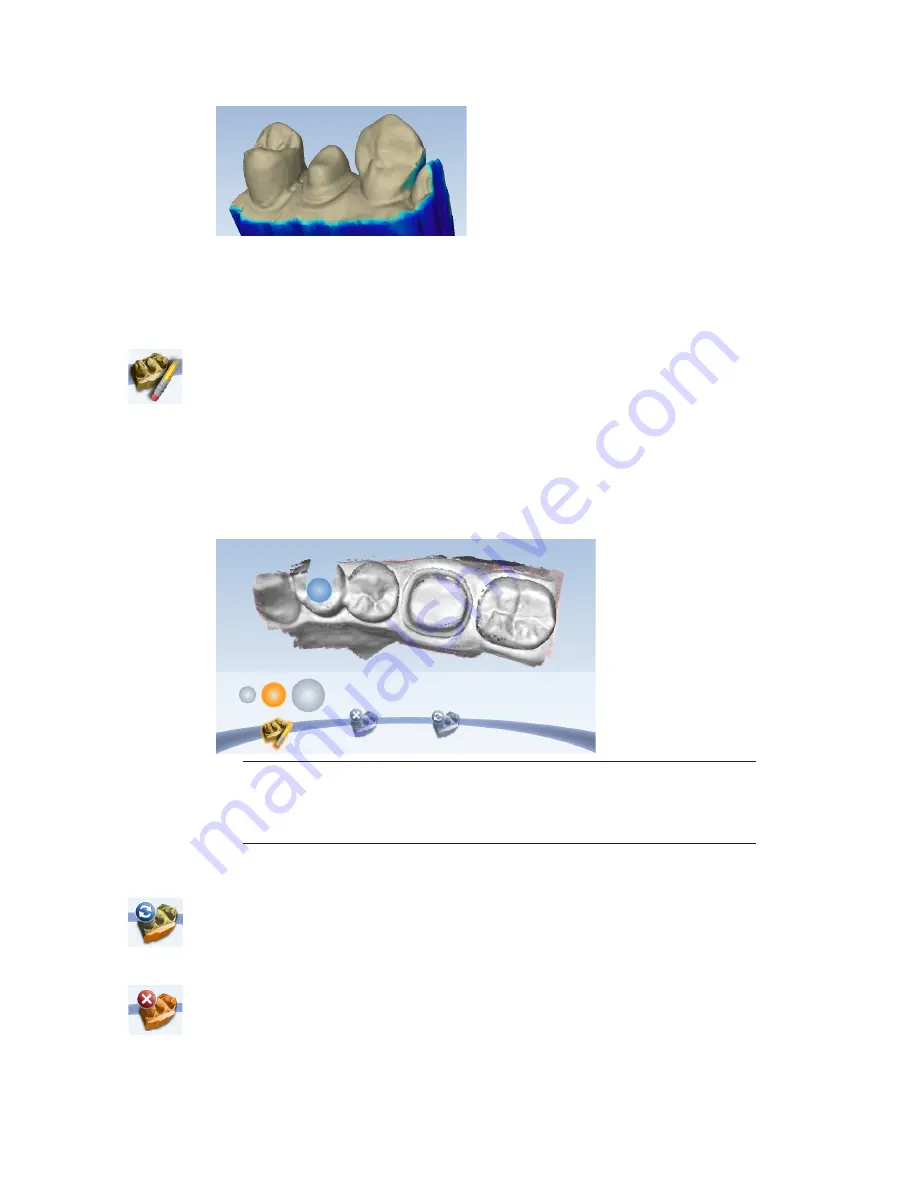
Use the Eraser Tool to remove parts of the scanned model. This can be used to remove
unnecessary data like extra teeth, tongue, cheek, etc. With this tool, you can also erase an area
that needs to be rescanned. If you spot a problem (i.e. the margin is partially hidden by cord or
tissue), you can erase that area, correct the problem on your model or intraorally, then rescan
just that area! You do not have to start over. Be sure to erase and rescan ALL areas that were
changed.
The Eraser is also used in the Pre-op and Bite Registration Time Saver tools (see following
sections).
Click the Eraser tool to deactivate it.
Note: Keep some of the buccal or lingual data when erasing. If you disconnect the
two halves of the model, half of the model will disappear. It is also recommended
that you not delete multiple teeth in a row. Large gaps in the model is not
recommended.
Reset Model
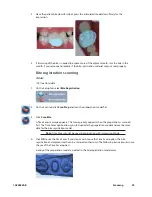
Click the Undo Erase Erase button to reset the model if a mistake was made when erasing.
Delete Model
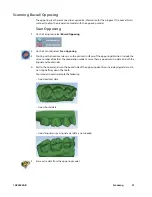
Click the Delete Data button to remove the model and start over.
10828200.B
Scanning
27
Содержание PlanScan
Страница 1: ...Planmeca PlanScan User Manual ...
Страница 2: ......

