3 • Printer Maintenance
3-14
SV61749 Rev. D
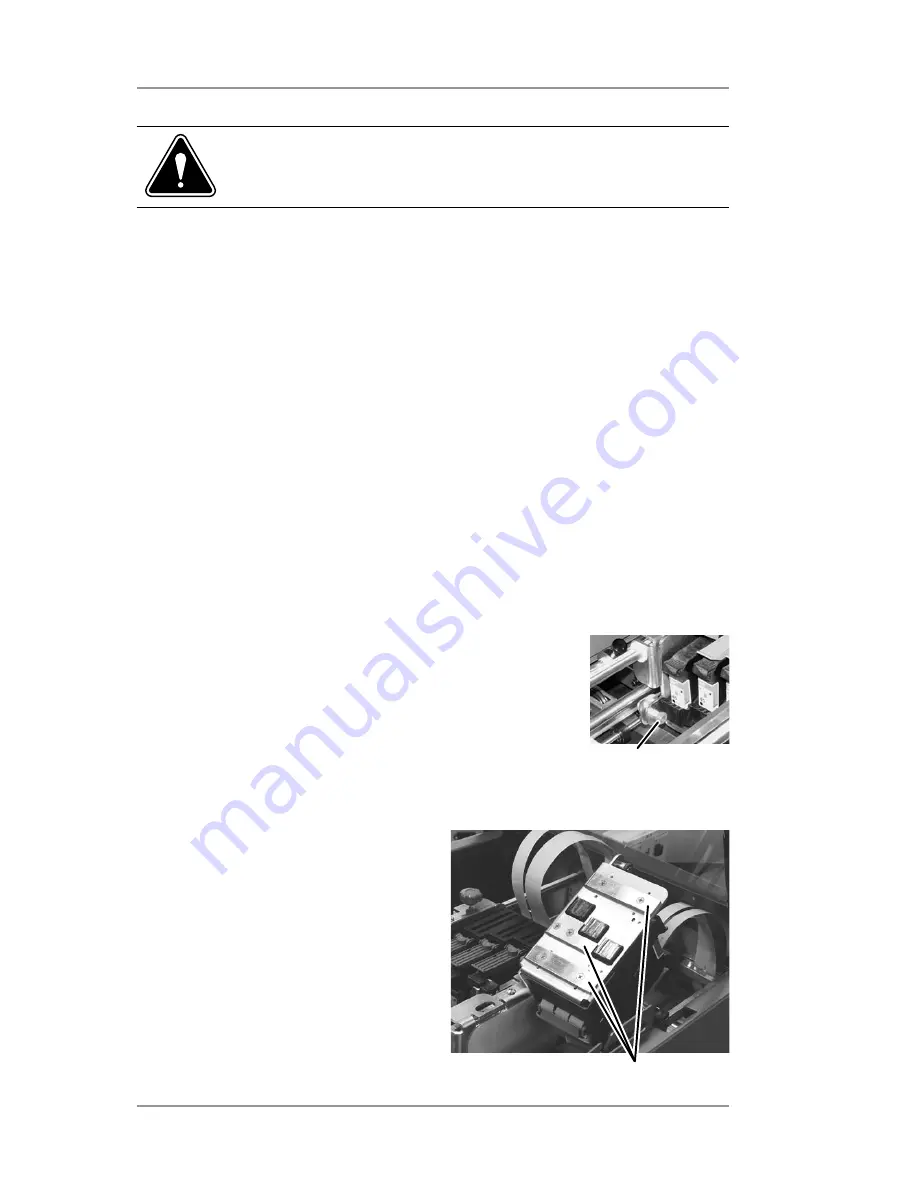
Cleaning the Wipers
The wipers beneath the print head assemblies will, over time, pick
up ink, wax, clay and other material from the media it touches. Once
enough of this material accumulates on the wipers, it will leave marks
or smears on the media.
1. Loosen the print head assembly locking screw.
2. Rotate the print head assembly up and back to
expose the wipers. You may need to move the
print head assembly to the front or rear to gain
clearance to swivel the assembly fully back.
3. Use alcohol on a soft cloth to
remove any ink, wax, etc. To
keep the wipers clean.
Wipers
CAUTION:
clean print head cartridges with a soft cloth
and plain water only. Abrasive materials may damage
print heads.
3. From the setup menu, select 3. Purge print head. The purging
process clears any clogged ink on the print nozzle. Often this
returns the print quality to a normal level. See
Purging the Print
Head
in this chapter for more information.
4. Install a new ink cartridge. See
Installing and Removing Ink Jet
Cartridges
in this chapter.
Locking Screw
Содержание da95f
Страница 1: ...Operator Guide International English Version AddressRight DA Series Printer DA95F ...
Страница 7: ...Contact Information List vi SV61749 Rev D ...
Страница 64: ...3 Printer Maintenance 3 20 SV61749 Rev D ...
Страница 74: ...4 Troubleshooting 4 10 SV61749 Rev D ...
Страница 82: ...Appendix A Specifications A 8 SV61749 Rev D ...
Страница 86: ...A 4 SV61749 Rev D ...


