


2 How to get started (GigE G2)
1.
Remove the Photonfocus GigE camera from its packaging. Please make sure the following
items are included with your camera:
•
Power supply connector
•
Camera body cap
If any items are missing or damaged, please contact your dealership.
2.
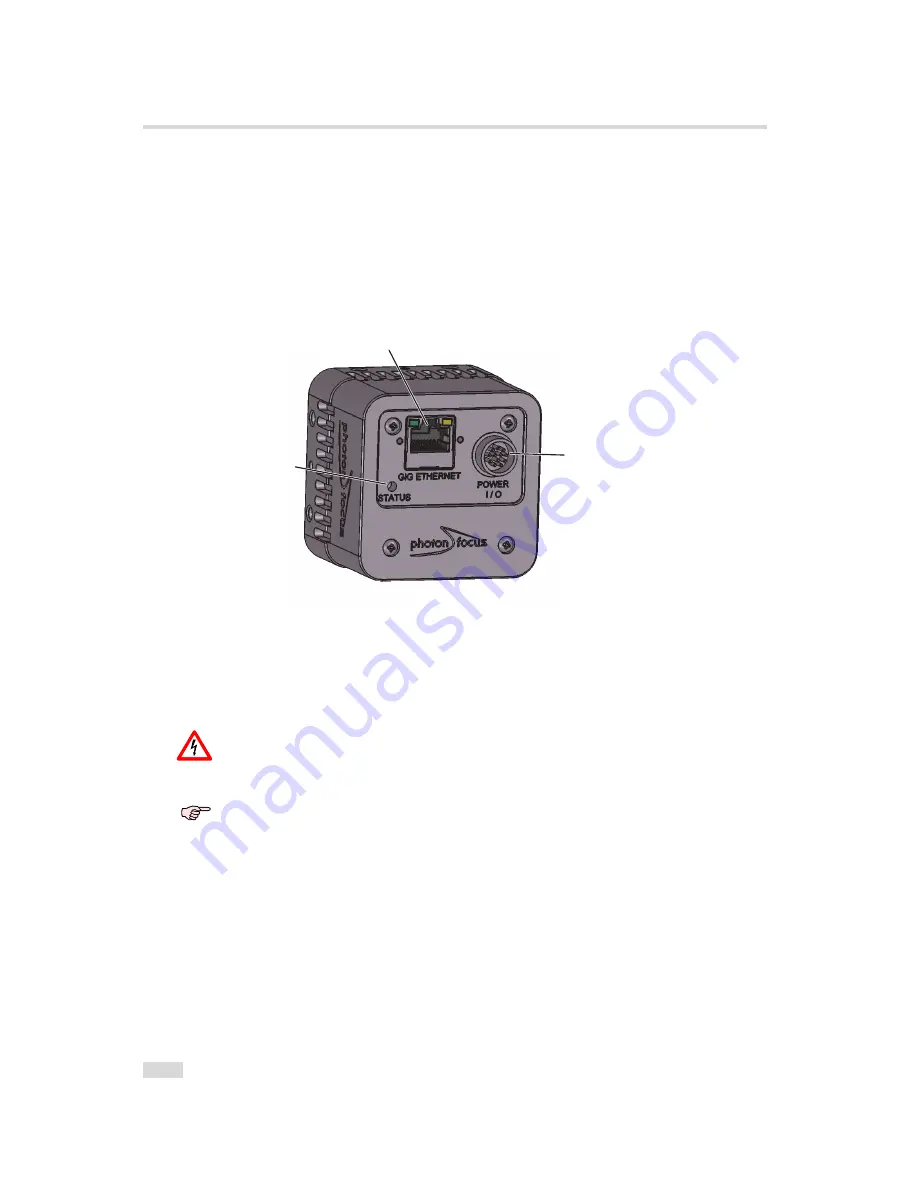
Connect the camera to the GigE interface of your PC with a GigE cable of at least Cat 5E or
6.
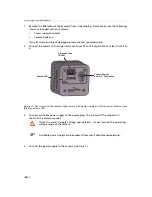
P o w
e r S u p p l y
a n d I / O C o n n e c t o r
S t a t u s L E D
E t h e r n e t J a c k
( R J 4 5 )
Figure 2.1: Rear view of a Photonfocus GigE camera with power supply and I/O connector, Ethernet jack
(RJ45) and status LED
3.
Connect a suitable power supply to the power plug. The pin out of the connector is
shown in the camera manual.
Check the correct supply voltage and polarity! Do not exceed the operating
voltage range of the camera.
A suitable power supply can be ordered from your Photonfocus dealership.
4.
Connect the power supply to the camera (see Fig. 2.1).
.
10
Содержание DR1-D1312(IE)-G2
Страница 2: ......
Страница 4: ...2...
Страница 8: ...CONTENTS 6...
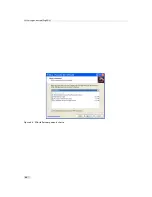
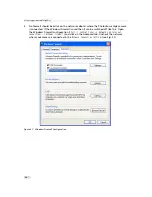
Страница 14: ...2 How to get started GigE G2 Figure 2 3 PFInstaller components choice 12...
Страница 60: ...4 Functionality Figure 4 31 Trigger source Figure 4 32 Trigger Inputs Multiple GigE solution 58...
Страница 96: ...4 Functionality 94...
Страница 122: ...6 Software 120...
Страница 128: ...8 Warranty 126...
Страница 130: ...9 References 128...


