


FL SWITCH GHS
1-4
PHOENIX CONTACT
8042_en_00
1.4
Operability of the GHS
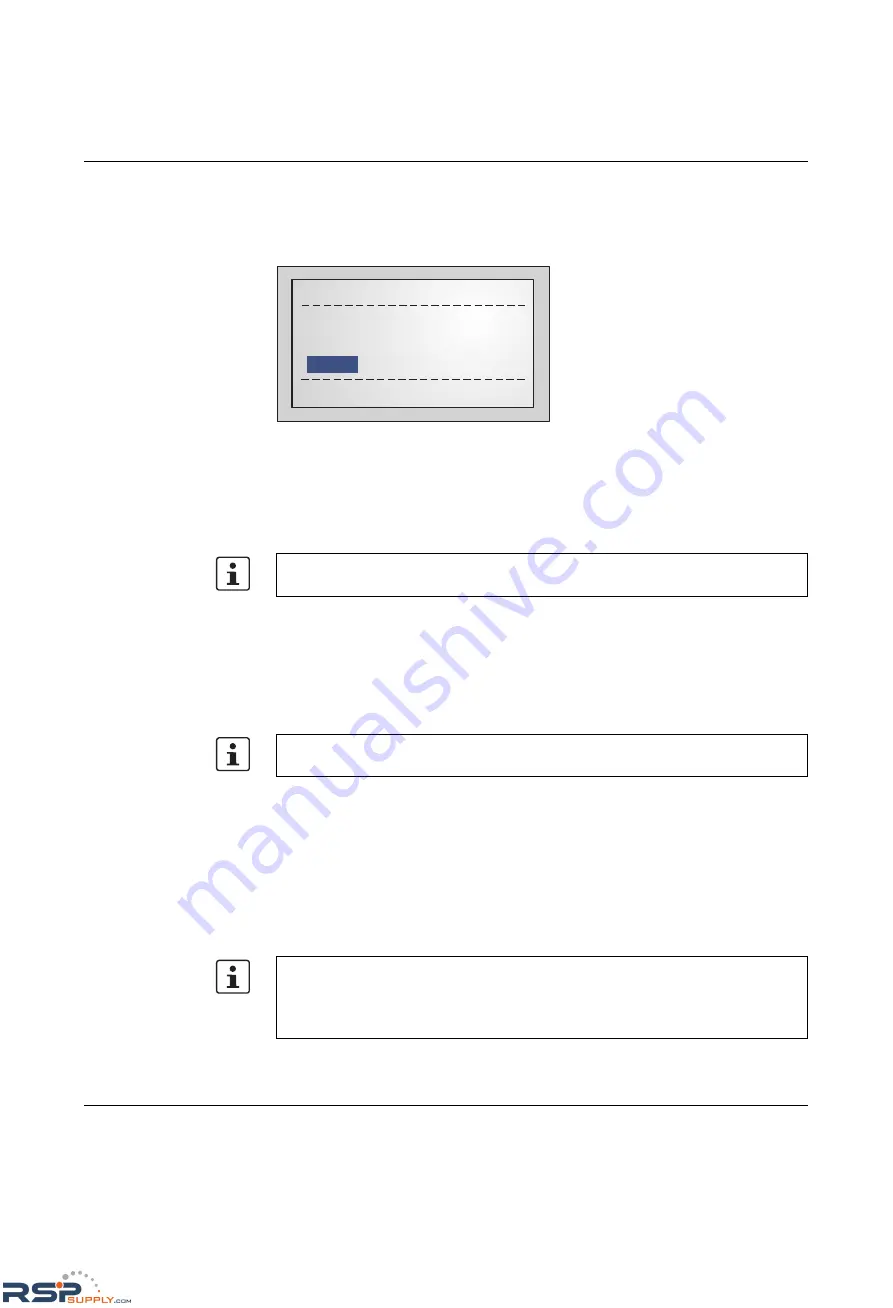
The device will boot automatically after you have connected the supply voltage. After a short
time the display will show the following:
Figure 1-5
Display after termination of the boot phase in default upon delivery
When the device is in the default upon delivery, it will send BootP requests. The GHS tries
to obtain IP addresses with these requests.
If your Switch displays something different, we recommend using the Smart Mode to reset
it to the default state upon delivery.
Before you can access the web-based management of the GHS, the device must be
assigned an IP address/IP parameters (see "Assigning IP parameters" on page 1-5) or the
default IP address must be activated (see "Activating the default IP address" on page 1-4).
1.5
Activating the default IP address
After the boot phase, use the buttons/display to proceed as follows:
•
Press "Menu".
•
Select "IP Menu" and then press "Select".
•
Select "IP Settings" and then press "Select".
•
Select "Default IP" and then press "Set".
Now the Switch can be accessed with IP address:
192.168.0.100
. You may have to adapt
your PC (see "Making contact between the GHS and PC for initial configuration" on
page 1-7).
Please refer to the UM EN FL SWITCH GHS user manual for information on calling and
using the Smart Mode.
Please refer to the UM EN FL SWITCH GHS user manual for information on how to use
the display.
Please observe the following:
–
The selection of the default IP is not saved retentively. Save the desired configuration
via the management interfaces.
–
Make sure that there is only one device with the IP 192.168.0.100 in your network.
No IP assigned (01)
MENU
MODE
SPD
FD
ACT
RSPSupply - 1-888-532-2706 - www.RSPSupply.com
http://www.RSPSupply.com/p-14161-Phoenix-Contact-2700271-FL-SWITCH-GHS-4G/12-Modular-Ethernet-Switch.aspx