11
WebCam settings
6.3
Image settings menu
Enables you to optimize image quality.
• Click the ‘
’ button in the Philips CamSuite
control panel to open the Image settings
menu.
• Check the box before an item to activate that
item.
•
Click the ‘
2
’ button to open the control
panel for that item.
•
Click the ‘
4
’ button to close the control
panel for the selected item.
•
Click the ‘
’ button again to return to the
Philips CamSuite control panel.
6.3.1
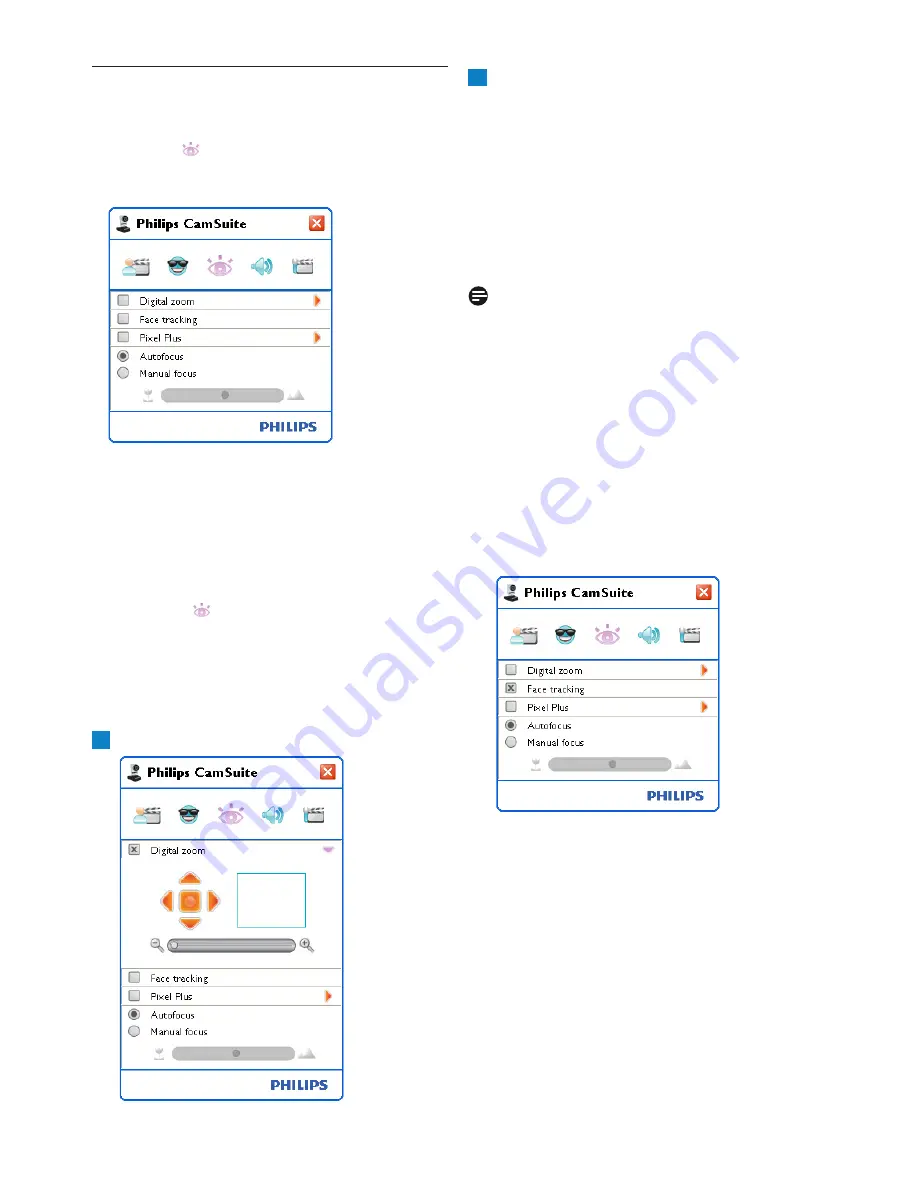
Digital zoom
Gets an object closer.
Open the Digital zoom control panel (‘
2
’).
1
Use the slider to dynamically zoom in and
out.
• The frame shows the position to the overall
image. The frame increases / decreases
according to zoom factor.
• Use the panning arrows (left / right / up /
down) to move the frame.
• Use the center button to position the frame
in the center of the image.
Note!
Digital zoom magnifies the pixels but not the
actual image. It degrades image quality.
6.3.2
Face tracking
If you activate the Face tracking option, the
WebCam will track your face. This gives you
more convenience while video chatting, because
you stay in the centre of the image even if you
move during a video conference.
•
Just check the box before Face tracking to
activate this option.
2


