background image

2

1

Important

Take time to read this user manual before you use your Wireless 
Router. It contains important information and notes regarding your 
Wireless Router.

1.1

Safety information

Warning

• This equipment must only be powered with the Power Adapter 

provided in the box.

• For use only with power supply "Leader: MU12-2120100-B2" and/or 

"Jentec: AH1212-C".

• Always use the cables provided with the product.
• Radio equipment for wireless applications is not protected against 

disturbance from other radio services.

• Do not expose the system to excessive moisture, rain, sand or heat 

sources.

• The product should not be exposed to dripping or splashing.
• No object filled with liquids, such as vases, should be placed on the 

product.

• Keep the product away from domestic heating equipment and direct 

sunlight.

• Allow a sufficient amount of free space all around the product for 

adequate ventilation.

• Do not open this product. Contact your ISP/cable provider helpdesk.

1.2

Network range & speed information

• The environment: Radio signals can travel further outside of buildings, 

and if the wireless components are in direct line of sight to one 
another. Putting wireless components in high places helps avoid 
physical obstacles and provides better coverage.

• Building construction such as metal framing and concrete or masonry 

walls and floors will reduce radio signal strength. Avoid putting 
wireless components next to large solid objects; or next to large 
metal object such as computers, monitors, and appliances.

• Wireless signal range, speed, and strength can be affected by 

interference from neighbouring wireless networks and devices. 
Electro-magnetic devices such as televisions, radios, microwave 
ovens, and cordless phones, especially those with frequencies in the 
2.4GHz range, may also interfere with wireless transmission.

• Standing or sitting too close to wireless equipment can also affect 

radio signal quality.

• Adjusting the antenna: Do not place antennas next to large pieces of 

metal, because this might cause interference.

1.3

Conformity

We, Philips declare that the product is in compliance with the essential 
requirements and other relevant provisions of Directive 1999/5/EC.
You can find the Declaration of Conformity on www.p4c.philips.com.

Following this Directive, this product can be brought into service in the 
following states:

1.4

Recycling and disposal

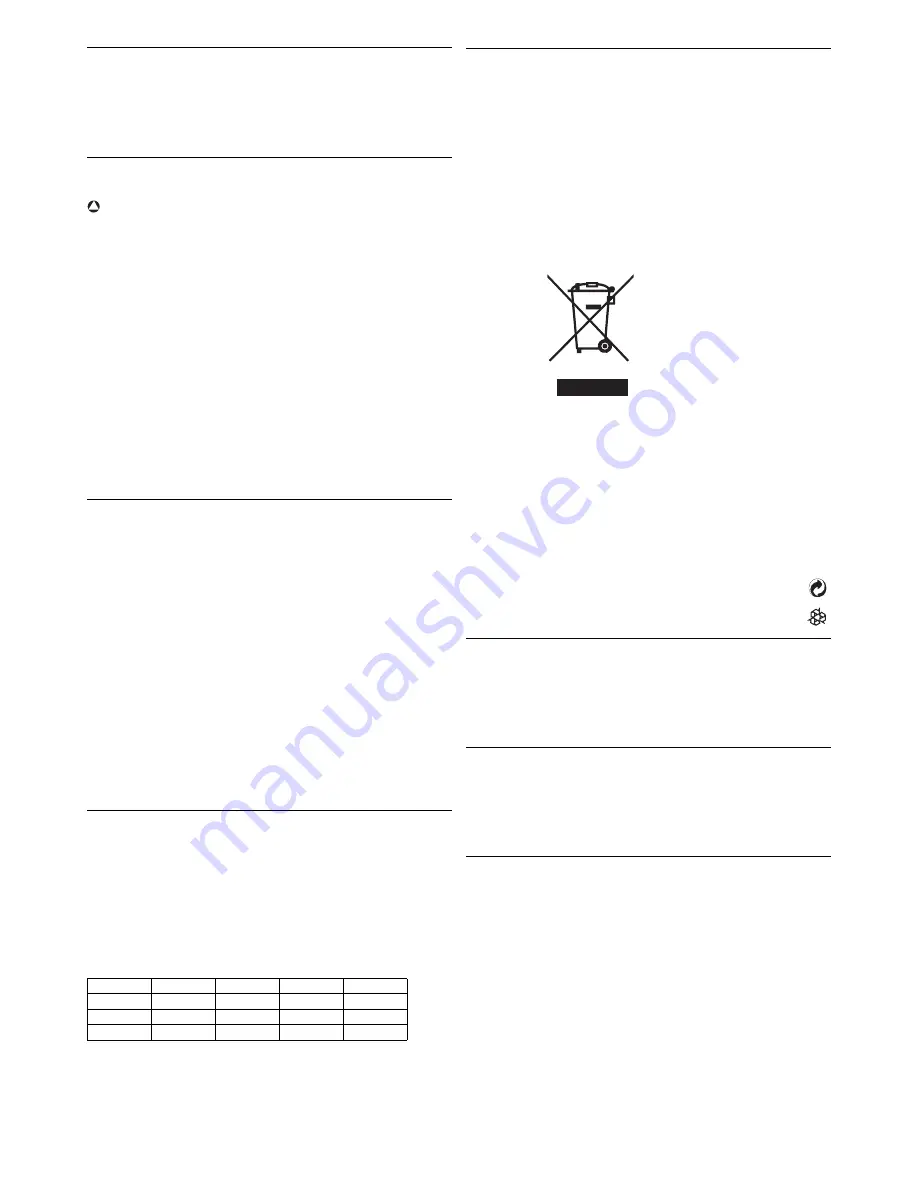
Disposal instructions for old products:
The WEEE directive (Waste Electrical and Electronic Equipment 
Directive ; 2002/96/EC) has been put in place to ensure that products 
are recycled using best available treatment, recovery and recycling 
techniques to ensure human health and high environmental protection.
Your product is designed and manufactured with high quality materials 
and components, which can be recycled and reused.

Do not dispose of your old product in your general household waste 
bin.
Inform yourself about the local separate collection system for electrical 
and electronic products marked by this symbol.

Use one of the following disposal options:
•  Dispose of the complete product (including its cables, plugs and 

accessories) in the designated WEEE collection facilities.

•  If you purchase a replacement product, hand your complete old 

product back to the retailer. He should accept it as required by the 
WEEE directive.

Packaging information:
Philips has marked the packaging with standard symbols designed to 
promote the recycling and appropriate disposal of any waste.
A financial contribution has been paid to the associated national 
recovery & recycling system.
The labeled packaging material is recyclable.

1.5

FCC Radiation Exposure Statement

This equipment complies with FCC radiation exposure limits set forth 
for an uncontrolled environment. This equipment should be installed 
and operated with minimum distance 20 cm between the radiator and 
your body.

1.6

Software licenses

This product contains open source software packages. An overview of 
these packages, the licences and/or notices that apply to them, and the 
source code for a number of these packages are available in the on-line 
product documentation, which is visible on www.p4c.philips.com.

1.7

Disclaimer

This product is provided by "Philips" "as is" and without any express or 
implied warranty of any kind of warranties, including, but not limited to, 
the implied warranties of merchantability and fitness for a particular 
purpose are disclaimed.
In no event shall Philips be liable for any direct, indirect, incidental, 
special, exemplary, or consequential damages (including, but not limited 
to, procurement of substitute goods or services ; loss of information, 
data, or profits ; or business interruption) howsoever caused and on any 
theory of liability, whether in contract, strict liability, or tort (including 
negligence or otherwise) arising in any way out of the use of inability to 
use this product, even if advised of the possibility of such damages.
Philips further does not warrant the accuracy or completeness of the 
information, text, graphics, links or other items transmitted by this 
product.

B

DK

E

GR

F

IRL

I

L

NL

A

P

SU

S

UK

N

D

CH

TR

!

Содержание CAW7740N

Страница 1: ...Register your product and get support at www philips com welcome EN Wireless Router CAW7740N ...

Страница 2: ......

Страница 3: ...e Wireless Router 8 4 1 Log on the webpages 8 4 2 Webpages menu structure 8 4 3 SYSTEM 8 4 3 1 Time zone 8 4 3 2 Password Settings 9 4 3 3 Remote management 9 4 4 WAN 9 4 4 1 Dynamic IP Address 9 4 4 2 PPPoE 9 4 4 3 Static IP Address 10 4 4 4 Clone MAC Address 10 4 4 5 DNS 10 4 5 LAN 10 4 6 WIRELESS 10 4 6 1 Channel and SSID 10 4 6 2 Access control 11 4 6 3 Security 11 4 6 4 WPS 11 4 7 NAT 12 4 7 ...

Страница 4: ... Electronic Equipment Directive 2002 96 EC has been put in place to ensure that products are recycled using best available treatment recovery and recycling techniques to ensure human health and high environmental protection Your product is designed and manufactured with high quality materials and components which can be recycled and reused Do not dispose of your old product in your general househo...

Страница 5: ...ter your product at www philips com welcome 2 1 What s in the box 2 2 What else will you need Quick start guide 1 2 3 Connect Install Enjoy CAW7740N W E B BROW SER Wireless Router Quick start guide Power adapter Installation CDRom Ethernet cable RJ 45 A desktop or a laptop with free USB port and an Ethernet connector A web browser An Internet connection A modem ...

Страница 6: ... Blinking Fail OFF No connection G button Push and hold this button for 3 seconds to install another WPS device on your network see 4 6 4 2 4 Overview of the rear side of the wireless router A LAN ports 10 100 Ethernet ports RJ 45 Connect devices to your local area network on these ports i e a PC hub or switch B WAN port Connect your modem to this port C Reset button Use this button to reset the p...

Страница 7: ... have 10 seconds if you want to select another one Click on the required language The next screen will be displayed automatically Click on the picture of the CAW7740N Wireless Router The next screen will be displayed automatically 3 2 Connect Connect the supplied power adapter to the 12 1A port Connect the power adapter to the electricity supply socket Power light will turn on If your computer is ...

Страница 8: ...verview Your connection before the installation of the router Your connection after the installation of the router 3 4 Install a WiFi device If you want to install a WiFi device you have to retrieve your wireless security settings using your installation CDROM on the computer where you installed your gateway and by clicking on the security icon of the menu page 3 4 1 Install a Wireless USB adapter...

Страница 9: ...r 3 seconds Push and hold the WPS button of the other WPS device for 3 seconds refer to the manual of the other WPS device for location The other WPS device is installed on your network OR Check that your Wireless router and that the other WPS device are connected and ON On your Internet Browser enter http 192 168 1 2 in the address field and click on GO to access the webpages Click on the WIRELES...

Страница 10: ...information is used for log entries and client filtering If you want to automatically synchronize the Wireless Router with a public time server check the box to Enable Automatic Time Server Maintenance Select the desired servers from the drop down menu SET UP WIZARD Getting started Time zone Wireless settings Connection Type Settings Dynamic IP Note It is highly recommended to use the Easy Install...

Страница 11: ...imum idle time it will perform system logout and you have to log in again to access the management interface Default 10 minutes 4 3 3 Remote management By default management access is only available to users on your local network However you can also manage the Wireless Router from a remote host by entering the IP address of a remote computer on this screen Check the Enabled check box and enter th...

Страница 12: ...ever if there is a DNS server that you would rather use you need to specify the IP address here 4 5 LAN You can enable DHCP to dynamically allocate IP addresses to your client PCs or configure filtering functions based on specific clients or protocols The router must have an IP address for the local network 4 6 WIRELESS The router can be quickly configured as a wireless access point for roaming cl...

Страница 13: ... menu Click SAVE SETTINGS Note The passphrase can consist of up to 32 alphanumeric characters To manually configure the encryption key enter five hexadecimal pairs of digits for each 64 bit key or enter 13 pairs for the single 128 bit key A hexadecimal digit is a number or letter in the range 0 9 or A F Note that WEP protects data transmitted between wireless nodes but does not protect any transmi...

Страница 14: ...one or more public IP addresses to be shared by multiple internal users This also hides the internal network for increased privacy and security Enter the Public IP address you wish to share into the Global IP field Enter a range of internal IPs that will share the global IP into the from field 4 7 2 Virtual server If you configure the Wireless Router as a virtual server remote users accessing serv...

Страница 15: ...s TCP and UDP session information including time outs and the number of active sessions and provides the ability to detect and prevent certain types of network attacks Network attacks that deny access to a network device are called Denial of Service DoS attacks DoS attacks are aimed at devices and networks with a connection to the Internet Their goal is not to steal information but to disable a de...

Страница 16: ...ault Disabled Prevent a ping on the Wireless Router s WAN port from being routed to the network Scroll down to view more information Stateful Packet Inspection This is called a Stateful packet inspection because it examines the contents of the packet to determine the state of the communications i e it ensures that the stated destination computer has previously requested the current communication T...

Страница 17: ...peer to peer networking 4 10 DDNS DDNS Dynamic DNS settings DDNS text Domain Name is a series of alphanumeric strings separated by periods that maps to the address of a network connection and identifies the owner of the address Dynamic DNS provides users on the Internet with a method to tie their domain name to a computer or server DDNS allows your domain name to follow your IP address automatical...

Страница 18: ...ion to confirm that the upgrade process was successful 4 11 3Reset Click REBOOT ROUTER to reset the Wireless Router If you perform a reset from this page the configuration will not be changed back to the factory default settings Note If you use the Reset button on the rear panel the Wireless Router performs a power reset Press the button for over five seconds and the factory default settings will ...

Страница 19: ... In step 2 you can change the Wireless settings of the Wireless Router For easy installation it is advised to keep the default settings If you later would like to change any of the wireless settings you can do so via the menu in the Wireless Router 4 13 4Connection type settings This page allows you to select a connection type to connect Internet see 4 4 Dynamic IP This page allows you to obtain a...

Страница 20: ...2 11b Radio 2 4GHz Europe ETSI 2412 2472MHs Ch1 Ch13 Modulation Type 802 11n Draft 2 0 OFDM BPSK QPSK 16 and 64 QAM 802 11g OFDM BPSK QPSK 16 and 64 QAM 802 11b CCK 11 Mbps 5 5 Mbps DQPSK 2 Mbps Operating Channels IEEE 802 11n 13 channels ETSI Operating Channels IEEE 802 11g 13 channels ETSI Operating Channels IEEE 802 11b 13 channels Europe Transmit Power and Sensitivity Tx Output Power Typical 1...

Страница 21: ...ss Router power if OFF after running for a while check for power loss or overcharge If your wall outlet has a switch is it in position ON If you still cannot isolate the problem then the external power supply may be defective In this case contact Technical Support for assistance The signal is OFF Make sure that your Modem Ethernet cable RJ45 is plugged into the WLAN port of your Wireless Router an...

Страница 22: ......

Страница 23: ... Philips Electronics N V All rights reserved Trademarks are the property of Koninklijke Philips Electronics N V or their respective owners Specifications are subject to change without notice Document order number 3111 285 40861 ...

Отзывы: