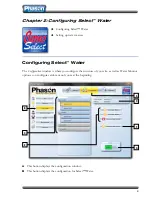
Configuring Select™ Water
11
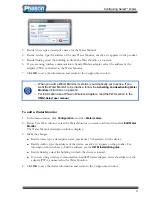
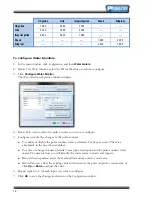
3.
Beside
Name
, type a descriptive name for the Water Monitor.
4.
Beside
Address
, type the address of the new Water Monitor, exactly as it appears on the product.
5.
Beside
Building
, select the building in which the Water Monitor is located.
6.
If you are using wireless communication, beside Wireless adapter, select the address of the
adapter (PWA) connected to the Water Monitor.
7.
Click
OK
to save the information and return to the
Configuration
window.
When you add a Water Monitor, its status is automatically set to
active
. If you
want the Water Monitor to be inactive, follow the
Activating and deactivating Water
Monitors
instructions on page 12.
For information about Phason Wireless Adapters, read the PWA section in the
OMNI-Select user manual
.
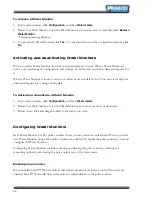
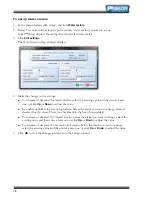
To edit a Water Monitor
1.
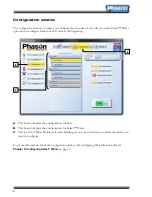
In the main window, click
Configuration
, and then
Water meters
.
2.
Below
Your Water Monitors
, select the Water Monitor you want to edit and then click
Edit Water
Monitor
.
The Water Monitor description window displays.
3.
Make the changes.
Beside
Name
, type a descriptive name (maximum 15 characters) for the device.
Beside
Address
, type the address of the device, exactly as it appears on the product. For
information about where to find the address, see the
OWM installation guide
.
Beside
Building
, select the building in which the device is located.
If you are using wireless communication, beside Wireless adapter, select the address of the
adapter (PWA) connected to the Water Monitor.
4.
Click
OK
to save the device information and return to the
Configuration
window.

