Appendix A: Using your own PC . 77
Configuring Spectrum to use a Probe
1.
Ensure the instrument is switched on and the Spectrum software is running.
See
SOP-1: Switching the IdentiCheck on
(page 53) for details.
2.
Select
Raman Instrument
from the Setup menu.
The Setup Instrument tabs are displayed.
3.
Select the Setup Instrument Basic tab.
4.
Select
Triggered Fiber Optic Probe
from the Accessory drop-down list.
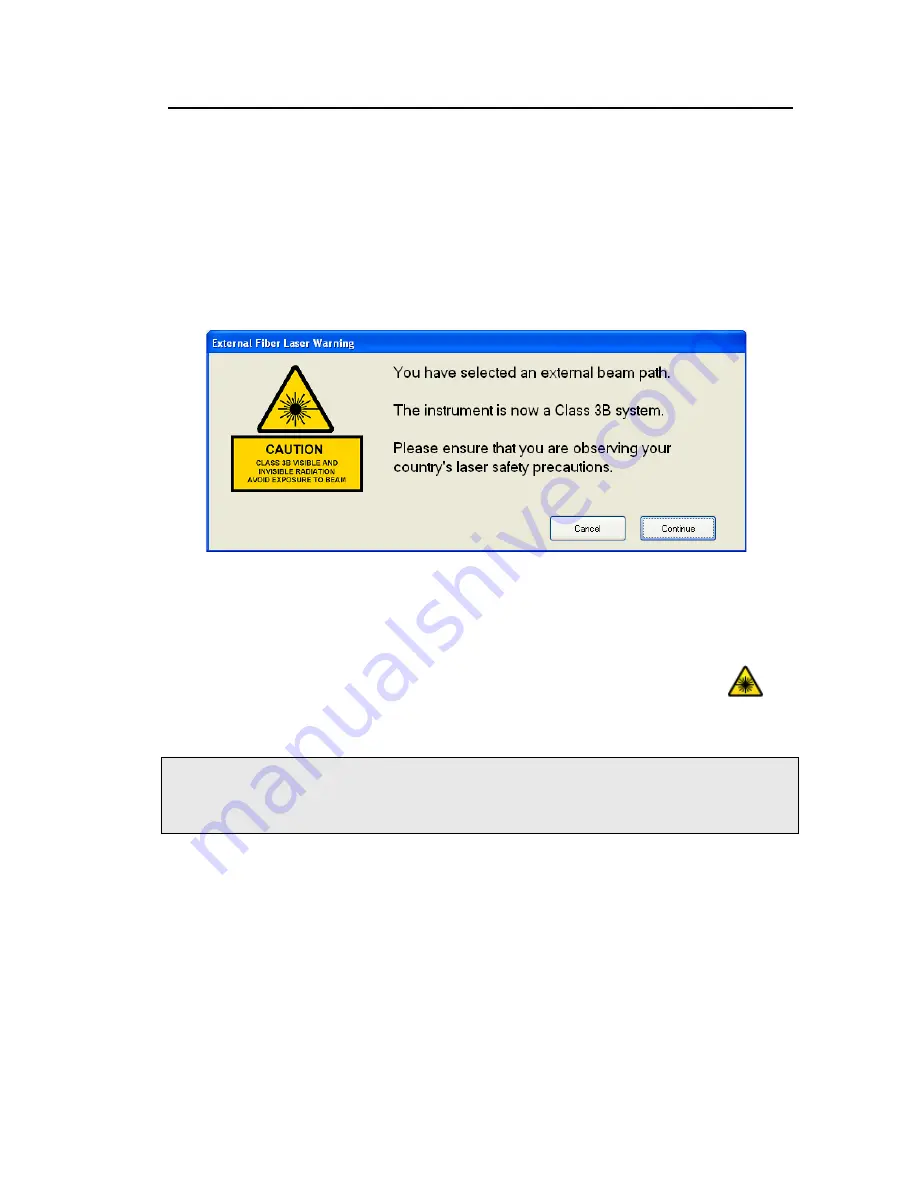
The following warning message is displayed.
5.
Ensure that laser safety precautions are being observed, and then click Continue.
If you have any doubts about the required safety precautions click Cancel.
When you make the selection, the Probe Path LED on the probe will light-up blue. This
indicates that the probe is ready for use. When the laser is on and the shutter is open the
Laser Status icon on the Measurement bar will be updated to Class 3B Laser Status
.
Laser light will be emitted from the probe during data collection and when the software is in
Preview mode.
NOTE: For safety reasons, when the TFOP is selected as the Accessory, all scan buttons in
the Spectrum software are disabled. Scanning with a TFOP can only be started using
the trigger on the probe; see
SOP-4: Collecting a Spectrum with a Triggered Fiber
on page 56 for details.
Содержание Raman IdentiCheck
Страница 1: ...Raman IdentiCheck Getting Started Guide MOLECULAR SPECTROSCOPY ...
Страница 5: ...Introduction ...
Страница 10: ...10 Raman IdentiCheck Getting Started Guide ...
Страница 11: ...Safety Practices ...
Страница 26: ...26 Raman IdentiCheck Getting Started Guide ...
Страница 27: ...Raman History Theory and Instrumentation ...
Страница 34: ...34 Raman IdentiCheck Getting Started Guide ...
Страница 35: ...Introduction to the Raman IdentiCheck ...
Страница 50: ...50 Raman IdentiCheck Getting Started Guide ...
Страница 51: ...Using the Raman IdentiCheck ...
Страница 65: ...Maintenance and Troubleshooting ...
Страница 73: ...Appendix A Using your own PC ...
Страница 78: ...78 Raman IdentiCheck Getting Started Guide ...


