7
General Settings
ƓÆÅÄÆÅͻȿĽËÆƑʾ»·É¾·ÃͿ¸»¿Äʾ»º»¼·ËÂÊ¿º»Åź»·ÄºÍ¿ÂÂÉÊ·ÈÊ
È»¹ÅȺ¿Ä½ƔÅ·¹¹»ÉÉÅʾ»ÈûÄËÉƑÆÈ»ÉÉʾ»»Â»¹ÊÁ»ÏÊÅÉÊÅÆÈ»¹ÅȺ¿Ä½Ɣ
1. To change the settings for the microphone, loop recording, date/time stamp and other general
settings, press the Settings button until the Setup icon
is highlighted.
2. Use the RW/UP and FW/DOWN Arrow buttons to select the desired feature and use the Select
¸ËÊÊÅÄÊŹÅÄŰÈÃÏÅËÈɻ»¹Ê¿ÅÄƔ
3. Within the selected feature use the RW/UP and FW/DOWN Arrow buttons to select the desired
É»ÊʿĽżʾ»¼»·ÊËÈ»·ÄºËɻʾ»»Â»¹Ê¸ËÊÊÅÄÊŹÅÄŰÈÃʾ»É»Â»¹Ê¿ÅÄƔ
Simple Operation
ƓÆÅÄÆÅͻȿĽËÆƑʾ»·É¾·ÃͿ¸»¿Äʾ»º»¼·ËÂÊ¿º»Åź»·ÄºÍ¿ÂÂÉÊ·ÈÊ
È»¹ÅȺ¿Ä½ƔÅ·¹¹»ÉÉÅʾ»ÈûÄËÉƑÆÈ»ÉÉʾ»»Â»¹ÊÁ»ÏÊÅÉÊÅÆÈ»¹ÅȺ¿Ä½Ɣ
To manually start and stop recording a video:
Option 1:
1. Press Power ON/OFF button.
2. If the video is recording, it will automatically stop. If the video is stopped, it will automatically begin
recording.
Option 2:
1. Press the Mode button and select Video Mode
.
2. Press the Select button to start or stop recording.
Ɠ¾¿Â»È»¹ÅȺ¿Ä½ƑÏÅ˹·Ä·ÂÉÅÂŹÁʾ»Ű»¸ÏÆÈ»ÉɿĽʾ»·¹Á¸ËÊÊÅÄƔ
SETUP
Video Mode
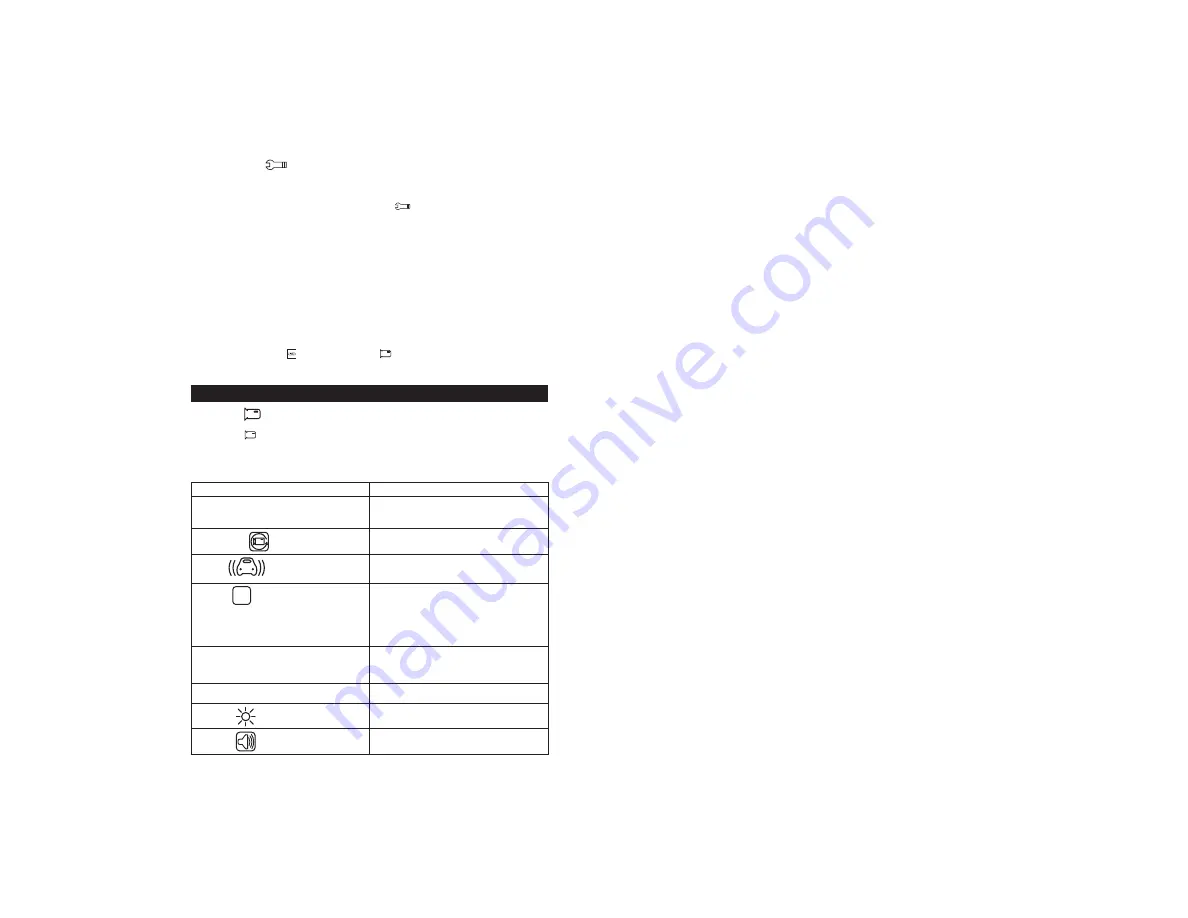
1. To adjust settings for Video Mode, press the Settings button and highlight the Video Mode Setting
Menu Icon
.
2. Using the RW/UP and FW/DOWN Arrow buttons, choose the desired feature and press the Select
¸ËÊÊÅÄÊŹÅÄŰÈÃʾ»É»Â»¹Ê¿ÅÄƔ
3. Within the selected feature, use the RW/UP and FW/DOWN Arrow buttons to choose the desired
É»ÊʿĽżʾ»¼»·ÊËÈ»·ÄºÆÈ»ÉÉʾ»»Â»¹Ê¸ËÊÊÅÄÊŹÅÄŰÈÃʾ»É»Â»¹Ê¿ÅÄƔ
Description
Function
MP Resolution
Setting up resolution of video.
1080FHD (highest), 1080P, 720P, WVGA,
VGA (Lowest )
Loop Recording
Sets up how much time to record before looping
ÅÌ»ÈƔ»ÊʿĽɷȻŮƑʸƑʹƑʺƑʼÅÈʸʷÿÄËÊ»ÉƔ
G-Sensor
¾¿É¼»·ÊËÈ»ÂŹÁÉÌ¿º»ÅŰ»ɺËȿĽ·Ä¿Ä¹¿º»ÄÊƔ¾¿É
É»ÊʿĽ·ÂÂÅÍÉÏÅËÊÅÊËÈÄÅŮƑʹƺÃÅÉÊÉ»ÄÉ¿Ê¿Ì»ÊÅ
acceleration; 4G, 8G least sensitive to acceleration)
Park Mode
P
¾»Äʾ»·É¾·Ã¿ÉÆÅͻȻºÅŮ·Äº¼»»ÂÉ
a sudden acceleration, the Dash Cam will start
recording for 20 seconds if it is not externally
powered and continuous recording if externally
ÆÅͻȻºƔ¾¿ÉÉ»ÊʿĽ·ÂÂÅÍÉÏÅËÊÅÊËÈÄÅŮƑʹ
(most sensitive to acceleration; 4G, 8G least
sensitive to acceleration)
Exposure
This feature allows the user to manually control the
amount of sunlight penetrating into the sensor. +2.0
(more bright), +5/3, +4/3, +1.0, +2/3, +1/3, +0.0
(Default), -1/3, -2/3, -1.0, -4/3, -5/3, -2 (dim image).
Date Stamp
Allows the setup for time and date for video
recording
Night Vision
Enables the ability to record videos in the dark. To
set up simply select ON, OFF or Auto Mode
Microphone
Enables the ability to record sound when recording.


