Manual
9
If there are any samples attached to a standard, you can view those by pressing Enter
.
If there is more than one sample, you can use the arrow keys (
and
) for selection.
If you want to delete a sample, select it and hold the Back button
for ca. 3 seconds.
If you press Back
shortly, you get back to the main screen of the record function.
If you want to subsequently add samples to an existing standard, select the standard and press
the Menu button
. You are now redirected to the standard measurement screen. Press Enter
to go to the sample measurement screen. Now you can perform a sample measurement,
which will be automatically added to the selected standard.
If you want to turn a sample into a standard, select the standard which the sample is attached to
and press Enter
. Now, select the sample and press the Menu button
. The sample has now
turned into a standard.
5.3.2
Calibration
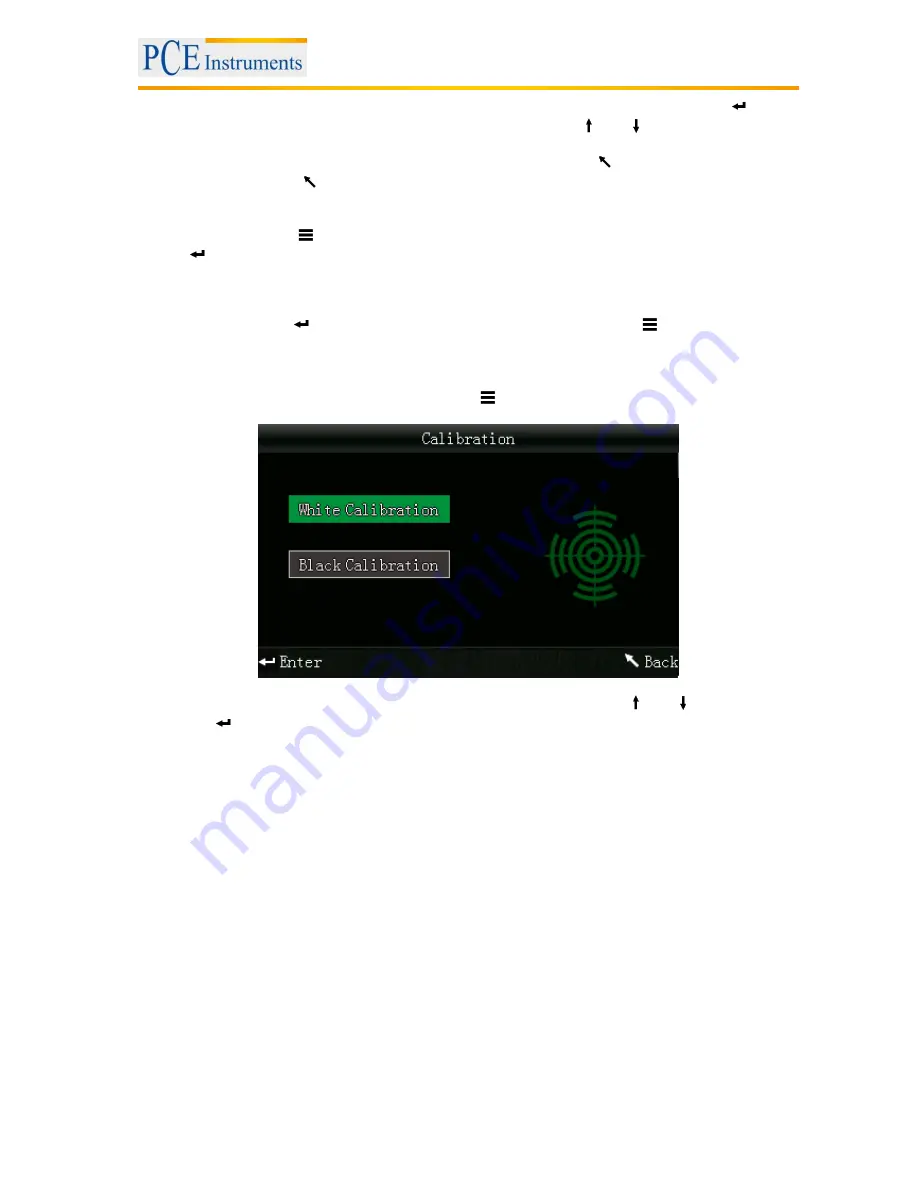
To get to the calibration menu, press the Menu button
, select “Calibrate“ and press Enter .
Here you can select between white and black calibration. Use the arrow keys (
and
) to select and
press Enter
to confirm. A confirmation screen with instructions will appear.
White calibration
If you want to perform a white calibration, place the white calibration plate on the measuring aperture.
After that, press the Testing button to start the calibration.
Black calibration
If you wish to perform a black calibration, remove the calibration plate and place the device with the
measuring aperture oriented upwards. Make sure that this calibration is carried out in a dark environment.
Additionally, keep the device away at least 1 meter from reflecting objects like walls, tables or other
objects. To start the calibration process, press the Testing button.
Note: A calibration is only reasonable in the following cases: when first using the device, after strong
changes in the environmental conditions, when the device has been used for a long time or when the
measurement results are inaccurate.


