Manual
10
5.3.3
Connection to a PC or printer
To connect the device to a PC or printer, press the Menu button
, select “Comm“ and press Enter
.
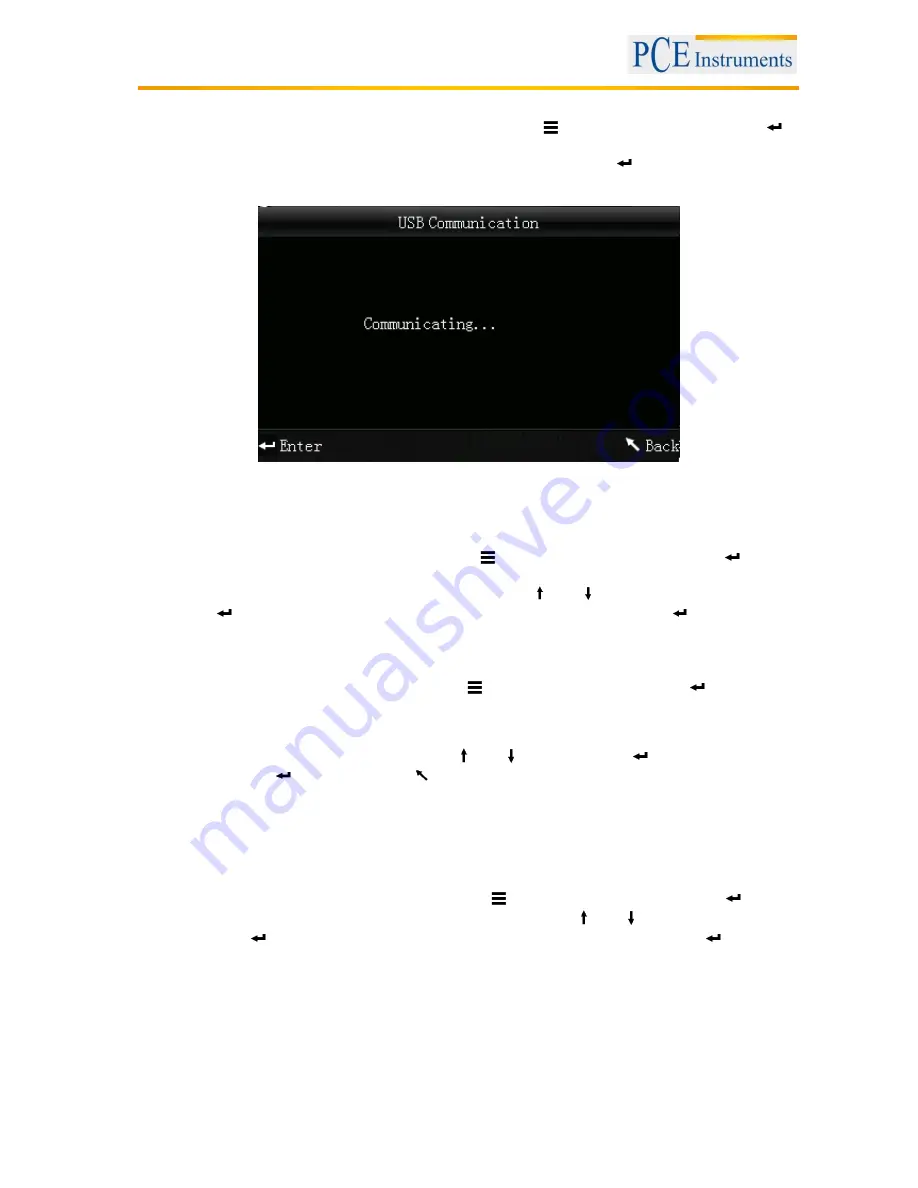
Now, you will get to the communication screen.
After that, use the USB cable to connect the device to a PC and press Enter
. If the connection was
successful, the screen shows “Communicating…”
The device can also be connected to a printer. In this case, all measuring results are printed
automatically.
5.3.4
Tolerances
To set up or adjust tolerances, press the Menu button
, select “Tolerance“ and press Enter
. Now,
you get to the tolerance screen.
Here you can set up tolerances. To do so, use the arrow keys (
and
) to adjust the selected digit.
Press Enter
to go to the next digit. After confirming the last digit by pressing Enter
, the tolerance is
set up.
5.3.5
Delete recorded data
To delete the recorded data, press the Menu button
, select “Delete“ and press Enter
. Now, you get
to the deletion screen.
Here you have two different options. You can either delete all sample measurements (“Delete ALL
Samples”) or all records (“Delete ALL Records”).
Select the desired option by using the arrow keys (
and
) and press Enter
. A confirmation screen
appears. Press Enter
to confirm or Back
to cancel.
Note: If you delete all records, all sample measurements will be deleted as well.
5.3.6
Averaging
You can set the number of measurements which are performed during the measuring procedure. From
these particular measurement results, the average value is generated.
To get to the averaging settings, press the Menu button
, select “Average“ and press Enter
.
Here, you can set the number of measurements. Use the arrow keys (
and
) to adjust the selected
digit. Press Enter
to go to the next digit. After confirming the last digit by pressing Enter
, the
averaging is set.
Note: If you set “00” or “01”, there will be no averaging.


