Users Manual Model 676
Control Panel Operation
•
31
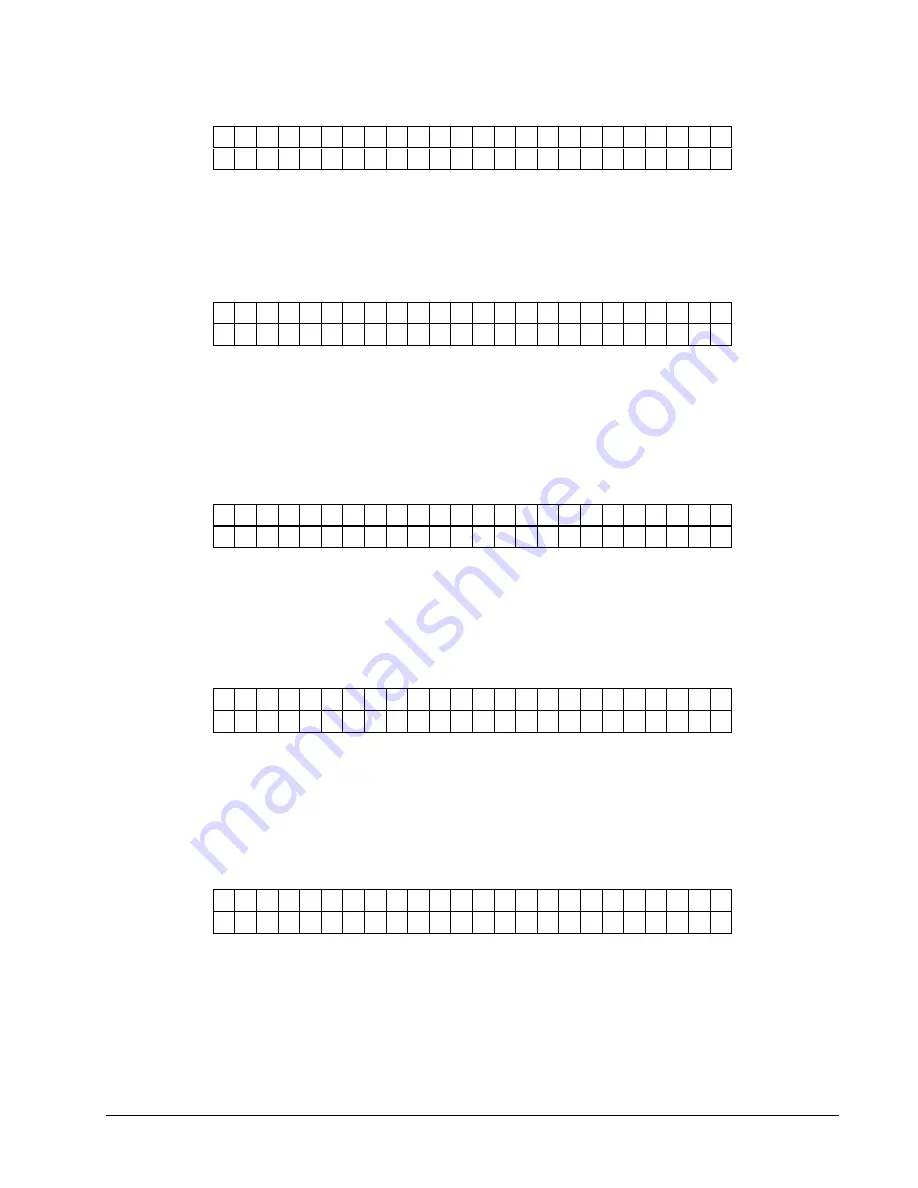
B O T
R E F L
O V E R
M A R K
V A L U E : 0 0 0
N E W
V A L U E : 0 0 0
This screen follows TOP REFL NOT OVER MARK under CALIBRATE
SENSORS. Place stock over the sensor so that the reflective mark is over the sensor
and when NEW VALUE is at is largest value press ‘Enter’.
Pressing the MODE/Down Arrow key will take the user to the next screen.
Pressing the EXIT/Up Arrow key will take the user back to the "HOME" screen.
B O T
R E F L
N O T
O V E R
M A R K
V A L U E : 0 0 0
N E W
V A L U E : 0 0 0
This screen follows BOT REFL OVER MARK under CALIBRATE SENSORS.
Place stock over the sensor so that the stock is over the sensor but the reflective
mark is not over the sensor and when NEW VALUE is at is smallest value press
‘Enter’.
Pressing the MODE/Down Arrow key will take the user to the next screen.
Pressing the EXIT/Up Arrow key will take the user back to the "HOME" screen.
S T A C K E R
B L O C K E D
V A L U E : 0 0 0
N E W
V A L U E : 0 0 0
This screen follows BOT REFL NOT OVER MARK under CALIBRATE
SENSORS. Place stock in the stacker jam sensor so that the stock is within the
sensor site path and when NEW VALUE is at is highest value press ‘Enter’.
Pressing the MODE/Down Arrow key will take the user to the next screen.
Pressing the EXIT/Up Arrow key will take the user back to the "HOME" screen.
S T A C K E R
N O T
B L O C K E D
V A L U E : 0 0 0
N E W
V A L U E : 0 0 0
This screen follows STACKER BLOCKED under CALIBRATE SENSORS.
Remove any stock from the stacker jam sensor so that no stock is within the sensor
site path and when NEW VALUE is at is lowest value press ‘Enter’.
Pressing the MODE/Down Arrow key will take the user to the next screen.
Pressing the EXIT/Up Arrow key will take the user back to the "HOME" screen.
LIFE COUNTS / VERSIONS
P R E S S
E N T E R
F O R
L I F E
C O U N T S / V E R S I O N S
This screen follows the CALIBRATE SENSORS screen.
Pressing ENTER will take the user to the Life Count and Operating system version
number Screens.
Pressing the MODE/Down Arrow key will take the user to the SETUP screen.
Pressing the EXIT/Up Arrow key will take the user back to the "HOME" screen.
Содержание 676
Страница 2: ...Users Manual Model 676 This page intentionally blank ...
Страница 85: ...Users Manual Model 676 Mechanical Assembly Drawings 85 Mechanical Assembly Drawings ...
Страница 86: ...86 Mechanical Assembly Drawings Users Manual Model 676 Unwind Assembly Drawing ...
Страница 88: ...88 Mechanical Assembly Drawings Users Manual Model 676 Web Guide Light Bar Assembly Drawing ...
Страница 92: ...92 Mechanical Assembly Drawings Users Manual Model 676 Top Printhead Assembly Drawing ...
Страница 94: ...94 Mechanical Assembly Drawings Users Manual Model 676 Ink Save Printhead Assembly Drawing ...
Страница 96: ...96 Mechanical Assembly Drawings Users Manual Model 676 Bottom Printhead Assembly Drawing ...
Страница 98: ...98 Mechanical Assembly Drawings Users Manual Model 676 Ink Unwind Assembly Drawing ...
Страница 100: ...100 Mechanical Assembly Drawings Users Manual Model 676 Ink Rewind Assembly Drawing ...
Страница 102: ...102 Mechanical Assembly Drawings Users Manual Model 676 Ink Rewind w Head Lift Assembly Drawing ...
Страница 104: ...104 Mechanical Assembly Drawings Users Manual Model 676 Ink Rewind Station 3 1 over 1 Assembly Drawing ...
Страница 108: ...108 Mechanical Assembly Drawings Users Manual Model 676 Stacker Assembly Drawing Part 1 ...
Страница 110: ...110 Mechanical Assembly Drawings Users Manual Model 676 Stacker Assembly Drawing Part 2 ...
Страница 112: ...112 Mechanical Assembly Drawings Users Manual Model 676 Rewind Assembly Drawing ...
Страница 114: ......
Страница 116: ...116 Mechanical Assembly Drawings Users Manual Model 676 Optional 4 1 4 Pick up Assembly ...
Страница 118: ...118 Mechanical Assembly Drawings Users Manual Model 676 Optional 4 1 4 Stacker Assembly ...
Страница 122: ...122 Mechanical Assembly Drawings Users Manual Model 676 Drive Belt Routing 1 over 1 Drawing 3 9 7 7 1 5 4 2 5 4 8 4 7 6 ...


