Viewing Node Information After Discovery
24
FS6300 NMS Getting Started Guide
2 • Discovering Your Network
When the Discovery process is complete, the spinning wheel icon is replaced with a blue box containing a
white checkmark. Once Discovery is complete, a new subnet can be entered into the Network Discovery win-
dow (Tools > Discovery Administration).
Viewing Node Information After Discovery
If the discovered nodes weren’t individually configured prior to starting the Discovery process, they may be
missing information such as Node ID, Node POP, Network Area, Chassis Type, Geographical Area, and Chas-
sis ID. For the nodes that are missing information, the FS6300 NMS will assign values for Geographical Area,
Node, and Chassis ID.
Clicking on a Chassis in the menu tree on the left side of the screen will display all of the discovered cards for
that Chassis in the main window. Clicking on the “+” box in the menu tree expands to show all of the slots for
that chassis. The main window also displays all of the cards for that chassis, including a quick look of which
slot each card is in and if there are currently any alarms for that slot. Hover the mouse over the card in the main
window to view a card’s IP address.
The next step after Discovery is to configure the Alarm Trap IP Address so that the NMS can receive and show
alarm indications for cards in the network. See Chapter 3,
“Configuring Alarms and Clocking”
on page 28 for
more information. For more information about viewing and configuring details for an individual device, see
Chapter 4,
“Configuring and Managing Devices”
on page 37.
Configuring Multiple Cards
If you have separate subnets that are supposed to be in the same Geographical Area but in a specifically named
Node and Chassis, you will want to update the subnet information so that is displayed as it actually is located
in the network.
Updating the Configuration
To configure multiple cards:
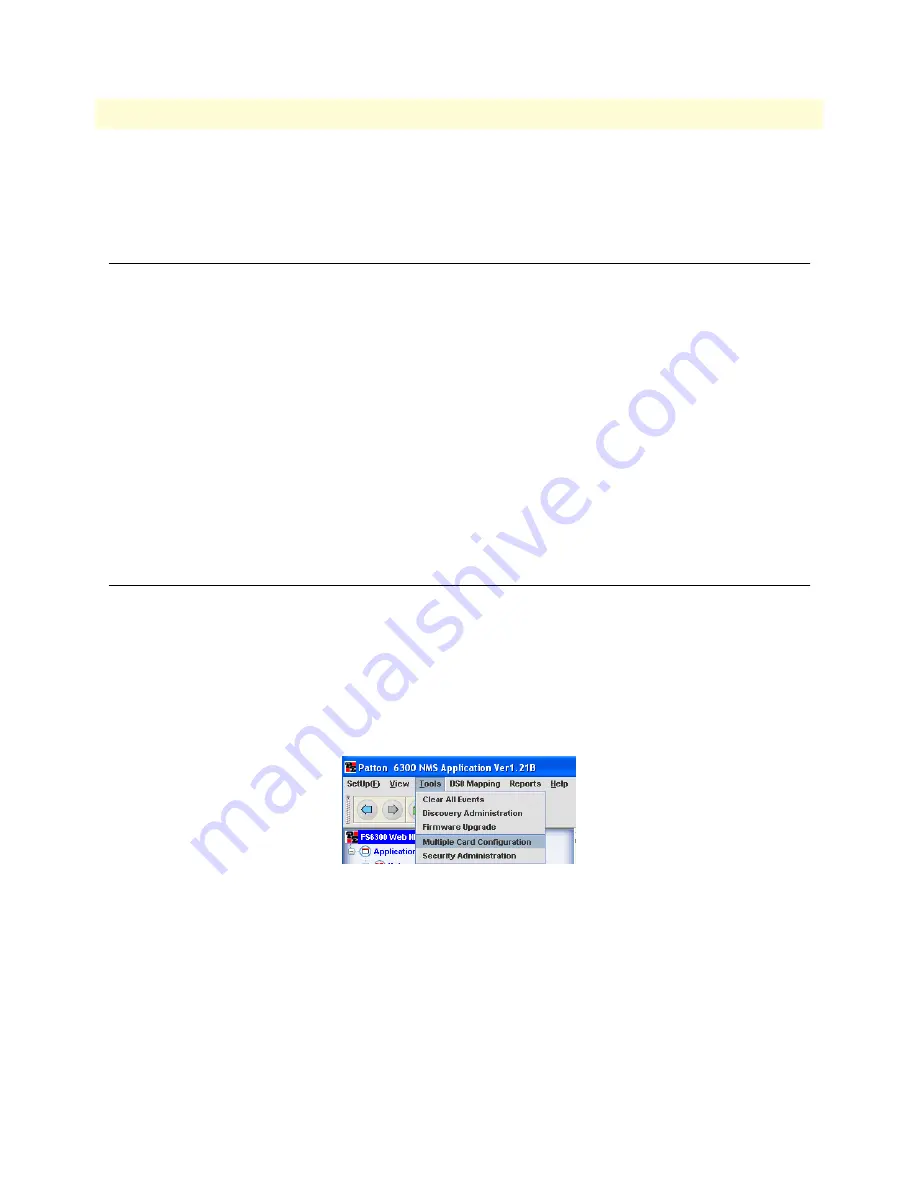
1.
Select
Tools
from the menu at the top of the screen, then
Multiple Card Configuration
.
The Multiple Card Configuration window appears.
Figure 5. Tools > Multiple Card Configuration


