


Continue Adjusting:
Lighting should be constantly optimized by adjusting the Ex/- and
Instructor Lights according to the following balancing rule:
If the image is too bright and you
Lower the Exposure
⬇
, you may need to
Raise the Instructor Lights
⬆
Inversely, if the image is too dark and you
Raise the Exposure
⬆
, you may need to
Lower the Instructor Lights
⬇
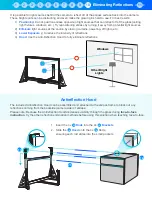
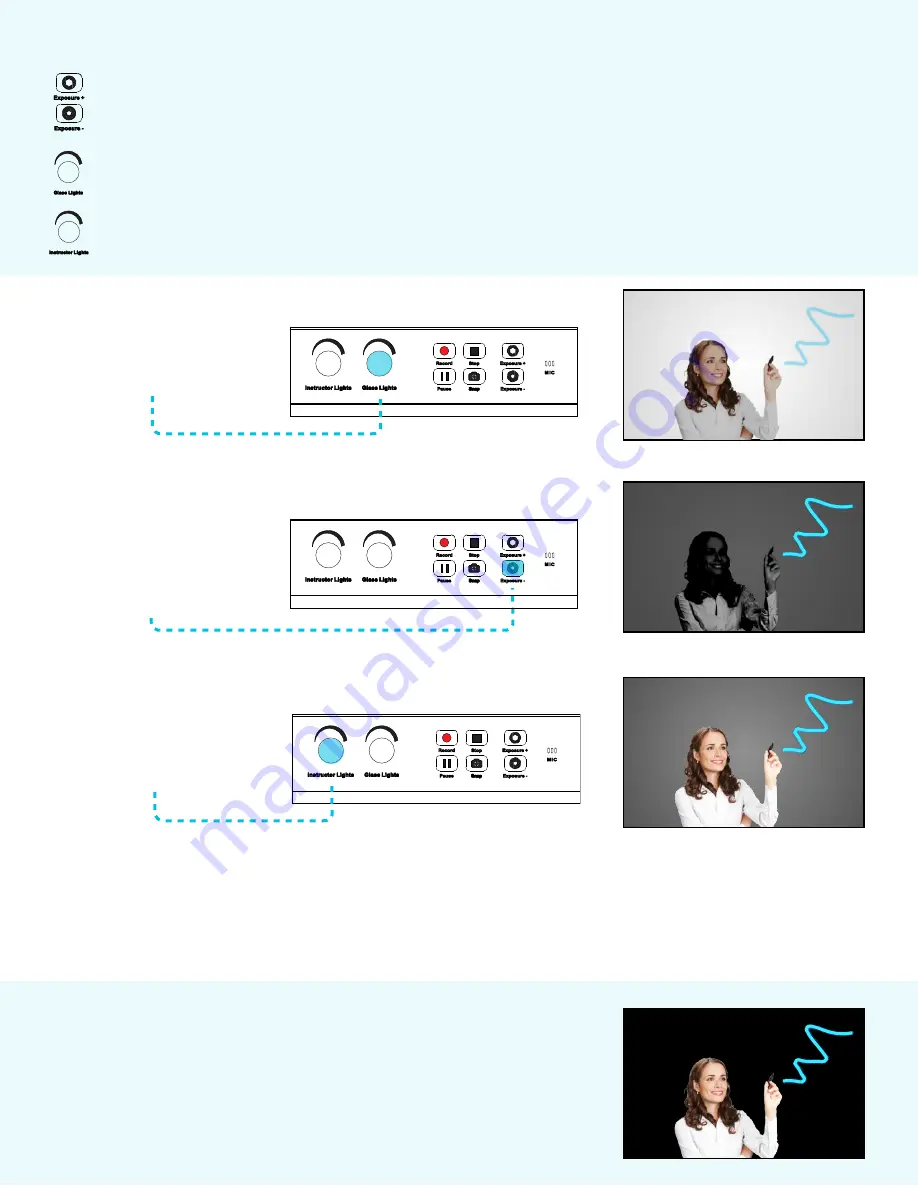
Step 2
Next,
lower camera exposure
by
pressing ( Exposure - ) until BOTH
the
background
and
user
are dark,
but the ink is still bright and visible.
Step 1
Turn the
Glass Lights
to 100% and
draw on the glass with an activated
Neon Pen
.
Step 3
The previous step may have made
the user’s face too dark to be
visible, so slowly raise
Instructor
Lights
until the
user
is illuminated.
The image settings are adjusted from the
Control Panel
at the base of eGlass frame:
Ex
and
Exposure -
adjust how much light is let into the camera, e
ff
ectively raising or lowering the the
entire image
brightness.
Even if your background is white wall, you can lower the exposure to make the
background appear darker, resulting in the ink glowing more vividly against the darker image. If the image is too
dark, you can raise the exposure to make the image appear brighter.
The
Glass Lights
control how bright the ink glows. The glass lights should always be set to 100% when using
neon markers.
The
Instructor Lights
illuminate the instructor. These should be increased as the exposure is lowered.
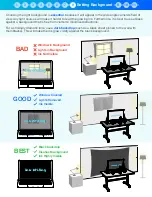
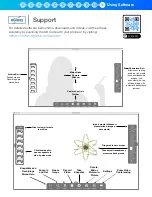
For the Best Results, Use a Dark Backdrop (Optional)
A dark backdrop (not included), such as a black fabric photography
backdrop, will provide the most dramatic look. These backdrops can be
purchased online and hung with thumbtacks, curtain rods, or other
mounting methods.


