


®
Set Up the Software
PS
-
3202
3
013-14710C
For a micro USB cable connection to a USB
charger
:
*Logging: PASCO wireless sensors can either stream
live data to a compatible device or log data inde
-
pendently (save it to the sensor’s onboard memory). The
data can then be uploaded to the device for display and
analysis at a later time. Logging capability supports
long-term or remote data collection while not connected
to a computing device.
Note: Both SPARKvue and PASCO Capstone support
logging. Check the PASCO Web page at:
www.pasco.com/software
for the latest software version. Please check the soft
-
ware online help (User’s Guide) for details about log
-
ging.
Set Up the Software
SPARKvue
Connecting the Wireless Sensor to a Tablet or a
Computer via Bluetooth
•
For SPARKvue, select the Bluetooth icon (
) to
open the Wireless Devices list. In the Wireless
Devices list, the sensors are ordered by proximity to
the device. Select the correct address that matches
the XXX-XXX number found on the sensor. Select
Done. A list of measurements appears under the
sensor in the Home Screen.
Connecting the Wireless Sensor to a Computer with the
Micro USB Cable
•
Connect the micro end of the included Micro USB
Cable into the micro USB port on the end of the
sensor. Connect the other end of the Micro USB
Cable to a USB port on the computer, or into a
powered USB hub connected to the computer.
Zero (Tare) the Force-Acceleration Sensor
At the beginning of an experiment, the measurement
from the sensor may not be zero when the force or
acceleration is actually zero. This is a normal behavior
that is corrected when you zero (or tare) the sensor
using the PASCO Data Collection Software.
In SPARKvue, the process for setting the Wireless
Force-Acceleration Sensor to zero starts in the Home
Screen (
).
•
To zero the Wireless Force Sensor, start by
selecting Force in the Home Screen to open a
Graph display of Force versus Time.
•
In the Graph display, select the Experiment Tools
(
) icon to open the Experiment Tools window.
•
In the Experiment Tools window, select Configure
Sensor in the menu to open the Sensor
Configuration window.
•
In the Sensor Configuration window, select the Edit
Sensor Properties button to open the Edit Sensor
Properties menu.
•
The Edit Sensor Properties menu shows two
choices:
•
Wireless Force Sensor
•
Wireless Acceleration Sensor
.
•
Select the Wireless Force Sensor choice from the
menu to open the Edit Sensor Properties window.
•
The Edit Sensor Properties window offers two
choices under Tare Sensor:
•
Zero Sensor Automatically On Start
:
•
Zero Sensor Now
•
In the Edit Sensor Properties window, select Zero
Sensor Automatically On Start if you want the
sensor to be set to zero every time that data
collection begins. Select Zero Sensor Now to set the
sensor to zero manually.
•
Select OK at the bottom of the window to return to
the Graph display.
To zero the acceleration for the Force-Acceleration
Sensor, return to the Home Screen (
). (NOTE:
There may be a message about saving your data.)
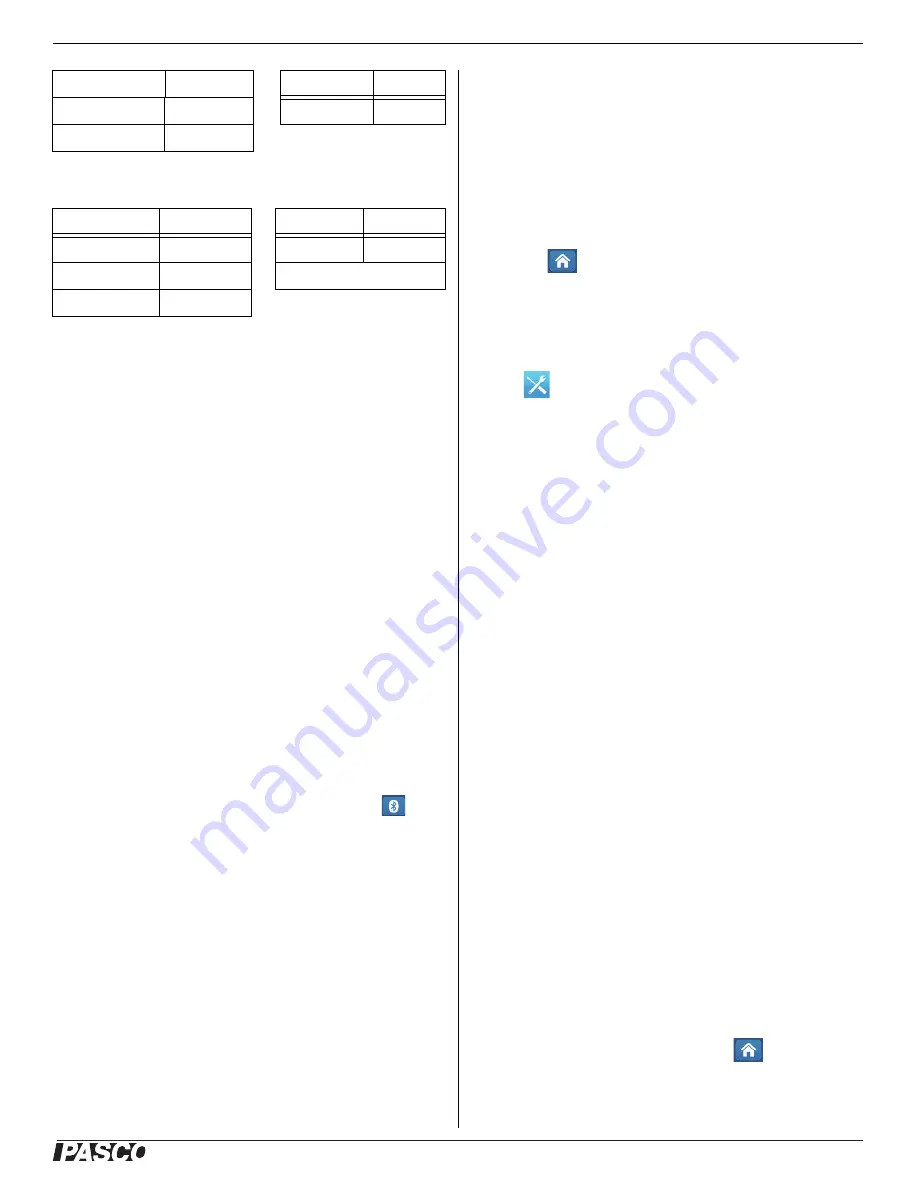
OFF
--
Green ON
Charged
Yellow blink
Logging*
Bluetooth LED
Status
Battery LED
Status
Red blink
Ready to pair
Yellow ON
Charging
Green blink
Connected
Green ON
Charged
Yellow blink
Logging*
Bluetooth LED
Status
Battery LED
Status