20
TG-Filter_EN_01—2016
TGE filters
►
Make the same preparations as described in
section “Preparations” on page 17.
►
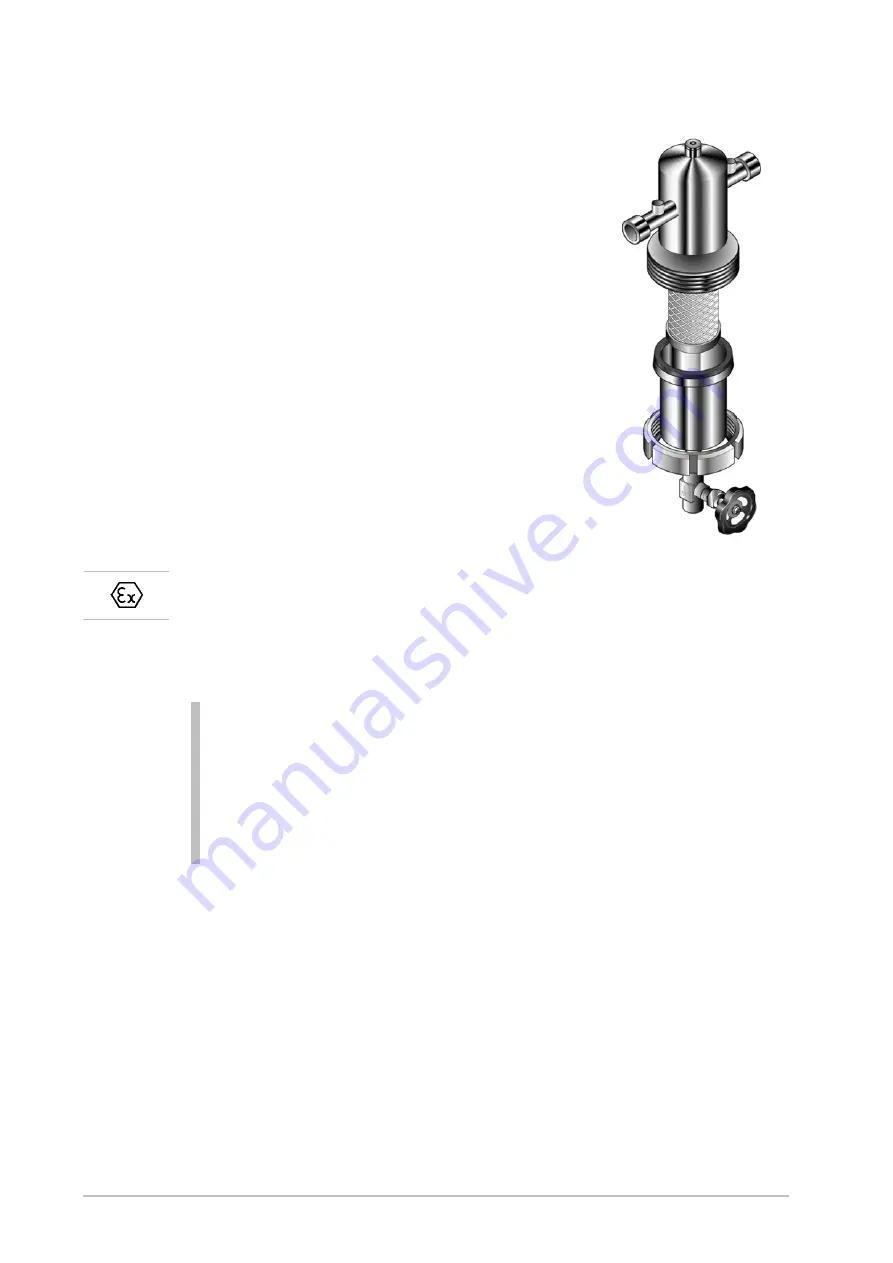
Open the lock ring with a hook wrench and take
the lower housing out of the cap.
►
Turn the filter element so that it is in release
position, using the click-lock device, and remove
the filter element.
►
Remove the housing O-ring and replace it with a
new one.
►
Insert new filter element and lock it in place.
►
Apply a thin coat of grease on the housing threads
before assembly if necessary. Use only TG 1
fn
thread grease unless any other grease has been
agreed upon in the order!
►
Make sure during assembly that
—
the O-rings are properly seated
—
the grease does not come into contact with
O-rings and sealing surfaces.
►
Insert the lower housing into the cap again and fasten it with the lock ring.
►
For ATEX-compliant filters:
Ensure conductivity, test and document it.
►
Check the housing for tightness.
Replacing the cartridge of TGA and TGH filters
Note on intervals:
The operating conditions of cartridges with their respective fillings are
very specific and differ with regard to application. It is therefore
impossible to recommend any fixed intervals.
It is safest to determine the necessary exchange by measuring.
Please contact an authorised laboratory or the manufacturer for this
purpose.
Unscrew the lower housing and remove it.
►
Make the same preparations as described in section “Preparations” on
page 17.
►
Unscrew the cartridge with the O-ring and discard it.
►
Discard the housing O-ring.
►
Insert a new cartridge with O-ring and hand-tighten the cartridge.
►
Make sure the gas flows through the cartridge in the right direction (also see
the note on page 15).
►
Insert a new housing O-ring.
►
Apply a thin coat of grease on the housing threads before assembly if
necessary. Use only TG 1 thread grease unless any other grease has been
agreed upon in the order!


