18
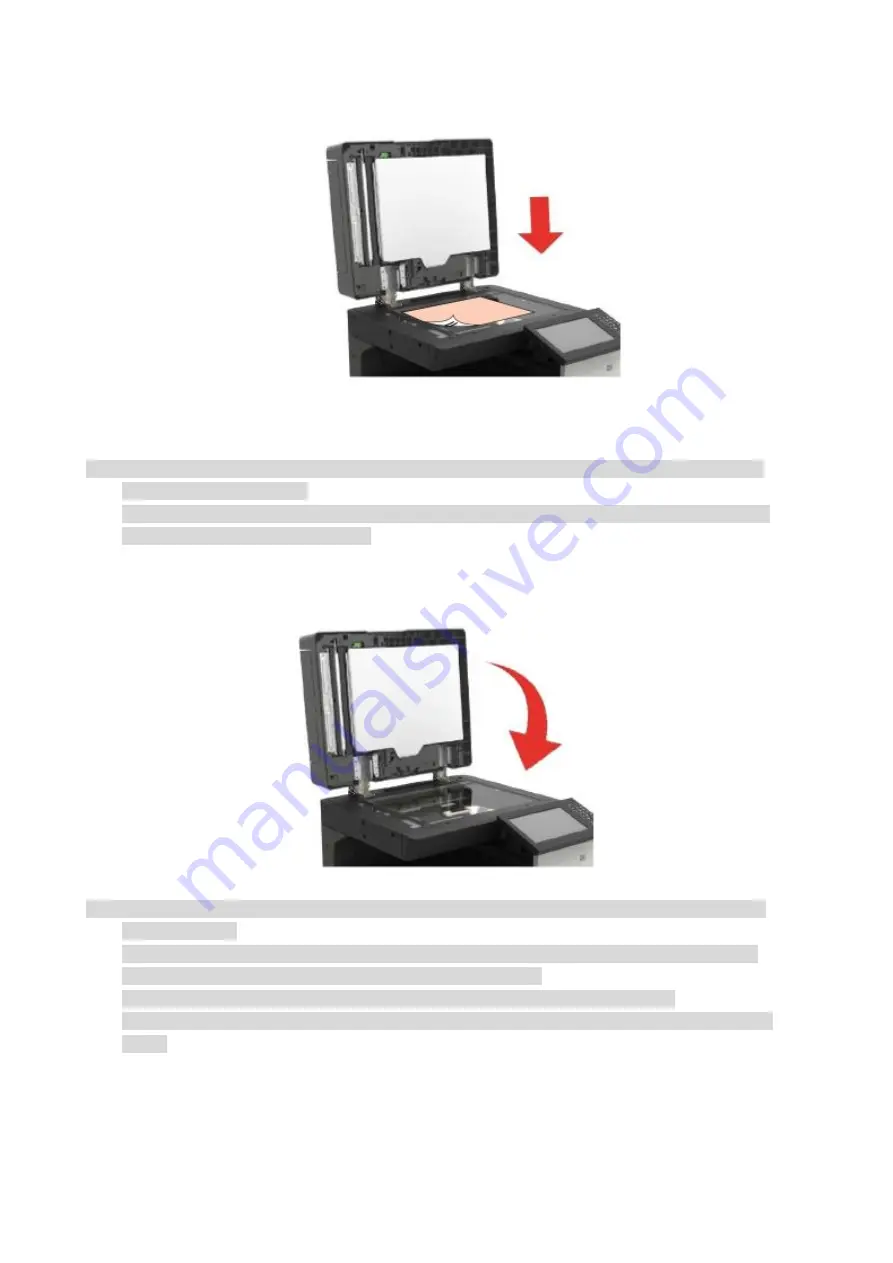
2. Load the manuscript face down.
3. Align the manuscript to match the appropriate paper size.
Note:
• If the manuscript does not match with any size marker, please align the upper-left corner of the
manuscript with the arrow.
• Make sure there is no document in the ADF. If a document is detected in the ADF, it will be more
preferential than that on glass platen.
4. Close the scanner cover gently.
Note:
• Please put the paper or document on the scanner glass after the glue, ink or correction fluid are
completely dried.
• Rough textured, uneven, oil stained and extremely smooth paper will make printing effect poor.
• Please make sure that there is no dust, fluff, etc. on the paper.
• Paper shall be put on a flat surface and stored under a cool and dry environment.
• To avoid influencing the definition, please don't open the scanner cover during scanning with the
platen.
Содержание M9106 Series
Страница 1: ...Pantum M9106 M9706 Series Monochrome Multifunction Printer...
Страница 79: ...64 Scanner glass Scanner glass mat...
Страница 80: ...65 3 Open the door B1 4 Wipe the following areas ADF glass in door B1...
Страница 83: ...68 5 Insert the waste toner bottle and close the door Empty the punching box 1 Open the door H...
Страница 84: ...69 2 Remove and then empty the punching box 3 Insert the punching box 4 Close the cover...
Страница 86: ...71 5 Insert a new toner cartridge 6 Remove waste toner bottles...
Страница 93: ...78 3 Separation roller 1 Power off the printer 2 Remove all trays Standard tray...
Страница 95: ...80 5 Find the roller 6 Remove the roller...
Страница 98: ...83 4 Loosen the screws that hold the transfer belt 5 Remove the paper guide...
Страница 102: ...87 2 Remove the ADF separation pad 3 Remove the ADF separation roller...
Страница 104: ...89 Replace the ADF paper pick up and feed rollers 1 Power off the printer 2 Open the door B...
Страница 110: ...95 4 Install the stabilizers to the tray and then remove the rubber cover...
Страница 112: ...97 7 Connect the tray connector to the printer 8 Open the feed tray 2 3 and 4...
Страница 116: ...101 Rear 7 Close the tray 8 Use the side handles to remove the printer from the 2 x 500 sheet tray...
Страница 117: ...102 9 Remove the stabilizers from the tray 10 Remove the rubber cover...
Страница 120: ...105 16 Align the 3000 sheet tray with the printer and then install the fixing column 17 Attach the tray cable with clips...
Страница 121: ...106 18 Connect the tray cable to the printer 19 Install the tray cable cover...
Страница 122: ...107 20 Slide the tray until it clicks into place 21 Install the stabilizers to the printer...
Страница 143: ...128 2 Open the door J 3 Open the door H...
Страница 146: ...131 Area H8 Area H9...
Страница 148: ...133 2 Remove the staple box holder 3 Remove the loose staples...
Страница 150: ...135 2 Remove the staple box holder 3 Remove the loose staples...
Страница 159: ...144...
Страница 164: ...149...


