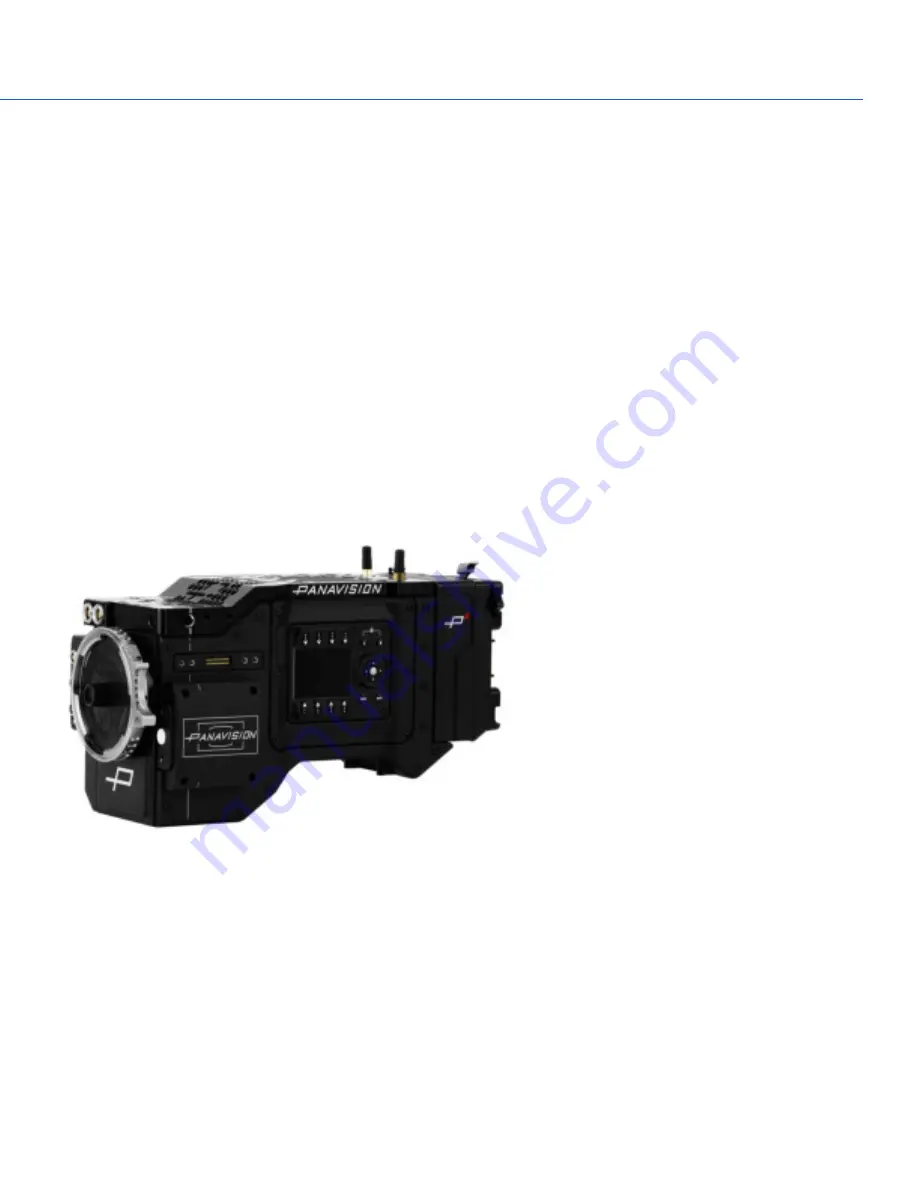
DISABLE AUTO BOOT ON POWER
1. Toggle the Auto Boot on Power switch to Off (identified by a black star).
The camera will not turn on automatically.
SET UP THE DXL HOT SWAP MODULE
INSTALL A DXL HOT SWAP MODULE
REQUIRED TOOL(S): T20 TORX driver
1. Place the adaptor plate (thin plate) on the back on the Panavision Millennium DXL.
2. Position the DXL Hot Swap Module against the adaptor plate, aligning the connector on the front of the DXL Hot Swap
Module with the connector on the rear of the camera.
3. Apply pressure and tighten the four (4) captive screws in a cross pattern (“X” pattern) approximately two (2) turns each
using a T20 TORX driver. DO NOT FULLY TIGHTEN.
NOTE: Slide the battery plate down in order to access the top screws, and slide the battery plate up in order to access the
bottom screws. For more information, go to
"Slide Battery Plate Up and Down" on the next page
.
4. Fully tighten the four (4) screws in a cross pattern (“X” pattern) using a T20 TORX driver.
WARNING: DO NOT OVERTIGHTEN.
Figure: Installed DXL Hot Swap Module
REMOVE A DXL HOT SWAP MODULE
REQUIRED TOOL(S): T20 TORX driver
1. Loosen the four (4) captive screws in a cross pattern (“X” pattern) using a T20 TORX driver.
NOTE: Slide the battery plate down in order to access the top screws, and slide the battery plate up in order to access the
bottom screws. For more information, go to
"Slide Battery Plate Up and Down" on the next page
.
2. Remove the DXL Hot Swap Module.
3. Remove the adaptor plate.
COPYRIGHT © 2017 PANAVISION INTERNATIONAL, L.P.
FW: V-0.5.35
|
26
PANAVISION MILLENNIUM DXL
Содержание Millennium DXL
Страница 1: ...PANAVISION COM...


