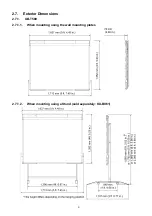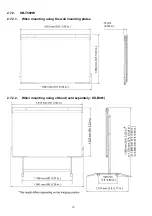
19
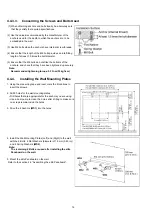
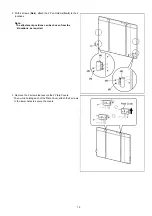
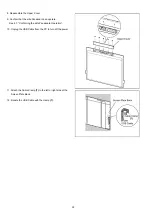
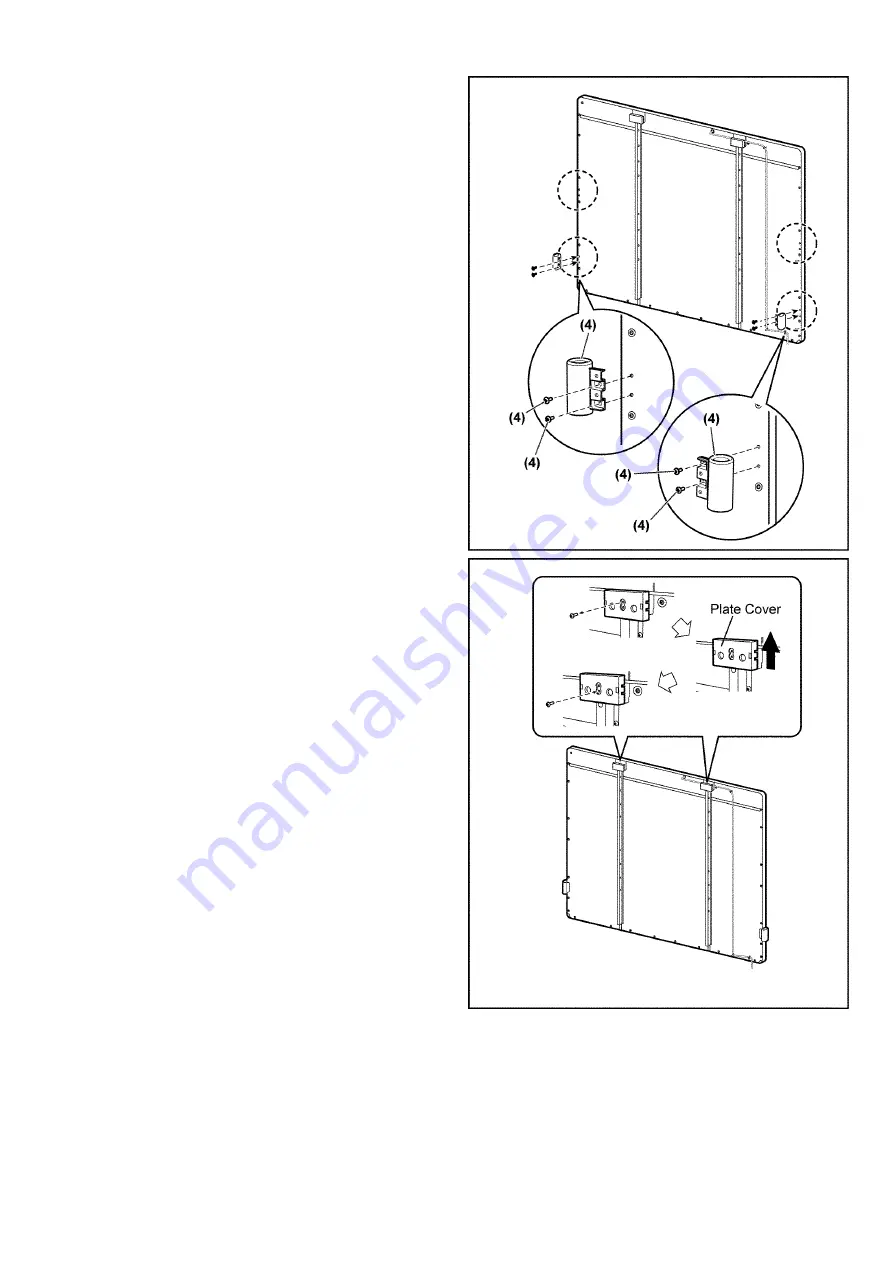
2. With 4 screws (
No.4
), attach the 2 Pen Holders (
No.4
) to the 2
locations.
Note:
The attachment positions can be chosen from the
4 locations, as required.
3. Remove the 2 screws that secure the 2 Plate Covers.
Then, while holding each of the Plate Cover, attach the 2 screws
to the lower holes to secure the covers.
Содержание UB-T580
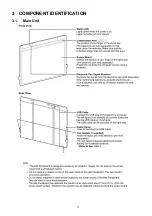
Страница 11: ...11 3 COMPONENT IDENTIFICATION 3 1 Main Unit ...
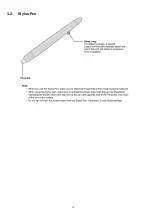
Страница 12: ...12 3 2 Stylus Pen ...
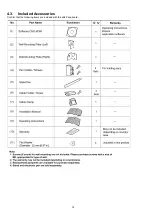
Страница 14: ...14 4 3 Included Accessories Confirm that the following items are included with the elite Panaboard ...
Страница 17: ...17 4 5 Unpacking the elite Panaboard from Its Packaging ...
Страница 23: ...23 13 Wipe the screen board surface Gently wipe the screen board surface with a soft moist cloth ...
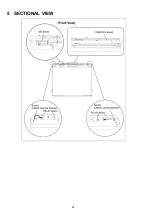
Страница 28: ...28 5 SECTIONAL VIEW ...
Страница 48: ...48 12 CIRCUIT BOARDS Index 12 1 RELAY Board 12 2 LED Board ...
Страница 50: ...50 13 PARTS LOCATION AND MECHANICAL PARTS LIST ...
Страница 53: ...53 13 1 2 For UB T580W To be continued later ...
Страница 56: ...56 13 2 2 For UB T580W To be continued later ...
Страница 57: ...57 14 REPLACEMENT PARTS LIST ...

