76
English
Setup menu
1
Press <SETUP> to display the [Setup]
menu.
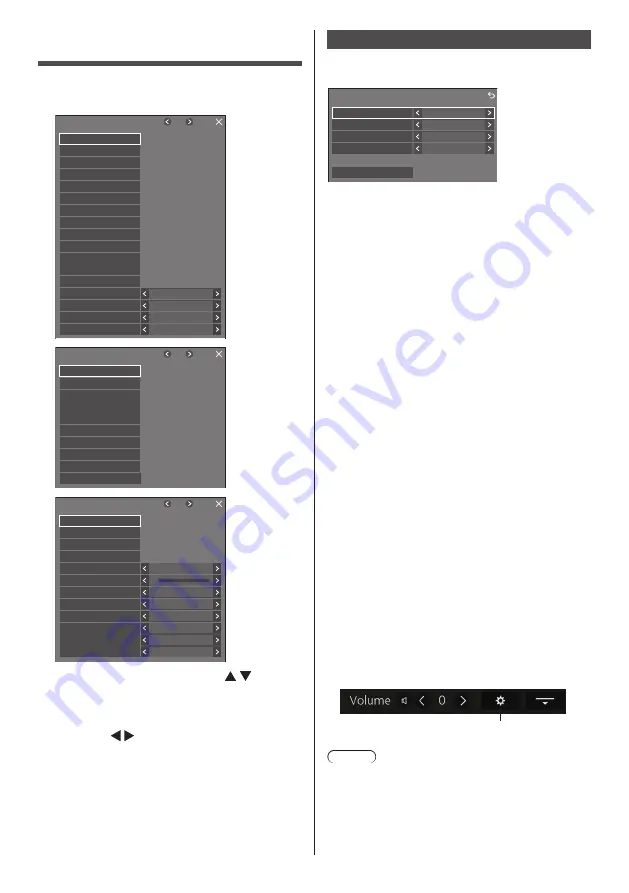
1/3
Setup
Screensaver
Multi display settings
Input label
Power management settings
Off-timer function
No activity power off
OSD language
Enable
Disable
English(UK)
Image settings
HDMI-CEC settings
Input lock
Off
Audio input select
Power on settings
Input search
Failover/Failback
Signal
Portrait settings
Touch screen settings
2/3
Setup
Set up timer
Date and time
Network settings
USB media player settings
Memory viewer settings
Screen Transfer settings
Function button settings
Device operation mode settings
Color universal design settings
OSD settings
3/3
0
Setup
Maximum VOL level
Options
Button lock
POWER button lock
Off
Off
Off
Off
Controller user level
Control settings
Information timing
Maximum VOL function
DVI-D
DVI-D/SLOT select
Off
Quick input change mode
SLOT settings
Auto
DIGITAL AV OUT setting
2
Select the item to set with .
●
Menu that cannot be adjusted is greyed out.
Adjustable menu changes depending on signal
input and menu setting.
3
Set with .
4
Press <SETUP> to exit from adjust
mode.
■
To return to the previous screen
Press <RETURN>.
Touch screen settings
Configure settings for the multi-touch function.
[Touch screen settings] sub menu dialog
Touch screen settings
Touch screen
Bottom
On
Control menu
Shrink position
Quick input settings
Centre
Menu lock
Off
■
Touch screen
[Off]:
The multi-touch function is disabled. However,
in the case of main software version 2.1000 or
later, only the multi-touch function of the main
unit is disabled, and the unit always operates
in [Device operation mode] state. In this case,
an icon that shows the device operation mode
is not displayed. (see page 62)
[On]:
The multi-touch function is enabled.
■
Control menu
[Top]:
The Control menu is displayed at the top
of the screen.
[Bottom]:
The Control menu is displayed at the
bottom of the screen.
■
Shrink position
Sets the position where the Control menu is
minimized.
[Left]:
Sets the shrink position to the left.
[Centre]:
Sets the shrink position to the centre.
[Right]:
Set the shrink position to the right.
[Left2]:
Sets the shrink position to the left (one
level inside).
[Centre2]:
Sets the shrink position to the centre (one
level inside).
[Right2]:
Sets the shrink position to the right (one
level inside).
■
Menu lock
[Off]:
Enables the touch operation for the menu
display button in the Control menu.
[On]:
Disables the touch operation for the menu
display button in the Control menu.
Menu display button
Note
●
Regardless of whether [Menu lock] is set to Off/
On, touch operations after the menu is displayed by
remote control operation are valid.


