2-8
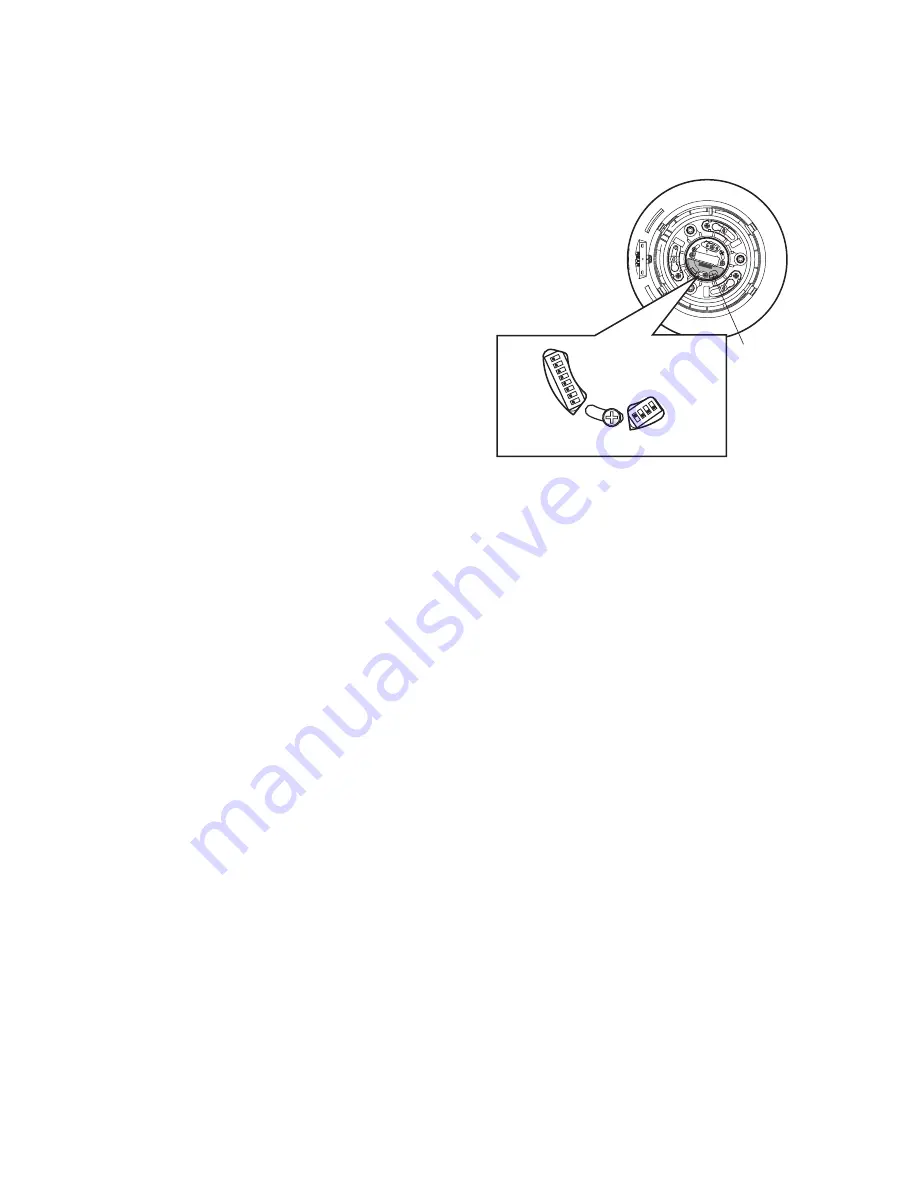
3.3. Dip Switch Setting
8
Peel the RS485 Setting Label which covers switch holes
on top of the camera.
8
Set the DIP switches (SW1, 2) on the Switch Board as
shown in Fig. 3-3-1.
8
Stick the labels as it was.
3.4. Setting Up for Standard Picture
8
The adjustment should be done after 30 minutes warm-
up.
8
Set the Logarithmic Gray Scale Chart.
8
Incident light of 1 400 lx ± 50 lx on the Logarithmic Gray
Scale Chart.
8
Aim the Camera at the Logarithmic Gray Scale Chart.
8
Set the Camera by the Remote E.V.R. Adjustment Kit so
that the Logarithmic Gray Scale Chart becoms full pic-
ture on the Underscanned Colour Video Monitor.
8
Adjust the Lens Focus by the Remote E.V.R. Adjustment
Kit to obtain correct focal point.
8
The adjustments should be done with this Standard
Picture, unless otherwise specified.
(4) Installing E.V.R Adjustment Program
8
Make a copy of following necessory files to your comput-
er from original floppy disk.
RADJ2.EXE
CW97C.SEQ
CW97AF1.SEQ
CW97TLT.SEQ
CW97PRE.SEQ
CW97C.EV2
8
The Example given here is for A 2 drive computer, your
procedure might vary slightly depending on the drive
configuration.
8
Confirm that the contents of
CONFIG.SYS
file on your
computer is
DEVICE=ANSI.SYS
(Basic).
8
Insert floppy disk containing the E.V.R. Adjustment
Program into your floppy drive (for example,drive:A) and
type
A:
8
At the prompt, type
CD IBMPC
and press
ENTER
key.
8
Type
COPY RADJ2.EXE B:
and press
ENTER
key.
8
Type
CD\
and press
ENTER
key.
8
Type
CD SEQ
and press
ENTER
key.
8
Type
COPY CW97C.SEQ B:
and press
ENTER
key.
8
Type
COPY CW97AF1.SEQ B:
and press
ENTER
key.
8
Type
COPY CW97TLT.SEQ B:
and press
ENTER
key.
8
Type
COPY CW97PRE.SEQ B:
and press
ENTER
key.
8
Type
CD\
and press
ENTER
key.
8
Type
CD EVR
and press
ENTER
key.
8
Type
COPY CW97C.EV2 B:
and press
ENTER
key.
8
After completing installation of program, you are ready to
use the E.V.R. Adjustment Program.
RS48
5Se
tting
S TART
ON
1
2
3
4
5
6
7
8
ON
1
2
3
4
SW
1
SW2
Camera top view
RS485 Setting Label
DIP Switches
SW2
4-bit DIP SW
#1 : ON, #2-#4 : OFF
SW1
8-bit DIP SW
#1-#8 : OFF
Fig. 3-3-1


