PAN/TILT SETTINGS
■
Using the Pan/Tilt Setup Menu
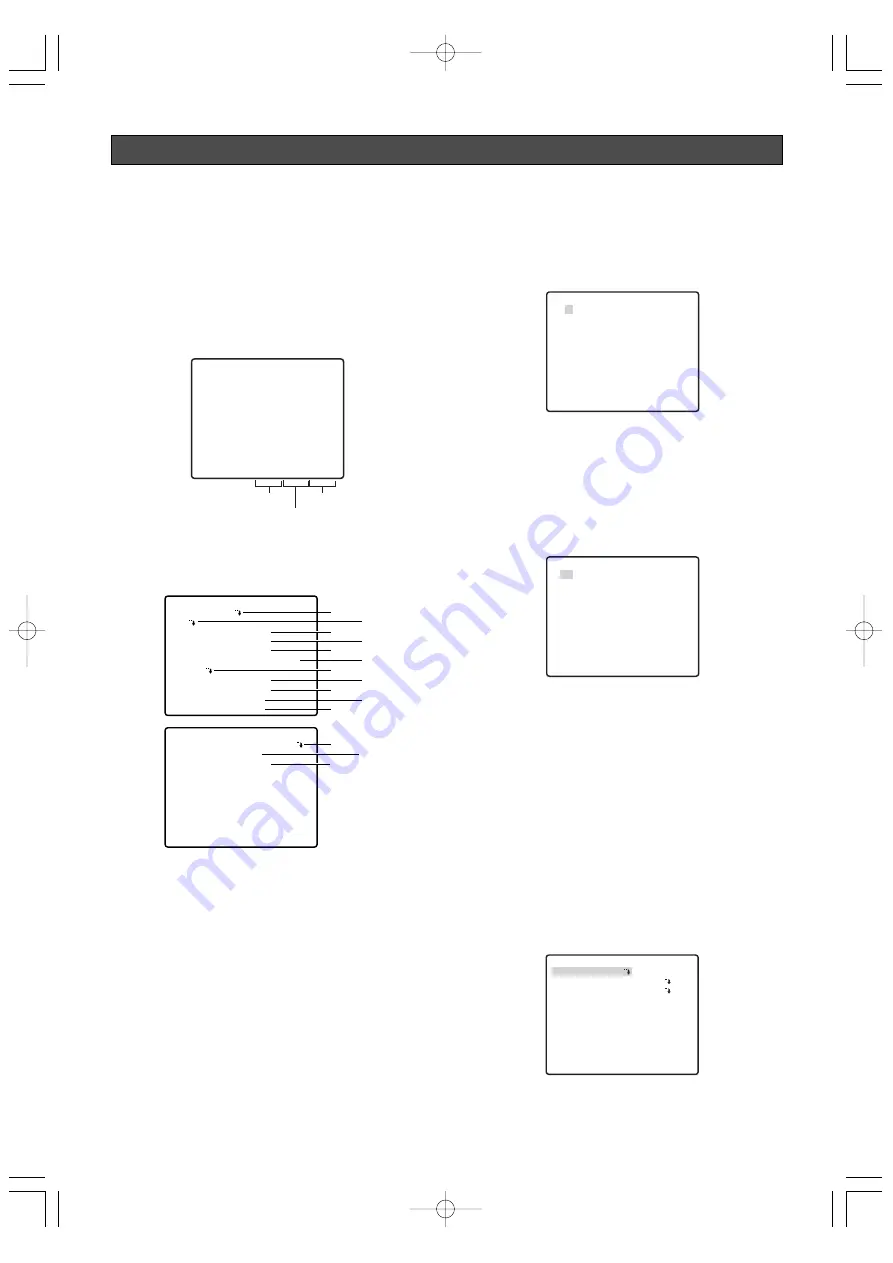
Display the pan/tilt setup menu from the setup menu to
configure pan and tilt settings.
First, display the pan/tilt setup menu.
Use a shortcut (page 45) to switch between displaying
or not displaying the pan, tilt, and zoom positions
(during pan, tilt and zoom operation) on the monitor
screen.
* The tilt position is displayed ranging from –5˚ to 90˚
to –5˚.
1. Display the setup menu (page 21), move the cursor
to PAN/TILT
O
, and then press the CAM (SET)
button.
This will display the pan/tilt setup menu.
* The following sections numbered
q
to
!4
explain
how to use each of the pan/tilt setup menu items.
(1) Position Number Selection (PRESET)
Positions can be assigned numbers, each of which can
be configured with a monitoring position and
monitoring conditions.
You can use either the PRESET item or the MAP item on
the pan/tilt setup menu to select a position number.
Position numbers 1 through 4 are used for alarm
functions (pages 37 and 38) and operating them.
1. Move the cursor to the 1 next to the PRESET item,
and then tilt the joystick left or right to change the
position number to the one you want.
2. Press the CAM (SET) button.
This registers the position number setting and
displays the preset setting menu. (this page)
(2) Position Number Selection (MAP)
You could use the MAP item on the pan/tilt setup menu
instead of the PRESET item to select a position
number.
1. Move the cursor to MAP
O
, and then press the
CAM (SET) button.
2. Move the cursor to the number you want to select,
and then press the CAM (SET) button.
This registers the position number setting and
displays the preset setting menu. (this page)
To select a position number in the range of 033 to
064, move the cursor to 33-64 in the lower left corner
of the menu, and then press the CAM (SET) button.
Preset numbers set subsequently are the same.
Notes:
• An asterisk (*) to the right of a position number
indicates that it already has a preset position
assigned to it.
The home position number is indicated by the
letter H next to the asterisk.
• When the cursor is located at a position number
that has a position ID, the position ID text
appears next to ID: on the menu screen.
●
Position Setting (POSITION SET)
The position setting can be used to specify the camera
position (pan and tilt), the lens zoom setting, and the
focus setting.
1. Move the cursor to POSITION SET
O
and press the
CAM (SET) button to display the position setting menu.
2. Move the cursor to
→
PUSH SET to the right of
PAN/TILT, and then press the CAM (SET) button to
display the PAN/TILT setting menu.
-27-
**PAN/TILT SETUP**1/2
PRESET 1
MAP
HOME POSITION OFF
SELF RETURN OFF
AUTO MODE OFF
AUTOPAN KEY AUTO PAN
PATROL
PRIVACY ZONE OFF
IMAGE HOLD OFF
DIGITAL FLIP ON
PROPO.P/T ON
q
e
t
u
o
!1
w
r
y
i
!0
**PAN/TILT SETUP**2/2
AREA TITLE ON(USER)
TILT ANGLE 0
°
CLEANING OFF
RET TOP
!2 !3
!4
**PRESET POSITION**
2
6
10
14
18
22
26
30
1*
5
9
13
17
21
25
29
ID:DOOR
033-064 225-256
RET TOP
3
7
11
15
19
23
27
31
4
8
12
16
20
24
28
32
**PRESET POSITION**
34
38
42
46
50
54
58
62
33
37
41
45
49
53
57
61
ID:
065-096 001-032
RET TOP
35
39
43
47
51
55
59
63
36
40
44
48
52
56
60
64
PRESET NO. 1*
POSITION SET
PRESET ID
ALC/MANUAL
AF MODE
DWELL TIME
SCENE FILE
PRESET SPEED
RET TOP DEL
ON
ALC
MANUAL L
10S
OFF
••••••••
I
L H
360
°
/ 90
°
/X001
Pan position
Tilt position*
Zoom ratio
WV-CS950̲US 05.4.27 8:54 PM ページ27
www.absolualarme.com met à la disposition du public, via www.docalarme.com, de la documentation technique dont les références, marques et logos, sont la propriété des détenteurs respectifs


