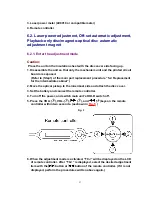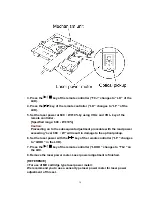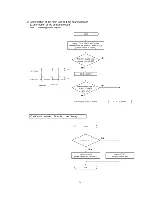
4. Press
key (“AOK ” or “ANG ” changes to “T2J ”).
5. After the adjustment is finished, remove the disc.
6.2.5. Playback-only disc automatic adjustment
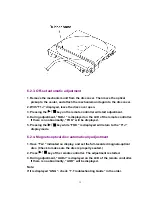
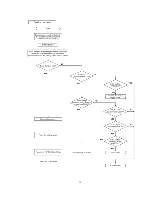
1. Have “T3J ” indicated on display, set the playback-only disc.
(Check to make sure the disc is properly seated.)
2. Press
key of the remote controller. The adjustment is started.
3. During adjustment. “AADJ ” is displayed on the LCD of the remote controller.
If there is no abnormality, “AOK ” will be displayed.
Note:
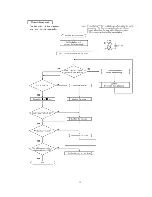
If it is displayed “ONG ”, check “7. Troubleshooting Guide” in the order.
4. Press
key (“OOK ” or “ONG ” changes to “T3J ”).
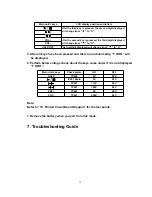
5. After the adjustment is finished, remove the disc.
6.2.6. How to get out the adjustment mode
Remove the battery when you finish the adjustment.
6.3. Checking the main unit's keys
1. Set the battery and connect the remote controller.
2. Turn off the power, and switch main unit’s HOLD switch OFF.
3. Press the VOL+( ), VOL-( ),
( ), and
( ) keys on the remote
controller within two seconds. (asshown in
Fig. 5
)
4. When the unit enters the unit key check mode, the display shows “T KJP ”.
While “T KJP ” is displayed, press the
,
,
and VOL(+, -) keys of
the unit in the specified order and then switch off the HOLD switch.
*When thefirst
key is pressed, the display will change to “T ”.
33
Содержание SJ-MJ50GH
Страница 5: ...3 Operating Instructions 4 Handling Precautions for MD Mechanism Optical 5 ...
Страница 10: ... Check the P C B as shown below 10 ...
Страница 11: ...5 2 Replacement for the disc cover ass y 11 ...
Страница 12: ...5 3 Replacement for the side cabinet ass y Follow the Step 1 Step 3 of item 5 1 12 ...
Страница 13: ...13 ...
Страница 15: ...15 ...
Страница 17: ...17 ...
Страница 18: ...5 6 Replacement for the traverse motor Follow the Step 1 Step 3 of item 5 1 18 ...
Страница 19: ...19 ...
Страница 20: ...20 ...
Страница 22: ...22 ...
Страница 23: ...23 ...
Страница 24: ...24 ...
Страница 25: ...25 ...
Страница 35: ...35 ...
Страница 36: ...36 ...
Страница 37: ...37 ...
Страница 38: ...38 ...
Страница 39: ...39 ...
Страница 40: ...40 ...
Страница 41: ...41 ...
Страница 42: ...8 Schematic Diagram Notes 8 1 Type Illustration of IC s Transistors and Diodes 42 ...
Страница 53: ...29 CHARGE O Recharge control output terminal 53 ...

