28
VQT2W23
1
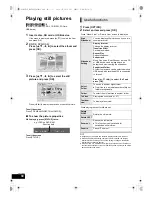
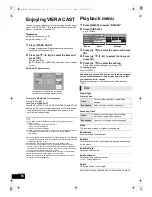
Press [OPTION].
2
Select an item and press [OK].
≥
Depending on the played contents if you perform “Screen
Aspect”, there may be no effect.
≥
When “TV Aspect” (
>
41) is set to “4:3” or “4:3 Letterbox”,
the “Zoom” effect is disabled.
≥
Depending on the media and contents, displayed items are different.
What is BONUSVIEW?
BONUSVIEW allows you to enjoy functions such as
picture-in-picture or secondary audio etc.
What is BD-Live?
In addition to the BONUSVIEW function, BD-Live allows you to
enjoy more functions such as subtitles, exclusive images and
online games by connecting this unit to the Internet.
≥
The usable functions and the operating method may vary
with each disc, please refer to the instructions on the disc
and/or visit their website.
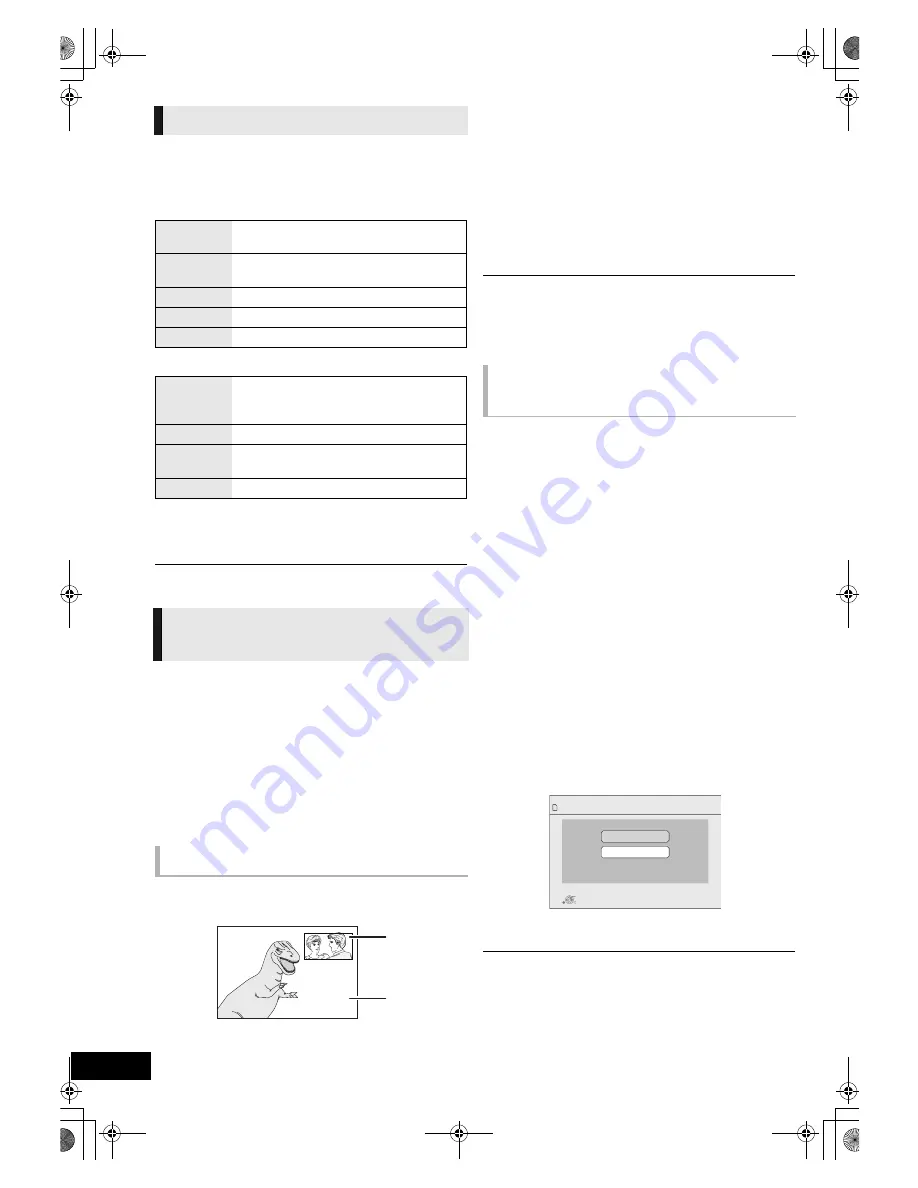
To turn on/off secondary video
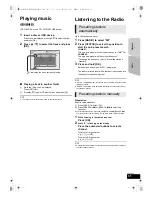
Press [PIP].
A
Secondary video
B
Primary video
To turn on/off secondary audio
1
Press [DISPLAY].
2
Press [
3
,
4
] to select the “Disc” menu and press [
1
].
3
Press [
3
,
4
] to select the “Signal Type” menu and press
[OK].
4
Press [
3
,
4
] to select the “Soundtrack” under “Secondary
Video” menu and press [
1
].
5
Press [
3
,
4
] to select the “On” or “Off”.
When “On” is selected, press [
1
] and then press [
3
,
4
] to
select the language.
6
Press [RETURN] to exit.
≥
During search/slow-motion or frame-by-frame, only the primary video is
displayed.
≥
When “BD-Video Secondary Audio” in “Digital Audio Output” is set to “Off”,
secondary audio will not be played (
>
40).
Some BD-Live content available on the Blu-ray discs may
require an Internet account to be created in order to access the
BD-Live content. Follow the screen display or instruction
manual of the disc for information on acquiring an account.
1
Connect to the network. (
>
19)
2
Insert an SD card
(with 1 GB or more free space).
SD card is used as the local storage (
>
52).
3
Insert the disc.
∫
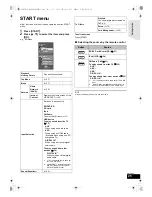
Deleting data/Formatting SD cards
There are various functions in BD-Video that you can enjoy by
copying data to the SD card. (Local Storage) If you no longer
need data recorded on the SD card, you can delete data with
the following operation.
1
Insert an SD card.
2
Press [START].
3
Press [
3
,
4
] to select “To Others” and press [OK].
4
Press [
3
,
4
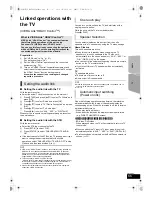
] to select “Card Management” and press
[OK].
5
Press [
3
,
4
] to select “BD-Video Data Erase” or “Format
SD Card” and press [OK].
6
Press [
2
,
1
] to select “Yes” and press [OK].
7
Press [
2
,
1
] to select “Start” and press [OK].
≥
To use the above functions, it is recommended that you format the card on
this unit. If the SD card you use is formatted, all data on the card will be
erased. It cannot be recovered.
≥
“BD-Live Internet Access” may need to be changed for certain discs
(
>
40).
≥
When discs supporting BD-Live are played back, the player or disc IDs
may be sent to the content provider via the Internet.
Useful functions
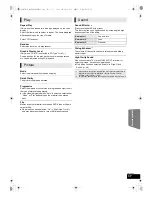
While DIRECT NAVIGATOR screen is displayed
Properties
To display the titles properties (recording
date, etc.).
Chapter
View
To select the chapter.
To Picture
Playing still pictures (
>
30).
Folder
To switch to another folder.
View Titles
To select the title.
While playing
Screen
Aspect
When black bars are shown at the top,
bottom, left, and right sides of the screen, you
can enlarge the image to fill the screen.
Top Menu
To display Top Menu.
Pop-up
Menu
To display Pop-up Menu.
Menu
To display Menu.
Enjoying BD-Live or
BONUSVIEW in BD-Video
Playing picture-in-picture
Enjoying BD-Live discs with
Internet
Card Management
No. of Files 6
Free space 300 MB
SD CARD
Format this SD Card.
OK
RETURN
BD-Video Data Erase
Format SD Card
SCBTT755_350EBGN_VQT2W23.book 28 ページ 2010年6月18日 金曜日 午後4時58分

