8.6. Using the iPod
By inserting the Universal Dock for iPod into the OPTION port
and connecting iPod, you can play tracks (audio) through this
unit s speakers. Additionally, you can use the remote control for
this unit to perform operations such as play, stop, and record
*
*
operations on iPod.
Only audio tracks can be recorded from iPod.
Preparation
1 Connect the Universal Dock for iPod and iPod as shown on
OI page 78.
2 Press [
SELECT ] to switch the selector to "OPTION".
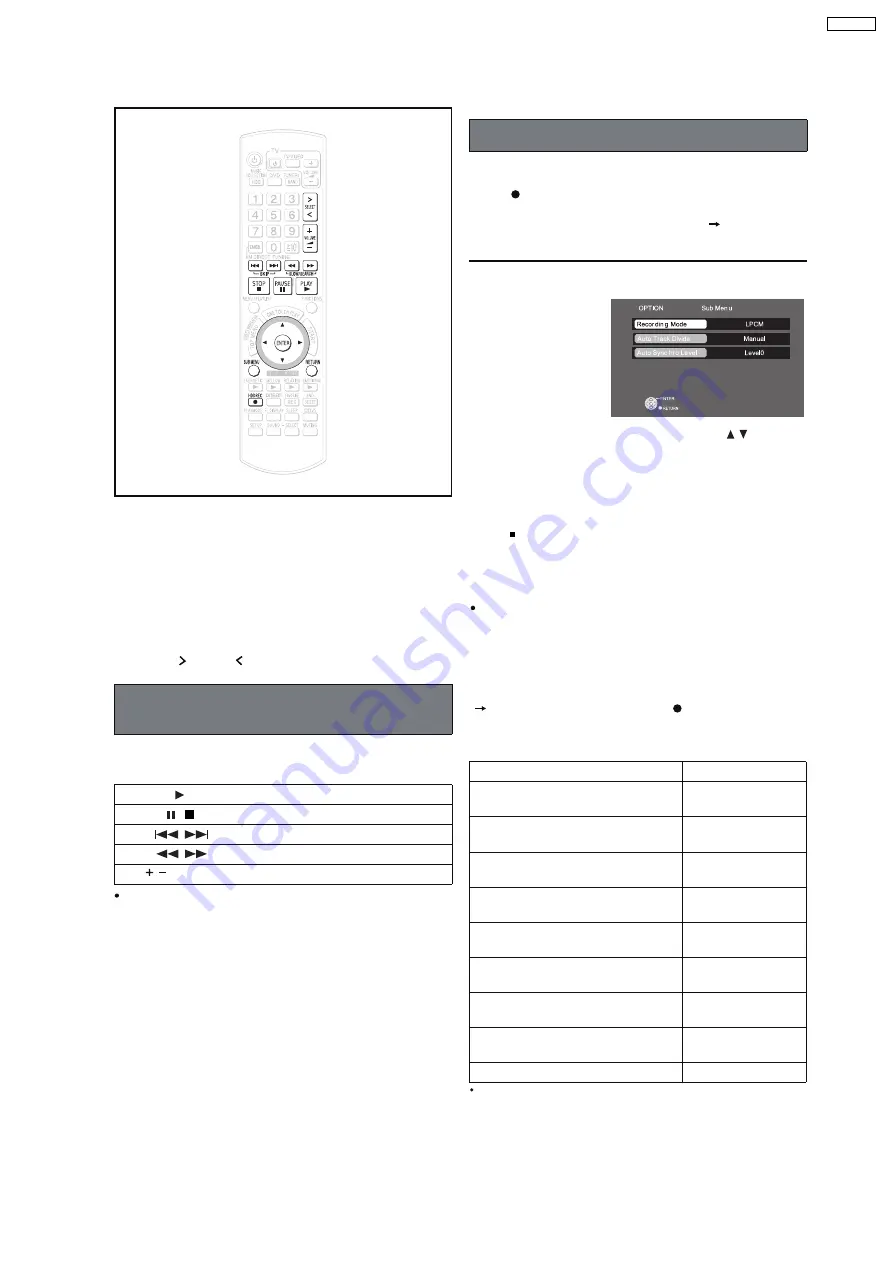
By performing the following operations on the remote control,
you can play tracks from iPod.
[Note]
Do not take off your iPod from this universal dock when you
play your iPod back with this unit.
You can record tracks from iPod to the HDD.
Recording starts in the set recording mode (
below) and
playing of iPod also starts automatically.
To change the recording mode
1 Press [SUB MENU] while stopped.
To stop partway through
Press [ ].
To return to the previous screen
Press [RETURN].
[Note]
[Tips]
To select a track you want to record
In "Playing tracks of iPod with the remote control for this unit"
(
left), operate the iPod, and press [ HDD REC] after
pausing at the beginning of the track you want to record.
Compatible iPod
Compatibility depends on the software version of your iPod.
Playing tracks of iPod with the remote
control for this unit
PLAY
PAUSE
SKIP
SEARCH
[
VOLUME]
Volume adjust
Name
iPod nano
2nd generation (aluminum)
2GB, 4GB, 8GB
iPod
5th generation (video)
60GB, 80GB
iPod
5th generation (video)
30GB
iPod nano
1st generation
1GB, 2GB, 4GB
iPod
4th generation (color display)
40GB, 60GB
iPod
4th generation (color display)
20GB, 30GB
iPod
4th generation
40GB
iPod
4th generation
20GB
4GB, 6GB
Recording tracks from iPod to the HDD
iPod mini
Memory size
Play will continue from the last track you were listening to
before connecting the Universal Dock for iPod and iPod.
,
Press [
HDD REC].
2 Select "Recording Mode" (OI page 33) with [
] and
make changes.
In addition to the recording mode, you can also change
"Auto Track Divide" (OI page 38), or "Auto Synchro Level"
(OI page 38).
If "No compatible equipment is connected" is displayed, then
no OPTION-compatible equipment is connected to the
OPTION port.
21
SA-PTX7P
Содержание SA-PTX7
Страница 12: ...12 SA PTX7P ...
Страница 29: ...RX RX RX RX CH2 AB CH2 AB CH1 CD B 1 1 1 Multi room Multi source 29 SA PTX7P ...
Страница 66: ...11 2 Main Components and P C B Locations 66 SA PTX7P ...
Страница 85: ...Step 3 Remove the middle chassis Step 4 Remove the traverse unit 85 SA PTX7P ...
Страница 94: ...Note Insulate AC Inlet P C B from other parts with insulating material eg plastic 94 SA PTX7P ...
Страница 97: ...97 SA PTX7P ...
Страница 116: ...116 SA PTX7P ...
Страница 118: ...SA PTX7P 118 ...
Страница 130: ...SA PTX7P 130 ...
Страница 132: ...132 SA PTX7P ...
Страница 172: ...SA PTX7P 172 ...
Страница 183: ...26 Exploded Views 183 SA PTX7P ...
Страница 184: ...184 SA PTX7P ...
Страница 185: ...26 1 Cabinet Parts Location SA PTX7P 185 ...
Страница 186: ...SA PTX7P 186 ...
Страница 187: ...SA PTX7P 187 ...
Страница 188: ...SA PTX7P 188 ...
Страница 189: ...26 2 Packaging SA PTX7P 189 ...


